How To Automate Your Social Media With CoSchedule And Get Your Time Back

 Is social media marketing impossible without automation tools?
Close to it.
Even if you’re Wonder Woman, there’s too much that needs your attention to handle by yourself. Social automation tools make it possible for your team to do more in less time, as well as making the impossible easy (like posting 25 times a day while getting anything else done).
However, with so many options out there, how do you choose the best tool set?
One word: CoSchedule.
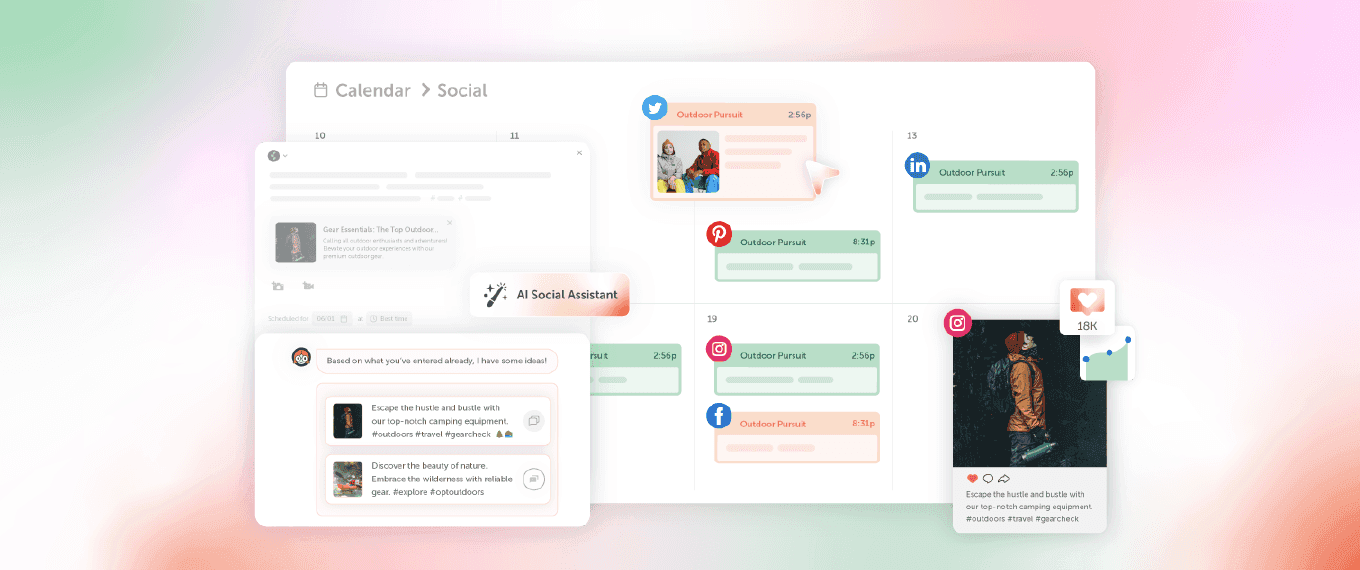
With our all-in-one marketing calendar platform, you can automate your social media marketing in one place (and keep the rest of your marketing organized, too). This post is going to walk you through how it all works, from how to set up your accounts, to how to use some of our most popular features like ReQueue and Best Time Scheduling.
Is social media marketing impossible without automation tools?
Close to it.
Even if you’re Wonder Woman, there’s too much that needs your attention to handle by yourself. Social automation tools make it possible for your team to do more in less time, as well as making the impossible easy (like posting 25 times a day while getting anything else done).
However, with so many options out there, how do you choose the best tool set?
One word: CoSchedule.
With our all-in-one marketing calendar platform, you can automate your social media marketing in one place (and keep the rest of your marketing organized, too). This post is going to walk you through how it all works, from how to set up your accounts, to how to use some of our most popular features like ReQueue and Best Time Scheduling.
How To Automate Your Social Media With CoSchedule And Get Your Time Back
Click To TweetWhat Is Social Media Automation?
Social media automation is the process of scheduling social media content to publish automatically without manual effort.Social Media Automation Best Practices
Like anything else in the realm social media, there are major do’s and don’ts as well as best practices that will help you get the most out of your automation process.Read Before You Share
If you’re sharing content, it’s important that you read the whole article or consume the piece in its entirety. Why? You need to be able to create messaging that shows actual understanding of what it’s about. People can tell if you haven’t read the content before posting it. You also want to make sure that a piece of content fits your brand. Headlines don’t always explain everything, and the last thing your team wants to do is post an article that doesn’t have anything to do with what your company does. Plus it’s lazy and you don’t want to be lazy when it comes to social media.#social #media tip: always read before you share!
Click To TweetAutomate Your Social Media Promotions For Publishing New Content
Our next best practice for automating social media marketing is to create new social media campaigns anytime your team creates a new piece of content. You spend a lot of time working on that content, so don't waste the opportunity to promote it.Shut Off Your Automated Campaigns During A Company Crisis
It happened. Suddenly your company is in PR crisis mode, which means the first thing your team needs to do is shut off your automatic social campaigns. There is nothing worse than when a company is already facing a crisis, and suddenly a tweet goes out about something irrelevant... It comes off as insensitive to what’s already happening with the company and could make the situation worse. If your team goes into a crisis mode, pop into your calendar and find your social campaigns: Either turn them off until the crisis has passed:
 Or push their publish date back a week or two, until you’re back in control of the situation:
 When in doubt, consult your PR disaster plan or speak to your communications team on what steps to take.
Recommended Reading: How to Build a Thorough Social Media Policy to Prevent Emergencies
Facing a #social #media crisis? Don't forget to turn off any #automated campaigns.
Click To TweetUse ReQueue To Reshare Evergreen Social Media Content
You should be sure to maximize the life of your evergreen content by resharing it on social media. But wouldn’t people become annoyed seeing the same social message? Not exactly because social media messages have a short lifespan. For Facebook, it’s about two hours and thirty minutes, while Twitter is a maximum of 18 minutes. That means that your team should reuse that content again to make sure your audience actually sees it. Re-posting your content can be time-consuming though. That’s where a tool like ReQueue comes in. ReQueue is an intelligent social media queue that allows CoSchedule users to reshare content at the click of a button and simply forget it. Not to mention that ReQueue is super simple to activate. Just scroll down to the post you want to add to your queue: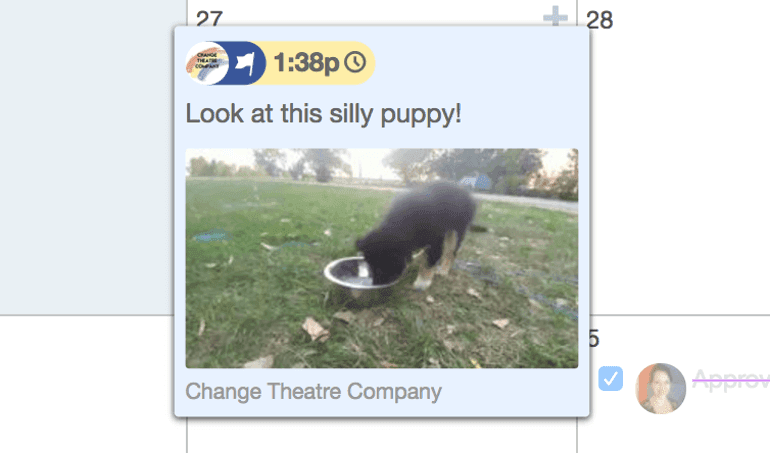 Scroll to the bottom and toggle the ReQueue switch to on:
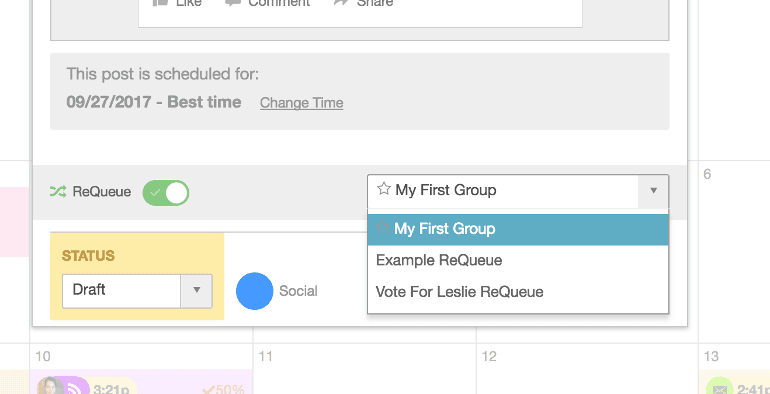
 Select your queue feed and the tool will take it from there:
#social #media tip: use #ReQueue in @CoSchedule to reshare posts auto-magically:
Click To TweetUse Best Time Scheduling To Automate Posting Times
The final best practice we’ll cover is sending your posts at the best times. Why? During peak times when your audience is the most active, you have the best chance at getting more eyeballs on your content. Now with Best Time Scheduling in CoSchedule, you don’t have to sit and look up the best times to post anymore. It’ll do that automatically for you. How can you active this fantastic feature? Go to your calendar and select a social post: Scroll down to the bottom:
 Select Best Time from the dropdown menu and let CoSchedule do the rest:

Avoid These Cardinal Sins Of Social Media Automation
The ability to automate your social media is an awesome power, but with that power comes the responsibility of using it correctly. So these are some faux pas you should avoid at all cost.
Automatic Direct Messages (DM)
Nothing grinds my gears more than when I follow someone on Twitter and an automatic message shows up in my direct message folder. While it may seem like a good idea to thank everyone who follows you, it comes off like spam. No one wants to read a hollow sentiment they know every other follower is getting. So, just say no to automated DMs.Just say no to automated DMs.
Click To TweetAutomated Responses To Customer Complaints
There’s a very good reason why you should never, ever send automated responses to customer complaints. Applebee’s found that out the hard way a few years ago when they started copying and pasting the same comment over and over to angry customers. When someone is already fired up on social media, they want to know they’ve been heard. Automating your company’s response sends a clear message that their opinion doesn’t matter to you and adds gas to the flame.Never automate responses to customer complaints on #social #media.
Click To TweetSchedule One Message Across Multiple Networks
While it may seem like a great social media hack, your team needs to avoid is posting the same message across multiple networks. Each social network has different requirements and best practices. Not to mention unique audiences and purposes. For example, your LinkedIn content might be professional, while your tweets might be more fun and light-hearted. There’s an easy way to optimize every post for each network, though. Use the Social Message Optimizer. Using this free web-based tool is simple. First, type your message into the field and select which type of post you’re going to be sharing: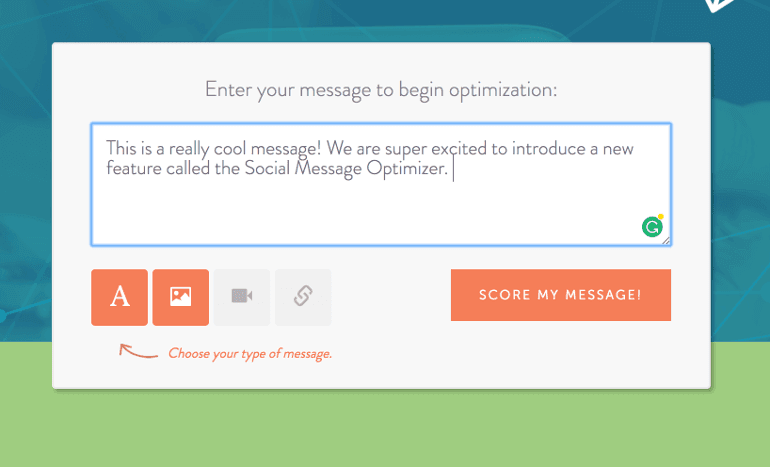 After hitting score my message, you’ll have feedback on how to improve your post for every network. You can edit the message without changing it for the whole group:
 Once you find the right fit, copy the content into your CoSchedule calendar:

Use the Social Message Optimizer to tailor each post to every network.
Click To TweetSetting Up Your CoSchedule Account For Social Automation
Get your team members that will be working on social media marketing set up in your organization’s CoSchedule account. In the settings tab of your calendar underneath Team is a spot for you to add new team members: To start, enter their email address:
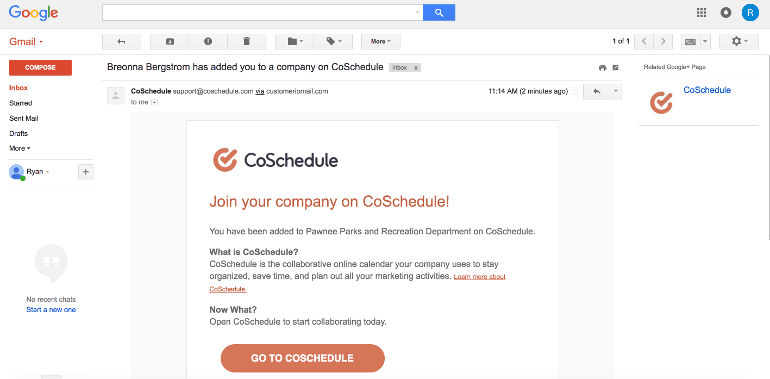
 They should receive an email that walks them through how to set up their account:
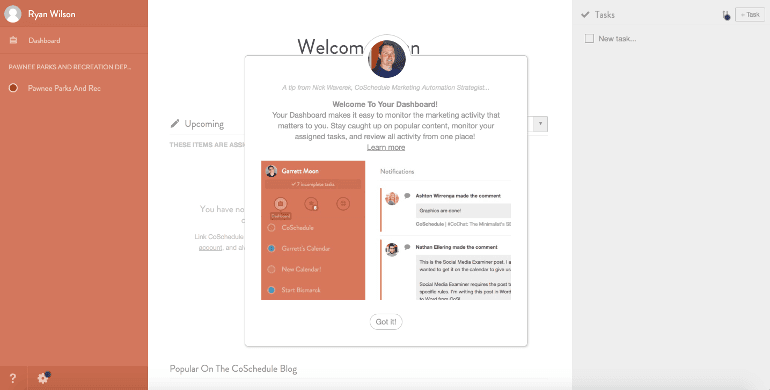
 Once their account is set up, a short onboarding session will walk them through how to use the tool:
 If your team needs more profiles than what is available with your plan, you can add more by going to Billing and adding extra profiles for an additional fee instead of upgrading your whole plan.
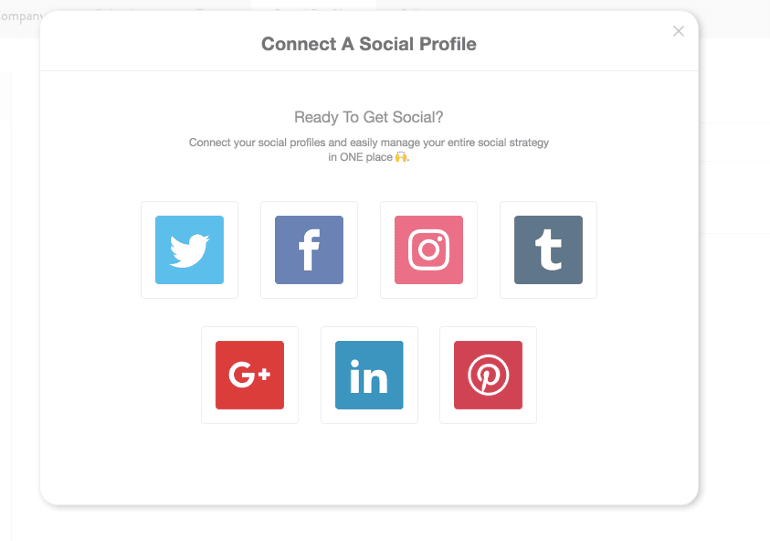
Once your users are in, you need to connect your company’s profiles. To do this go to your settings menu and under Social Profiles, select Connect A Social Profile:
If your team needs more profiles than what is available with your plan, you can add more by going to Billing and adding extra profiles for an additional fee instead of upgrading your whole plan.
Once your users are in, you need to connect your company’s profiles. To do this go to your settings menu and under Social Profiles, select Connect A Social Profile:
 Select the channel you want to connect:
 Available profiles or pages will surface allowing you to pick which ones you’d like to connect:
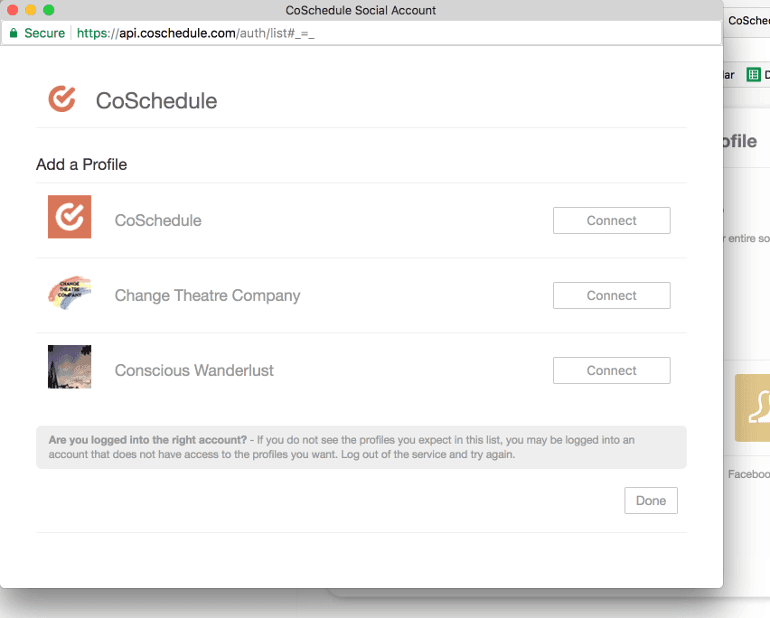 Your newly connected profile should show in your connected profiles feed:

Creating Ad Hoc Social Media Posts
Ad-hoc social media posts are one-off posts that stand by themselves (rather than being part of a broader coordinated campaign). . These normally don’t connect to a piece of content that your team has created but they can link out to landing pages, videos, etc. Go to your CoSchedule calendar and choose the day that you want to schedule your message and click +: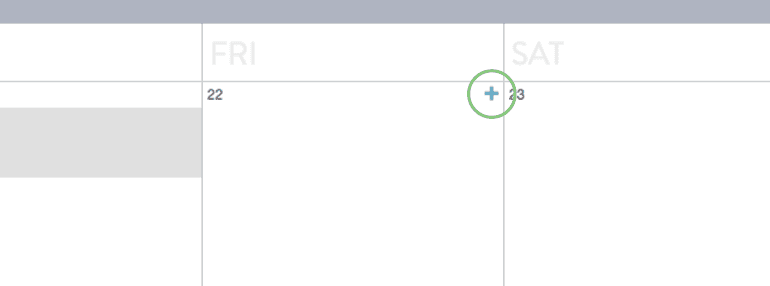 Select Social Message from your content options:
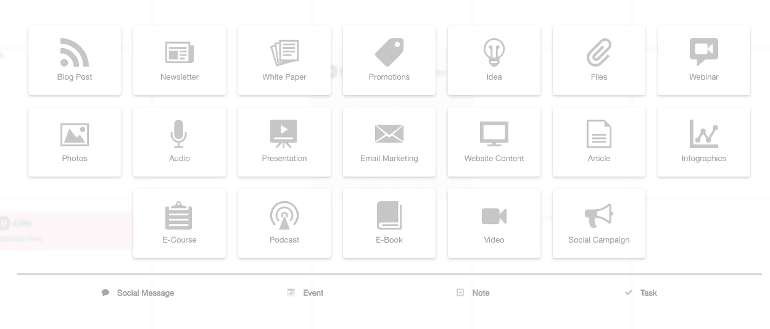 Choose the channel that you want to send your message on:
 Craft your post:
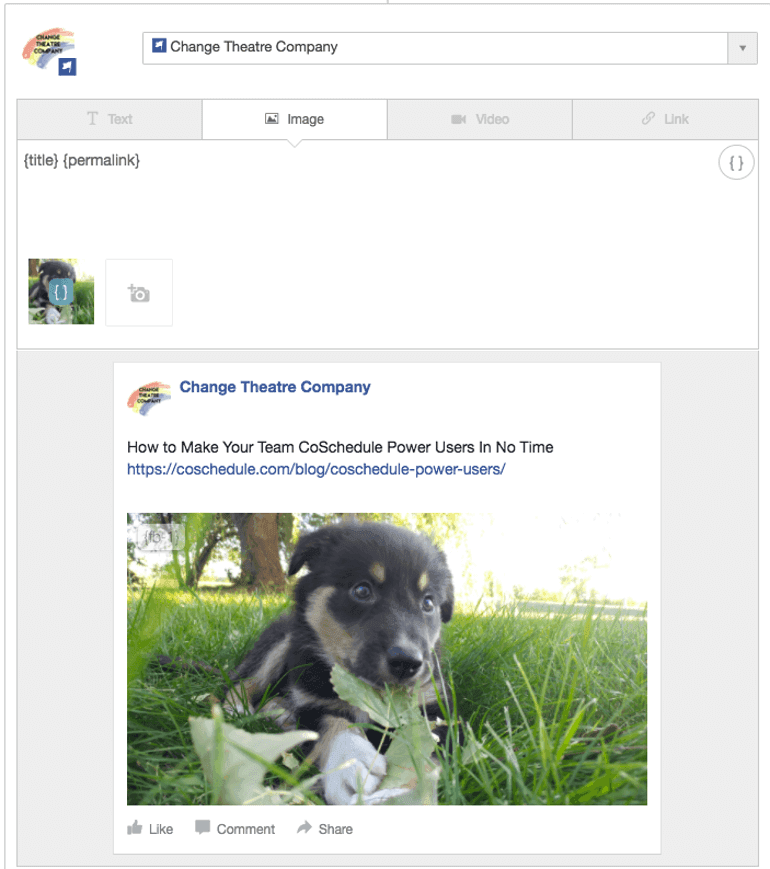
 To add a photo or video to your message, change the message type to the media type you want to add and your media by clicking the +add image or +add video:
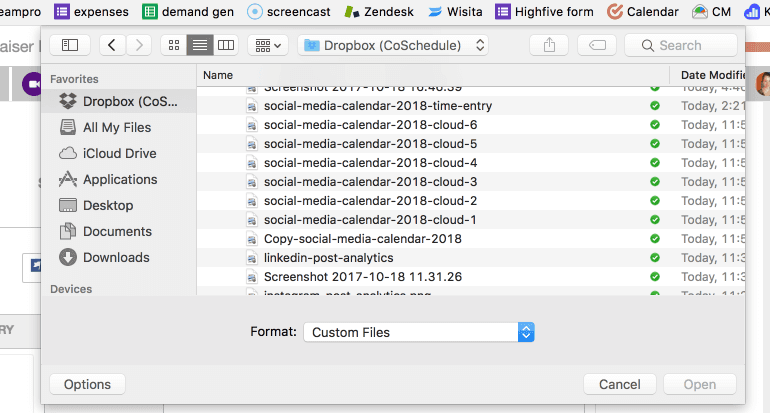
 Select the file you want to upload:
 Once your file is uploaded you’ll be able to preview how it will look on the channel:
 To add a link, scroll over to the link tab, and enter your web address at the bottom of the post:
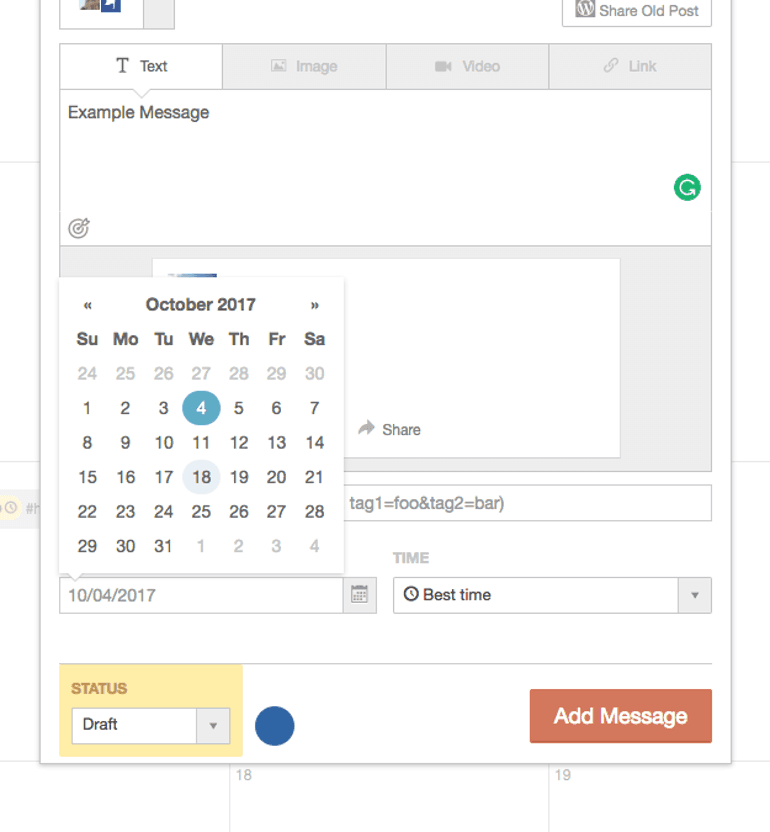
 You can now schedule your post, using Best Time Scheduling:
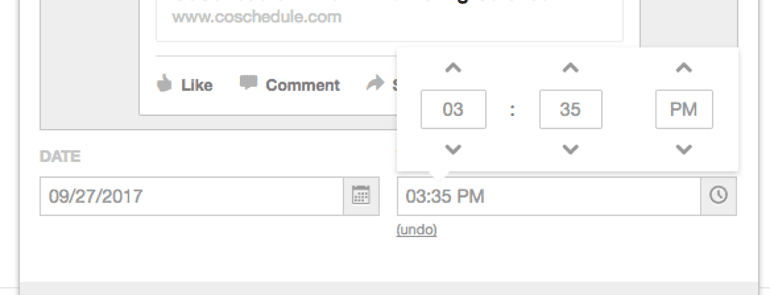
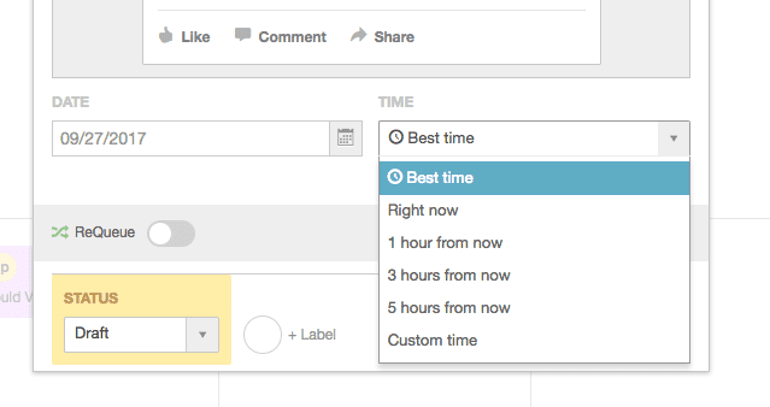 You can also customize your time by selecting Custom Time from the dropdown menu and changing it:
 Then let’s say that your post is performing incredibly well. You can enable ReQueue to reshare that post and keep its momentum going.
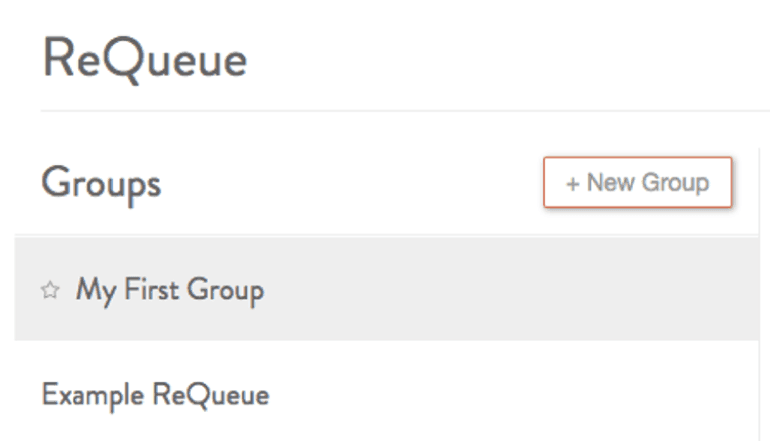
If you haven’t set up ReQueue yet, you need to walk through a small series of steps to get the system started. First go to left-hand side bar menu, select ReQueue and +New Group:
Then let’s say that your post is performing incredibly well. You can enable ReQueue to reshare that post and keep its momentum going.
If you haven’t set up ReQueue yet, you need to walk through a small series of steps to get the system started. First go to left-hand side bar menu, select ReQueue and +New Group:
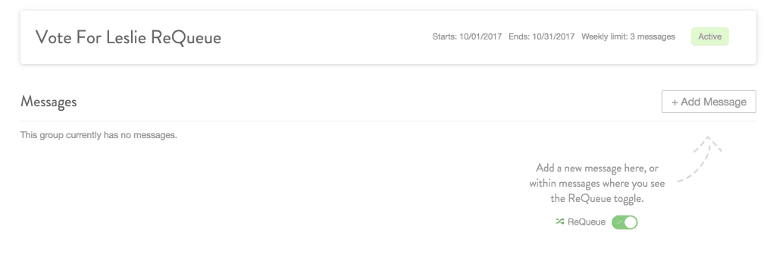
 Groups allow users to create different ReQueue content groups, so when you set up a new group you need to name it, determine what dates you want the group to send messages on, and decide how many messages the group can send in a given time period:
 There are two different ways you can add messages to your ReQueue group. One is toggling the ReQueue switch to on, like we showed you earlier. The other is to write your message directly in ReQueue. Select your group and click on Add Message:
 Craft your message like you would in the regular CoSchedule calendar:
 The last step in setting up your ReQueue is setting up how often ReQueue will fill the gaps in your calendar. To start, select Go to my ReQueue Settings in the upper right-hand corner:
 Then you’ll see a calendar where you can select the time frame and day that you want ReQueue to send your messages in:
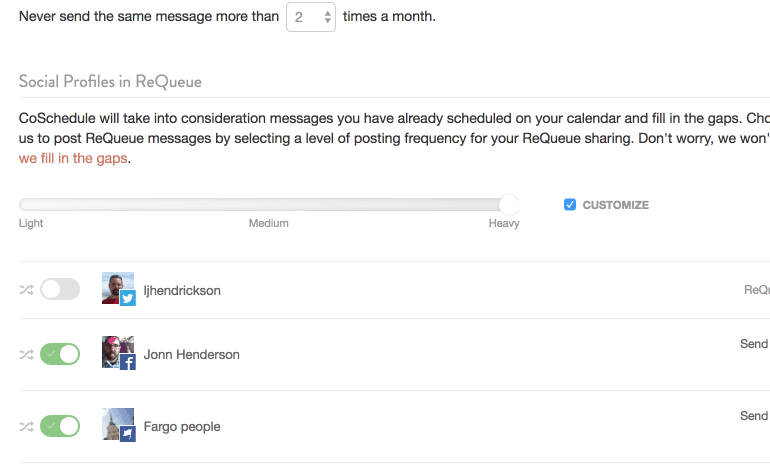
 Finally, you need to set how many messages you want ReQueue to send per day on each channel:
Recommended Reading: How to Write For Social Media to Create the Best Posts
Promoting Content With Social Media Campaigns in CoSchedule
Did you know that you can create social media campaigns to promote your Wordpress content in one place with CoSchedule? Creating content in CoSchedule is easy. Go back to your content list by selecting + in the upper right-hand corner and selecting the piece of content: Title your and create your content as usual:
 Then you can schedule your social media messages within your piece of content. To start select Add a Social Campaign:
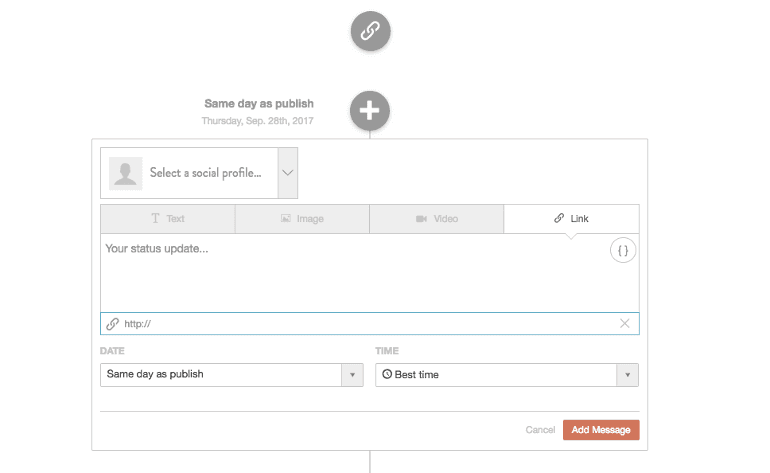
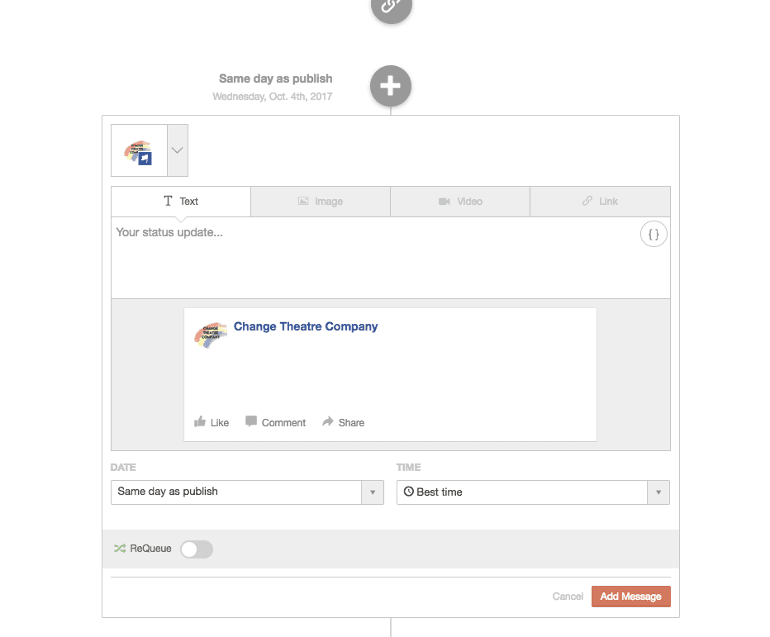
 CoSchedule will automatically populate a social media schedule for you that you can add messages to. Simply click the +:
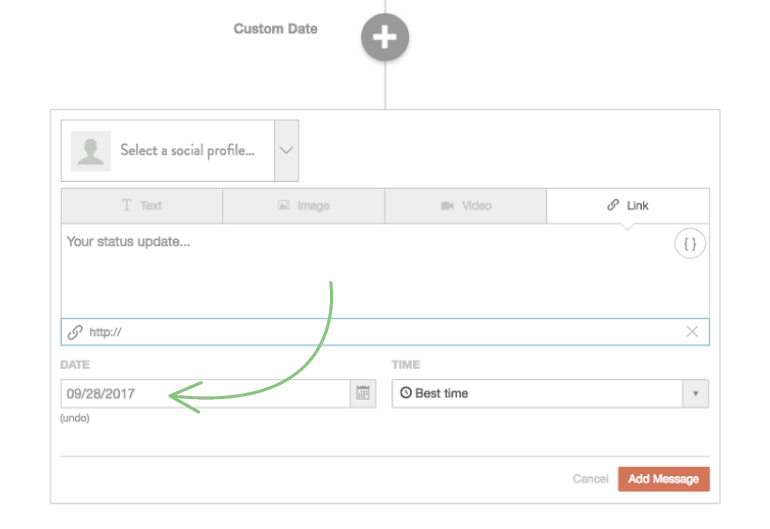
 To add a message outside the standard campaign set, scroll to the bottom, select Custom Date and adjust the date at the bottom of the message:
 You can add as many messages as you want to promote your content. Now let’s say you want to create a 25 message campaign for every piece of content that you write. You wouldn’t want to re-create those messages for every piece of content that you create.
That’s where Social Templates and Social Helpers come into play.
For more information on Social Templates visit the Getting Started with CoSchedule Templates Guide
To start, select the square icon under Social Campaigns and select +New Template:
You can add as many messages as you want to promote your content. Now let’s say you want to create a 25 message campaign for every piece of content that you write. You wouldn’t want to re-create those messages for every piece of content that you create.
That’s where Social Templates and Social Helpers come into play.
For more information on Social Templates visit the Getting Started with CoSchedule Templates Guide
To start, select the square icon under Social Campaigns and select +New Template:
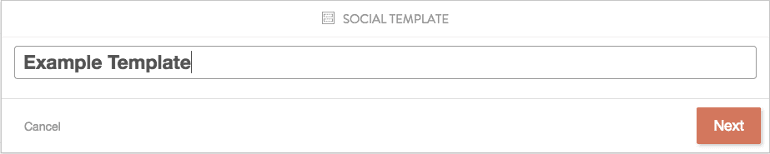
 Title your template:
 Then add in the number of messages you want to send for each campaign. You’ll be able to select dates as well as social channels:
 Then you’re going to create your text helpers. These allow you to automatically fill in text for your social campaigns without having to manually go through each post and enter it. Select +New Helper, and then +Text Helper:
 Create title tags for each new social helper. At this point you can either enter the text you want the message to fill in or leave it blank for a more customizable approach to each campaign:
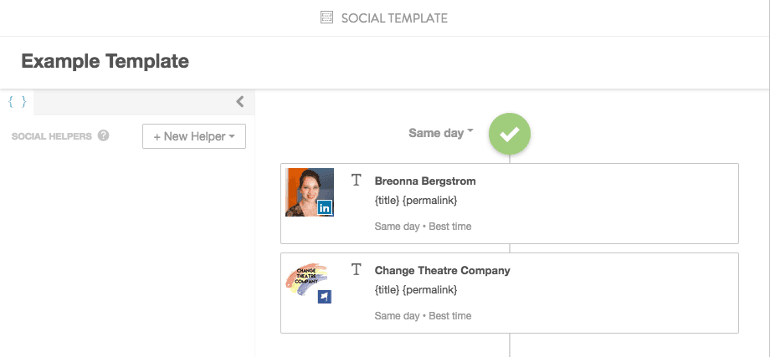
 Now you’re going to add the text helpers to the posts that you’ve created. That will allow CoSchedule to automatically populate them in your campaign. Select the brackets in the upper right-hand corner of each message, and select the helper you want to add:
 Next, you’re going to add image helpers to your campaign which will automatically add the photos you upload to your scheduled messages. Go back to your helper menu, and select Image Helper:
Label your image helpers the same way that you labeled your text helpers. Do not add photos in your template. Select the message that you want to add an image to by clicking on the camera icon:
Next, you’re going to add image helpers to your campaign which will automatically add the photos you upload to your scheduled messages. Go back to your helper menu, and select Image Helper:
Label your image helpers the same way that you labeled your text helpers. Do not add photos in your template. Select the message that you want to add an image to by clicking on the camera icon:
 The image helper title will appear. Click to add it to your template:
 Once you have your text and image helpers in place you can apply the template to any campaign by selecting the campaign name from the social template menu and clicking apply:
 In the template, add your copy to your text helpers, and select the camera button to add images to each of your image helpers:
 After you’ve uploaded all your images, check your messages to see if the text and image helpers have been applied:
WordPress + social media + @CoSchedule = success.
Click To TweetCreating Standalone Social Media Campaigns
Finally, let’s walk through creating standalone social media campaigns. These campaigns don’t directly connect to a piece of WordPress content in your CoSchedule calendar. First you need to add Social Campaigns to your custom content types. To do this go to your settings and scroll down to content types: Scroll down and choose Social Campaign from the drop-down menu:
 Then go to the content menu in your CoSchedule calendar and select Social Campaign:
 Title your campaign and set the date it will start:
 You can either add in the messages in manually by selecting the + icon or adding a social template:
 From there you can follow the steps that were previously outlined. Easy, right?
For additional information on Social Templates visit the Getting Started with CoSchedule Templates Guide
From there you can follow the steps that were previously outlined. Easy, right?
For additional information on Social Templates visit the Getting Started with CoSchedule Templates Guide
Here's how to automate all your #social #media #campaigns in @CoSchedule.
Click To TweetAutomate Your Social Media Approval Process
So, creating social content in CoSchedule is easy, right? But, once you’ve created those posts, your social media manager, editor, or client might still need to approve all those posts. And let’s face it, if you have tons of posts to approve, it could take FOREVER. What if there was a way to automate that approval process?Setting Up Task Templates
The first step in automating your approval process is setting up tasks templates that allow you to apply your to-do list into any social media piece. To create a task template, click into a piece of content, select the square box in the corner, and select +New Template: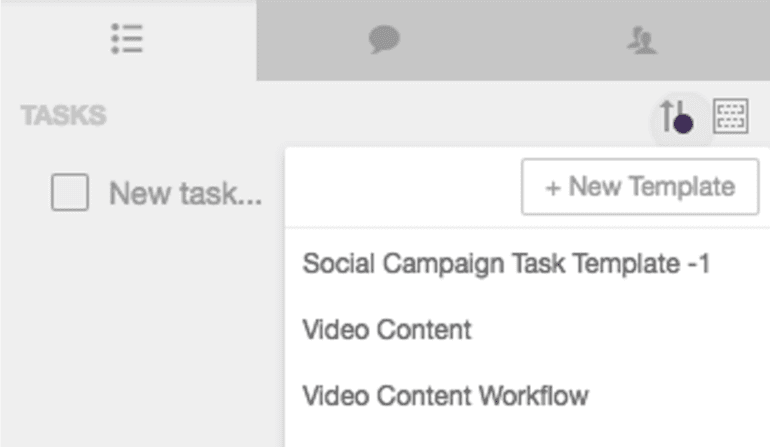 Title your template:
 Add in tasks that your team needs to complete in order to finish a project:
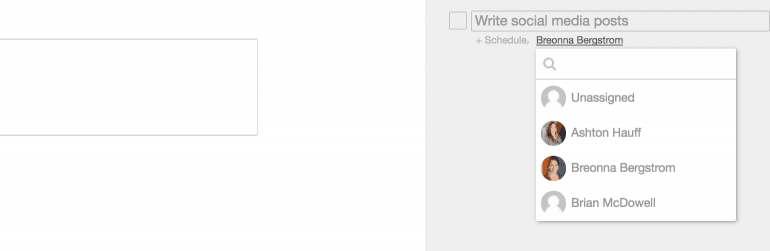
 Assign team members in your calendar to the tasks by clicking +Assign or clicking the arrow on the right-hand side of the task.
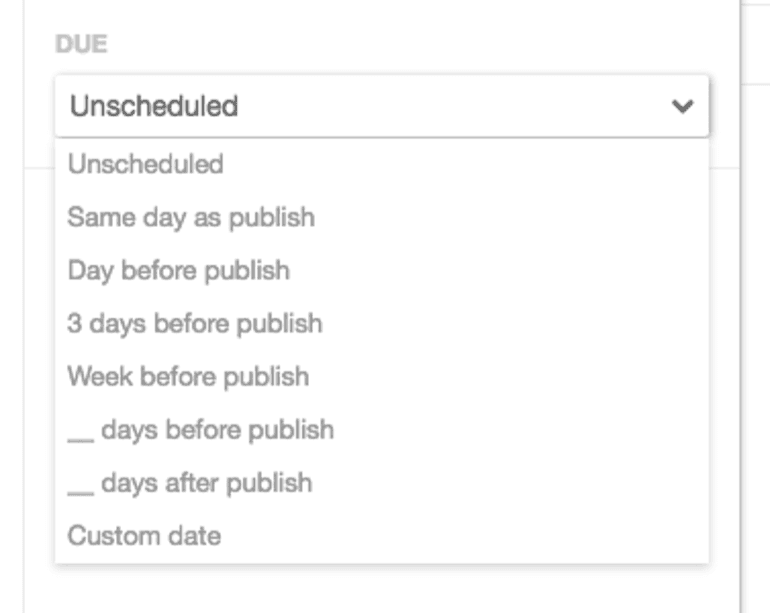
 You can also assign due dates for the task by choosing a day before publishing or creating a custom date in the Due dropdown menu:
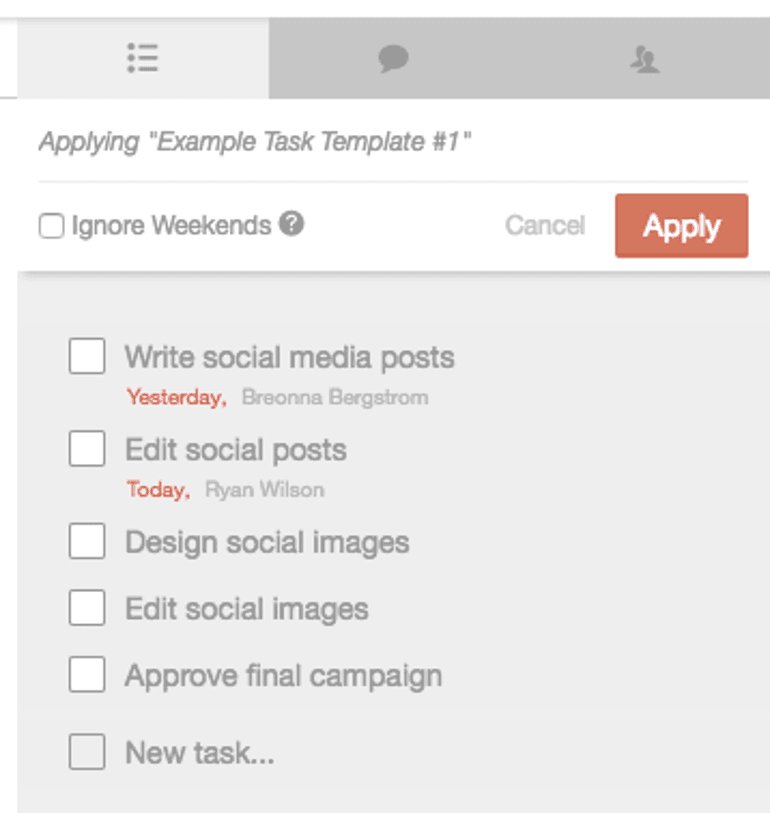
 Once you have your tasks created and assign in your template, you can apply that template to any piece of content by selecting the square box in the top right-hand corner, and choosing your template:
Adding Approval Steps To Your Workflows
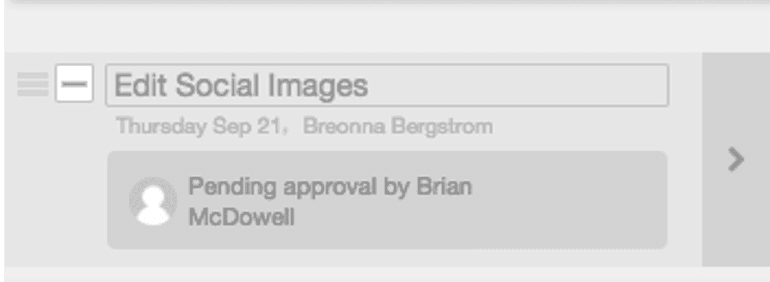
Someone on your team (or your client’s team) is probably responsible for approving content. Writing posts in Word docs and sending them back and forth via email isn’t exactly efficient, though. There has to be a better way, right? That’s where task approval steps in CoSchedule come in. You can assign approvals for any task in your task template and your team members won’t be able to check off the task until it’s been approved by a manager. To set this up, go back into your task template and click the arrow on the right-hand side. In the template, it will say Requires Approval From. Select the person that needs to approve the task contents: When the content creator is ready for the approver to check their work, a dash will appear in the box. This will alert the manager that content is ready for them to view:
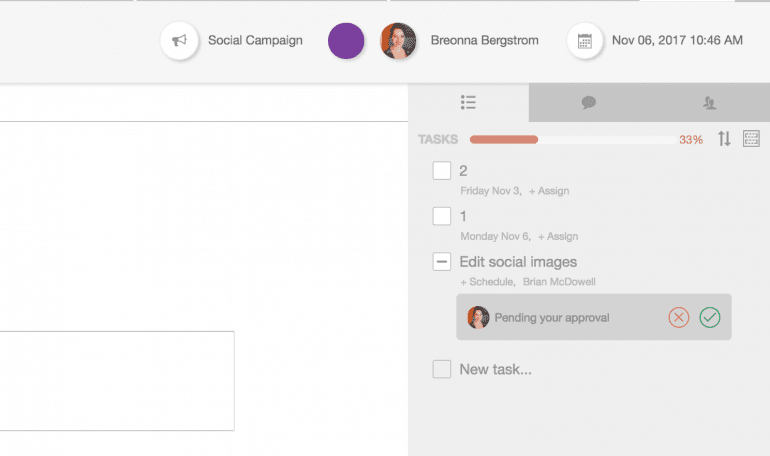
 Managers will then be able to approve the task:
 Once the task is approved the usual checkmark will appear:
 Using task templates will help get your team out of their inbox and organized in one place.
Improve social media approval workflows in @CoSchedule. Learn how:
Click To TweetHow To Measure Social Media Performance
What if CoSchedule automagically gathered your social media data and packaged it into a few easy to download reports?Top Content Report
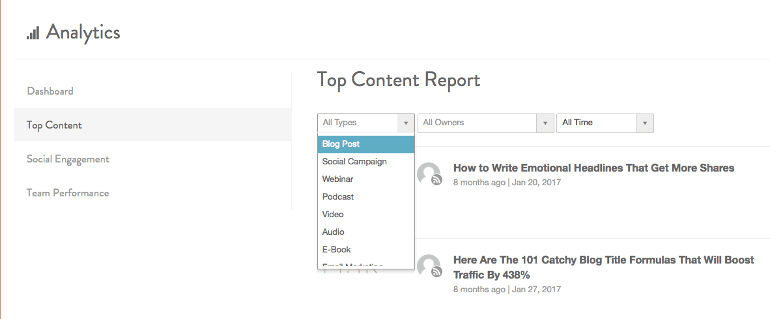
You publish a ton of content and trying to find what’s doing well and connecting with your audience can be hard. CoSchedule’s Top Content Report automatically reports on your most-shared content across social media. To find your Top Content Report, go to the left-hand side of your CoSchedule dashboard, select Analytics, and then Top Content Report: The first thing you’ll see is your top content for all time as well as the number of social shares that have been generated from the post. It’s important to note that Twitter shares are not included in these numbers due to the fact that Twitter revoked it’s API access:
 You can sort your top content by type:
 Who owns the content:
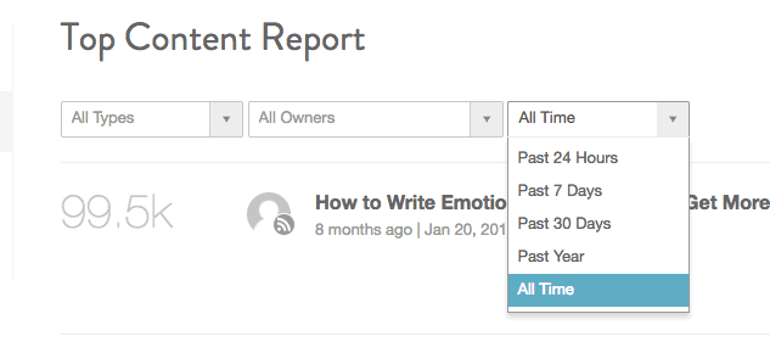
 And the time it was published:
 Now it couldn’t be easier to find your top content all in one place.
Did you know @CoSchedule has robust #social #analytics capabilities? It's true!
Click To Tweet