How to Write Amazing Posts With This Awesome Blog Writing Checklist

 If you didn't blog or write content you wouldn't be here, right?
We all use CoSchedule to improve our content projects to blow our blogs up with traffic, conversion, and hundreds of grateful and loyal readers.
No one remembers the brainiac who said this sacramental phrase "Content is the king" (rumors have it, it was Bill Gates); but we do our best to create content that helps us reach goals to appear on Google's top 10.
If you didn't blog or write content you wouldn't be here, right?
We all use CoSchedule to improve our content projects to blow our blogs up with traffic, conversion, and hundreds of grateful and loyal readers.
No one remembers the brainiac who said this sacramental phrase "Content is the king" (rumors have it, it was Bill Gates); but we do our best to create content that helps us reach goals to appear on Google's top 10.
Table of Contents:
- Check a Category
- Check Lifetime
- Check Keywords
- Check the Headline
- Check the Intro
- Check the Text
- Check the Conclusion
- Check Engagement
- Check the Language
- Choose a Featured Image
- Increase the Text's Value
- Check Visual Media
- Add Links
- Add Content Upgrades
- Check SEO
- Set Authorship
- Check Technical Aspects
- Synchronize It
- Test It
- Promote It
- Publish It
Get This Checklist in a PDF
If you'd prefer to keep this checklist on-hand, download this free PDF:How To Write Amazing Posts With This Blog Writing Checklist
Click To TweetCreate Your Own Checklists With Task Templates in CoSchedule
CoSchedule is the perfect all-in-one marketing calendar platform to manage your entire blogging editorial calendar. And with Task Templates, you can create reusable checklists to make sure you never miss a step. Then, use Discussions to manage communication and collaboration between writers, designers, and project managers. Combined with a seamless WordPress integration for automated publishing, it's your go-to destination for creating and promoting every blog post. Get started free and manage your blog better than ever before. Recommended Reading: Free AI-Powered Blog Post Title Generator21-Step Blog Writing Checklist
CoSchedule doesn't let you miss any small but important detail for making your compelling content, while also winning your readers' hearts. So, here it goes. This blog writing checklist is great to go through every time you get ready to publish a new piece of content.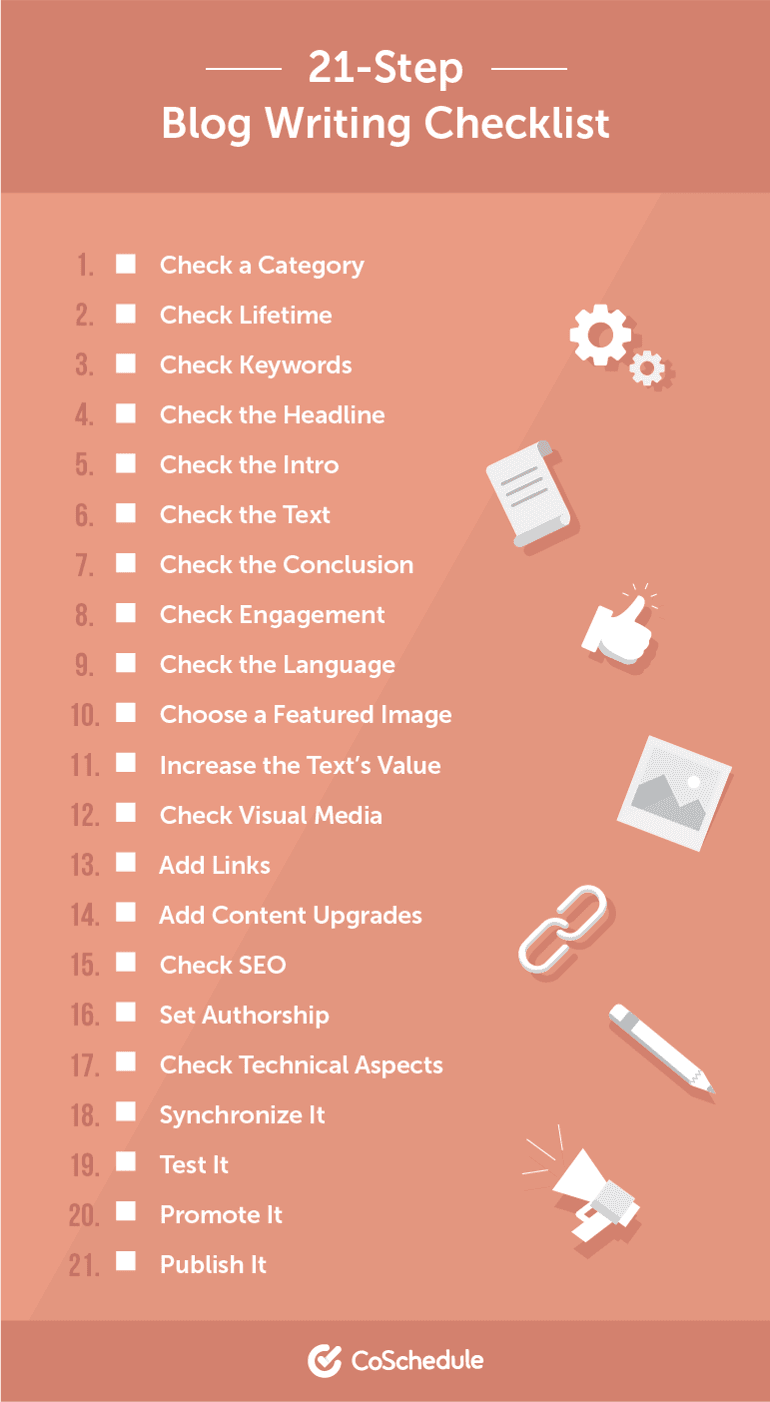
Step 1. Check A Category
It's as clear as day that your blog has many categories, and I know you know how to choose them. Before publishing new content, make sure you choose a relevant category and tags for it. They'll increase traffic and engagement by improving the user's experience and helping search engines index it the right way. Things to check for:- Is it relevant?
- Are tags present?
Step 2. Check Lifetime
You know what you'll be posting on your blog in the future. It's good to understand how this particular post will relate to your future content. Write every post, keeping in mind its role for your blog, your product, and your business. It's good to have timeless content on your blog. Things to check for:- Does it lead to your next post?
- Is it timeless?
- Does it meet your objectives?
Step 3. Check Keywords
I'm not going to teach you how to choose keywords for your content or how to build a semantic core for your blog, but it's important to make sure your keywords are relevant to your content. Try using high volume keywords (for titles, headings, and subheadings) and long-tail (for body content) keywords in your posts. You know the benefits of including long-tail keywords in your content. Don't ignore them. Things to check for:- Are your keywords relevant?
- Do you have a high volume of keywords?
- How about long-tail keywords?
Step 4. Check The Headline
 Two out of 10 people will read your post after reading the headline.
A weak headline will ruin your chances of creating content that converts. That's why there are so many guides, tutorials, and tools to help bloggers make their headlines resplendent. Here at CoSchedule, the Headline Analyzer Studio scores quality and rates the SEO value of your headlines, making them clickable and shareable.
Before publishing your content, make sure the headline is an appropriate length and that it has emotional words to capture the attention of readers, bringing you traffic and conversion.
Examples of emotional words in headlines: how to, fast, easy, best, review, tips.
These words will help visitors understand that the content will solve their problem and provide useful information.
Things to check for:
Two out of 10 people will read your post after reading the headline.
A weak headline will ruin your chances of creating content that converts. That's why there are so many guides, tutorials, and tools to help bloggers make their headlines resplendent. Here at CoSchedule, the Headline Analyzer Studio scores quality and rates the SEO value of your headlines, making them clickable and shareable.
Before publishing your content, make sure the headline is an appropriate length and that it has emotional words to capture the attention of readers, bringing you traffic and conversion.
Examples of emotional words in headlines: how to, fast, easy, best, review, tips.
These words will help visitors understand that the content will solve their problem and provide useful information.
Things to check for:
- Do your headlines match the style?
- Is it short and meaningful?
- Does it reveal the topic?
- Will it attract and interest readers?
- Does it have keywords?
- Are emotional words present?
Step 5. Check The Intro
Introductions help visitors decide whether they'll continue reading your content or not. Make your content intro attractive by writing a hook and using the APP method. The APP method in introductions: A – Agree: Pitch an idea the reader will agree with. P – Promise: Promise you'll show how to solve the problem. P – Preview: Make clear what you want your readers to learn.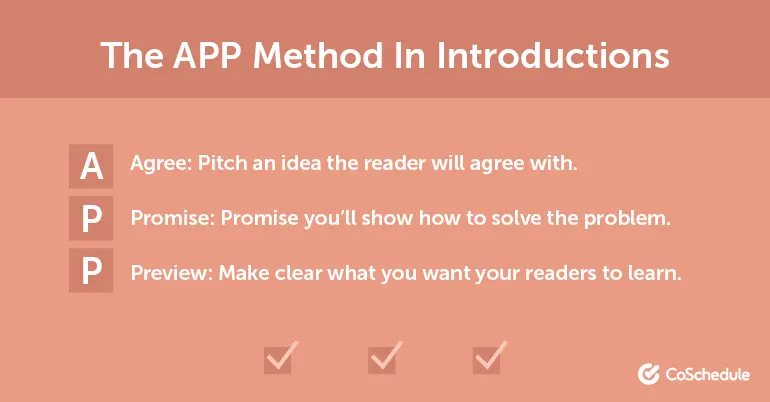 Things to check for:
- Is the APP method present?
- Is a hook present?
- Does it have keywords?
Step 6. Check The Text
Specialists still argue about the best blog length because there is no right answer. Just make sure the length of your post is enough to cover the topic and that it meets your objectives. When you use closely related words (synonyms) of your main keyword, you'll make it easier for Google to identify and it'll show as relevant in its search engine results pages. Google your main keyword and check the “related” terms to understand what synonyms to use. They drive a high volume of search traffic; otherwise, your post might not be mentioned in suggestions. Things to check for:- Is the length appropriate for this type of content?
- Are keywords in the subheadings and in bullet lists?
- Are there synonyms of your main keyword?
- Is it compelling for both readers and search engines?
- Did you add a call to action in the conclusion?
Step 7. Check The Conclusion
"Visitors who don’t click don’t convert." —Neil PatelLet's face it: If you create content, your goal is conversion. It's cool that readers like your content. It'd be cooler if they did something with it, wouldn't it? Help them! Your content marketing will not survive without a call to action, so make sure it's present in your post before publishing it on your blog. Plus, your conclusion should synthesize the information you shared in your content.
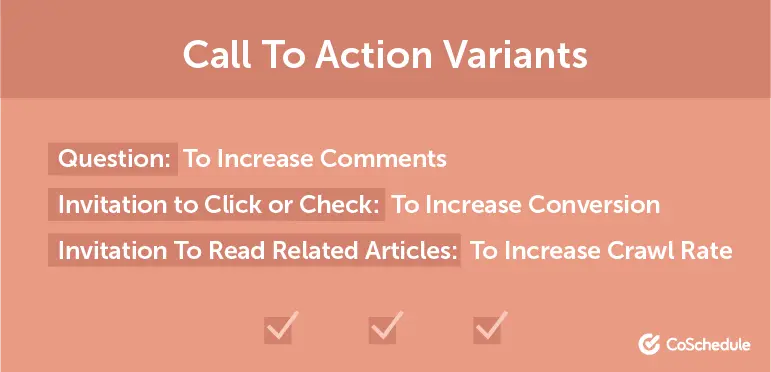 CTA variants:
Question: to increase comments.
Invitation to click or check: to increase conversion.
Invitation to read related articles: to increase a crawl rate.
Things to check for:
CTA variants:
Question: to increase comments.
Invitation to click or check: to increase conversion.
Invitation to read related articles: to increase a crawl rate.
Things to check for:
- Does it have a strong CTA?
- Will it answer the question "So what?"
- Does it synthesize the points?
Step 8. Check Engagement
No comments needed, I suppose. We write for people, so we should try to engage with them. Then they will know what to do next: comment, share, subscribe, or download. Make sure your blog post engages with your target audience. Things to check for:- Is it written as if you wrote it for one specific person?
- Does it teach how to solve the problem?
- Will it provide your insight?
- Are comments enabled?
Step 9. Check The Language
Edit your content, make it sound natural and readable (1–2-sentence paragraphs work for online), add bucket brigades (aka “words and phrases that keep people on your page”), and speak the same language as your audience. A little practice: Can you find the bucket brigades in this article? While working with guest writers, be sure their stuff is free of plagiarism. A tool like Grammarly's plagiarism checker can help you out quickly. Things to check for:- Does the language sound natural?
- Are the paragraphs short?
- Do you have bucket brigades in it?
- Did you check for grammar mistakes, typos, and logical contradictions in arguments?
- Have you read the post out loud to catch weird wording?
- Does your voice fit the tone of the blog?
- Did you check for plagiarism?
Step 10. Choose A Featured Image
Okay, one more confession from me: I really like choosing featured images for my blog posts! It's a ritual.The featured image can both attract and frighten readers, and that's why many bloggers sometimes get stuck. To ease the task of choosing a brilliant image for your content, keep in mind that it should be part of your design. It should also keep to the tone of your post and show your personality.
Creativity is what makes us who we are. And, as Henri Matisse said, it takes courage. With no designer on board, you can try images licensed for commercial use (Creative Commons) or discover resources with free but professional looking pictures. Things to check for:- Are the images high quality?
- Are they eye-catching?
- How about relevant?
- Are they properly credited?
Step 11. Increase The Text's Value
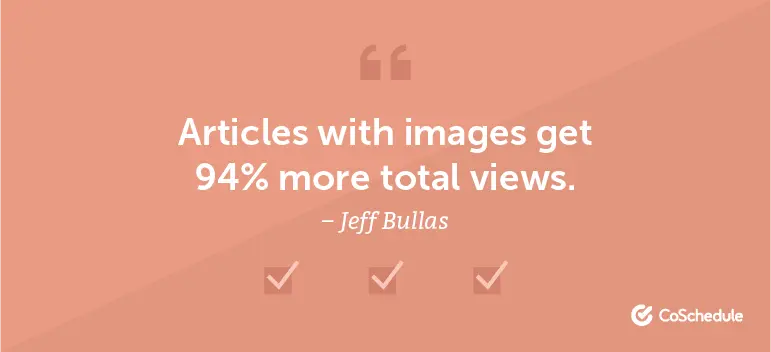 I've learned that we should use at least one image for every 350 words of content to make it more readable and attractive for visitors, as they often do not have time or patience to read lo-o-o-ong, though interesting, articles.
Images, graphs, videos, photos, quotes, tables, and diagrams—they can all help you increase the text's value.
Things to check for:
I've learned that we should use at least one image for every 350 words of content to make it more readable and attractive for visitors, as they often do not have time or patience to read lo-o-o-ong, though interesting, articles.
Images, graphs, videos, photos, quotes, tables, and diagrams—they can all help you increase the text's value.
Things to check for:
- Does it have visual media where appropriate?
- How about quotes and tweetable content?
Step 12. Check Visual Media
In the footsteps of the previous step (sorry for tautology), make sure your visual elements meet the above features. It's unacceptable to ignore quality, relevance, copyright, and optimization if you aim to write high-quality content. Things to check for:- Are the visual media high quality?
- Are they relevant to the content?
- Do they violate copyright? (If so, change it.)
- Do they fit the design of your blog?
- Are they optimized?
Step 13. Add Links
When powerful resources link to your content, it's a sign for Google to rate you higher. And when you link to cool websites, it helps your readers trust you more. Links build your online reputation, so make sure to add them to your blog writing checklist before you click publish. Don't forget about internal linking, too, since it improves your SEO and guides readers to where they should click next. Things to check for:- Are there internal links?
- How about external links? (Are they relevant and reputable?)
- Do they all work?
- Does it contain TOO many links? (If so take out some.)
- Do the links open in a new tab? (If so, good.)
- Are all required attributes added? (dofollow, nofollow, etc.)
Step 14: Add Content Upgrades
I bet you've noticed that cute block invite in this post or others that invited you to get a free download in exchange for your email. We call that a content upgrade. It's a consistent way to grow an email list. A tool as easy as LeadPages allows you to do that. Summarize key points from your post into a worksheet, template, infographic, or poster—it's up to you what type and format you choose for your upgrades. Things to check for:- Is it appealing?
- Will it help your audience become better at what they do?
- Does the content upgrade link work?
Step 15. Check SEO
Try as you will, content marketers are not able to ignore SEO factors. This mortal combat leads to nothing, as content marketing + SEO = love forever: They complement each other, helping Internet marketers be friends with Google.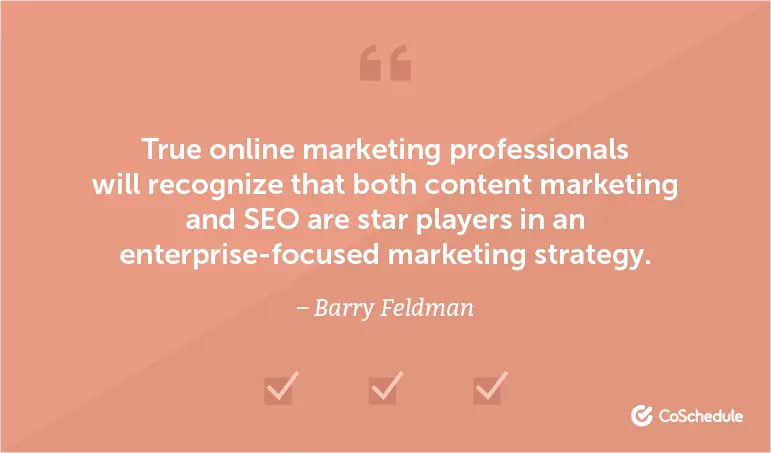 So, check all SEO aspects of your content before publishing.
Things to check for:
So, check all SEO aspects of your content before publishing.
Things to check for:
- Are the URLs short with your slug containing the keyword?
- Are meta tags present? (Check title, description, alt-tag for images, and keywords.)
- How about sharing buttons that work and display content correctly?
Step 16. Set Authorship
It doesn't matter if you invite guest bloggers to create content for your blog or if you have an in-house team of writers—make sure you always name the author of your content. Are you the author? Perfect! Your name will sound much better than just "admin" or "webmaster", don't you think? Things to check for:- Is the author named?
- Does the author have a bio?
- Is the author's image in Gravatar or do you have a way to manage their profile picture?
Step 17. Check Technical Aspects
Check your content in different browsers to see whether it looks good and works well. Big files can be hard to open or download. Things to check for:- Does the content look good in all browsers and mobile devices? BrowserStack can help you out with testing.
- Does it have oversized files? (If so, fix.)
- Is it easy to open and/or download?
- Are metrics for further analysis set?
- Are the semantic core and key phrases present?
Step 18. Synchronize It
Thinking in the logical sense, bloggers won't find it hard to determine the perfect day and time for publishing content. Holidays are a dead duck since user activity is low; so, it would be wise to set a schedule and use a marketing calendar to manage your blog and social media content. Things to check for:- Don't publish and promote during holidays.
- Are you publishing posts during your users' highest activity?
- Are you setting a schedule of publishing to maximize the reach?
Step 19. Test It
You'll get a clearer picture of changes or improvements your content might need when you test it. Things to check for:- Compare your content with competitors' to make sure it's more interesting and informative.
- Show it to several colleagues who didn't work on it.
- Share it with users inside your target audience to get feedback.
Step 20. Promote It
Start promoting your content before you publish by sending teasers and previews to chats, forums, and communities where your audience lives. Plus, you can send it to thought leaders, asking them to review and share it with their followers after you publish it. It would be wise to have a promotion plan in advance so you can start it once the content goes live on your blog. Things to check for:- Share teasers and previews to resources on platforms where your target audience meets.
- Organize a “premiere” for bloggers and thought leaders to get reviews.
- Make a promotion plan after publishing.
Step 21. Publish It
Phew! That's it. It seems your content is ready to see the light and hit the Internet. So, it's high time to click the “Publish” button to release your post into the world. There you have it. This blog writing checklist seems heavy, but guess what?You know ALL of the steps. But you might just forget to tick them off the blog writing checklist.
Let's try to repeat this checklist in short:- Specify its place: Check the topic, category, keywords, and tags.
- Write it right: Draft an emotional headline, introduce it with a hook, use body with H2–H3 subheadlines, rock number and bulleted lists, edit for short paragraphs, check for plagiarism, and write a strong conclusion with a call to action.
- Make it beautiful: Use natural language, featured images, visual elements, and authorship. Make it engaging and compelling.
- Help them find it: Use links, meta tags, synchronization, key phrases, and synonyms.
- Let them share it: Make it browser and mobile friendly, test it, promote it, and share it.
What are the steps you take before you hit publish?
Click To Tweet


