Keeping all of your assets organized can be a tedious task that takes an abundant amount of time, and sharing your assets on top of that? It almost seems impossible.
CoSchedule’s Asset Organizer makes tracking and sharing all of your assets a cakewalk.
Introduction
What is this guide? This lesson teaches you how to organize and share your assets — from work in process to final deliverables — in Asset Organizer.
Who’s this guide for? Marketers who want to learn the best way to organize and share their assets with CoSchedule’s Digital Asset Management solution.
What you’ll learn:
- How to organize your content and files in Asset Organizer to easily find resources with your team and stakeholders.
- How to share your content and files in Asset Organizer for internal and external stakeholders.
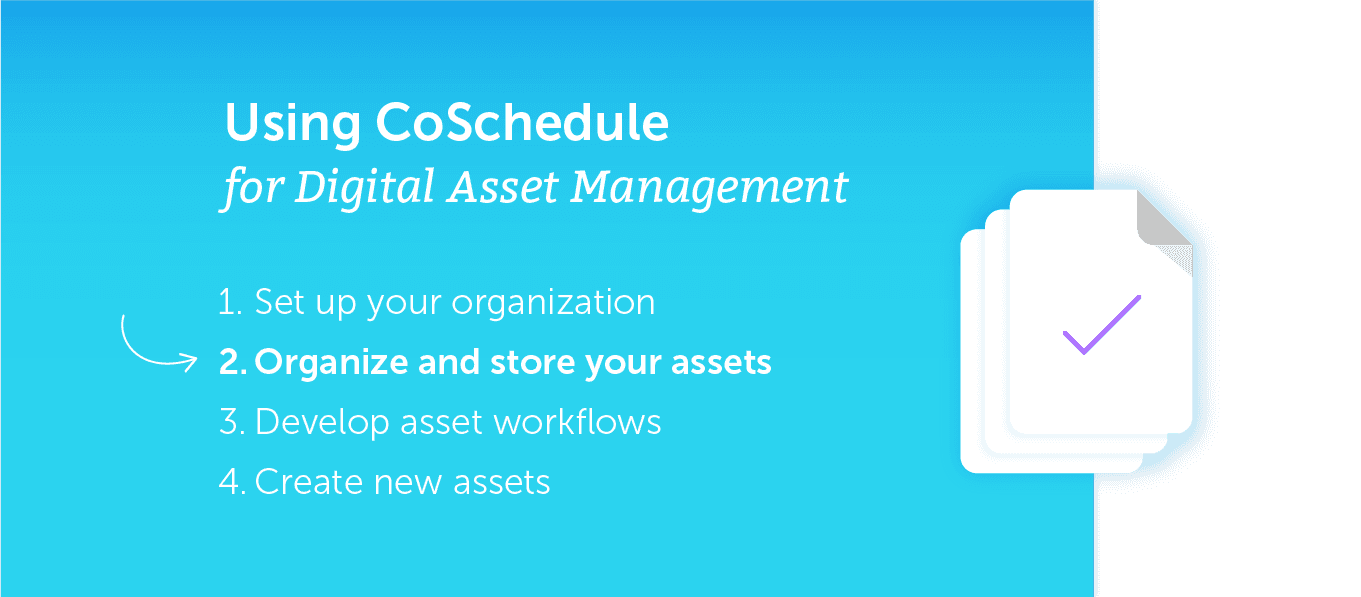
How Should You Implement Digital Asset Management With CoSchedule?
There are four steps you can follow to start implementing the CoSchedule Asset Manager. The second step is to organize and share your asse
ts. If you missed the first step, click here.
After setting up your organization, the first thing you'll want to do is create a folder structure that cascades downward and starts with the highest level of organization. Subsequent folders can filter more narrowly from there.
Best Practices for Folder Structure
Asset Organizer allows you to store, index, and share your content.
The taxonomy of your assets sets up your entire CoSchedule environment — all the way from content creation to distribution.
We will discuss how
to establish the Asset Organizer using the taxonomy of organizational structure that was previously defined.
Let’s get started.
Top-Level Folders
Every marketing project you execute — just like every asset you create — is usually tied to one, general category. These categories will become your highest level of folders within the asset organizer.
Here are some examples to help shed light on what this means:
- Specific Departments
- Sales Team, Customer Relations, HR + Admin, Marketing
- Multi-Department Marketing Teams
- Product Marketing, Public Relations, Demand Generation, Media Relations
- By Location
- North, South, East, West, National
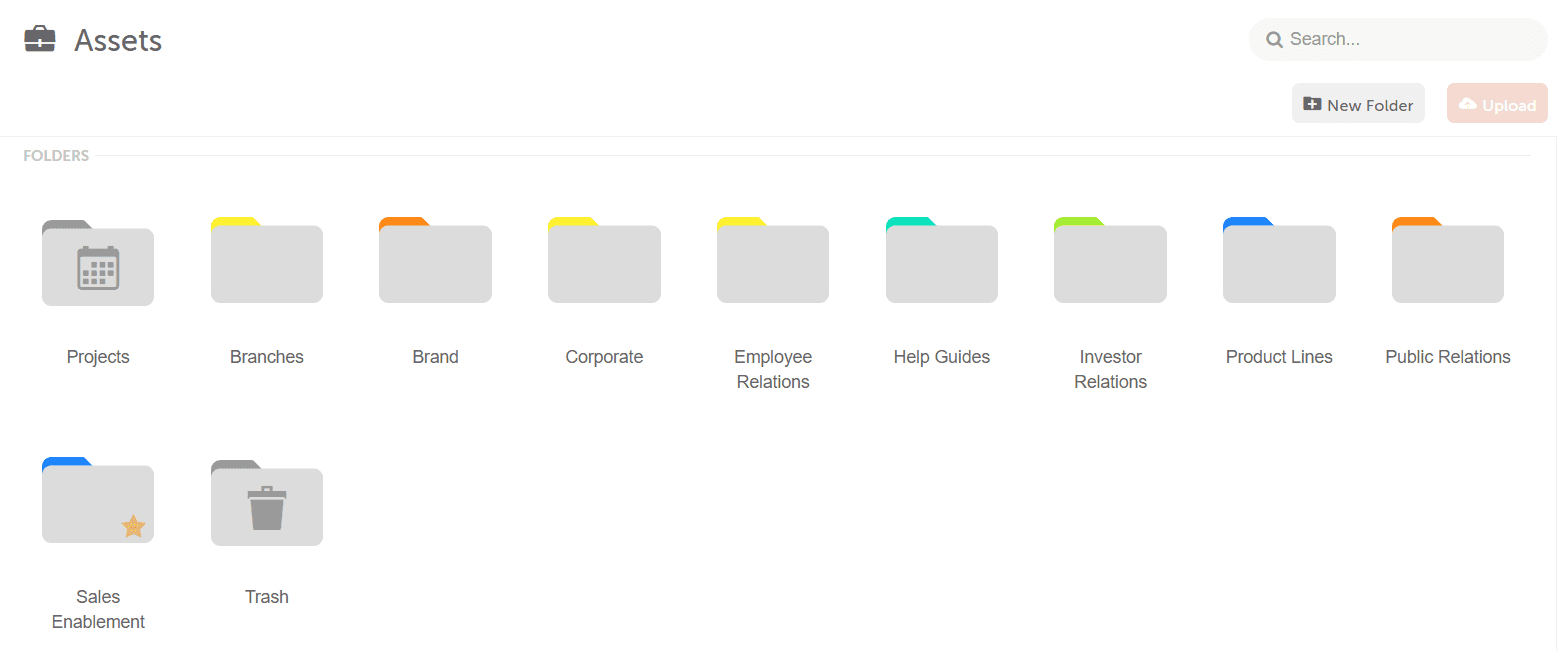
Here’s an example of how color labels will look in CoSchedule’s Asset Organizer. This example is organized by the internal department that assigns work to their marketing team.
Sub-Folders
Once you have your color label structure defined, you can create additional sub-folders to organize your content and files one step further.
After you've applied the most general and highest organizational level, you can go a step further and add sub-folders. Sub-folders provide an additional layer of context to the asset.
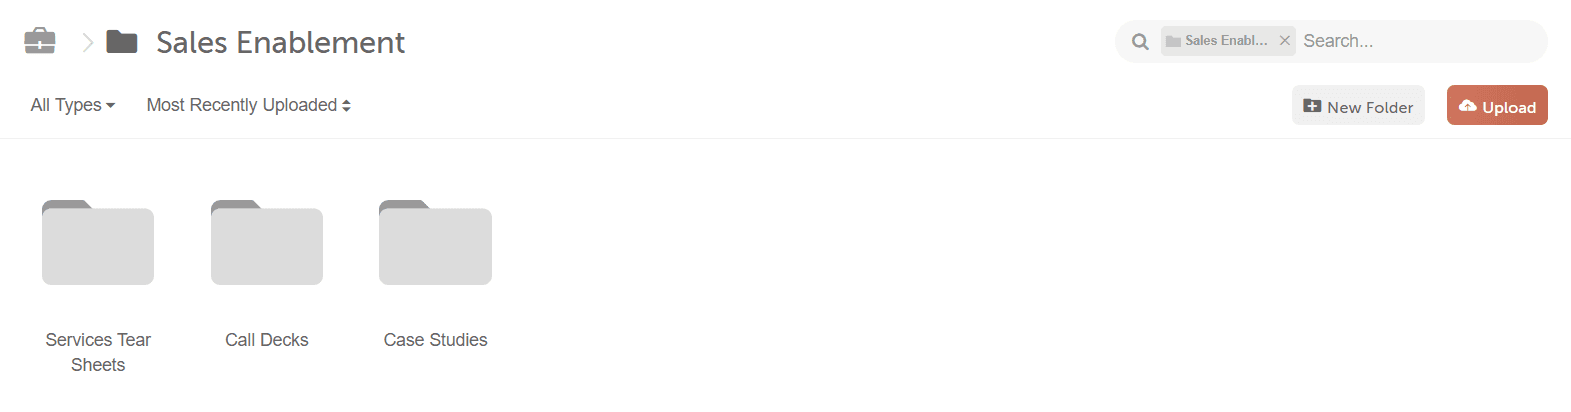
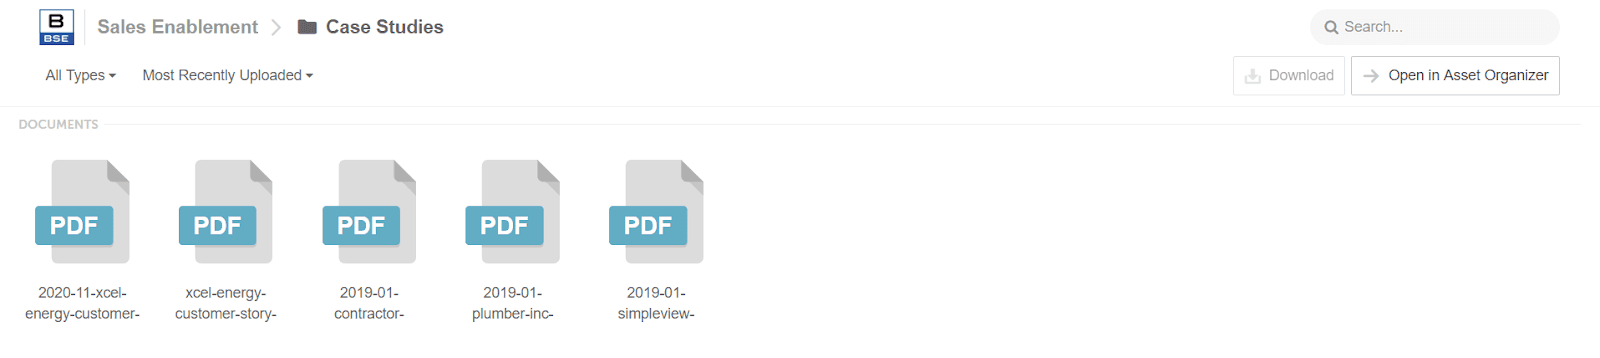
Here’s an example of Sub-Folders. These folders are organized by the types of projects that the department is executing.
There’s no wrong way to organize your content, but you want to make sure your whole team is on the same page before you start adding content to the Asset Organizer.
Sharing Files & Content
With Asset Organizer, you can securely share content and files with internal teams and external contributors. You can do this without giving them full access to your entire content library.
Internal Stakeholders
Create content that you can share across your entire organization.
Create a folder in your Asset Organizer for each internal team and add the content to their respective folders. When all of the content is uploaded, you can share the link.
This works exceptionally well for the following materials:
- Sales Teams
- Sales decks, tear sheets, conference materials, etc.
- Human Resources
- Employee headshots, employee handbook, recruitment materials, etc.
- Leadership Team:
- Company logo, team bios, company description, etc.
- Customer Support & Customer Experience
- Help guides, eBooks, support videos, etc.
External Stakeholders
If you have external stakeholders — such as clients or partners — you can share folders and files the same way.
Create a folder for each stakeholder and put the content into their respective folder. External stakeholders can access these files by simply opening a read-only link to a file or folder.
To create a read-only link, follow these steps:
- Select a folder within the Asset Organizer.
- Click the read-only icon in the top, right corner.
- Select enable sharing.
- Copy and share the provided link to shareholders.
Make sure to ask your stakeholder to save the read-only custom link, so they will always be able to access their content. Files update automatically, which makes sharing content easier than ever.
If you’re a visual learner who would rather learn this in a how-to video, see below.


