Getting Started With CoSchedule for Power Users
Customize Your Calendar for Better Visibility
Introduction
What is this guide? This lesson dives into how to set up your CoSchedule calendar to help you organize, visualize, and report on your marketing strategy. Who’s this guide for? New CoSchedule champions that will be implementing CoSchedule for their marketing team. What you’ll learn:- The best color label strategy for your company’s needs.
- How to set up and use project types.
- How to best utilize tags for an added level of organization.
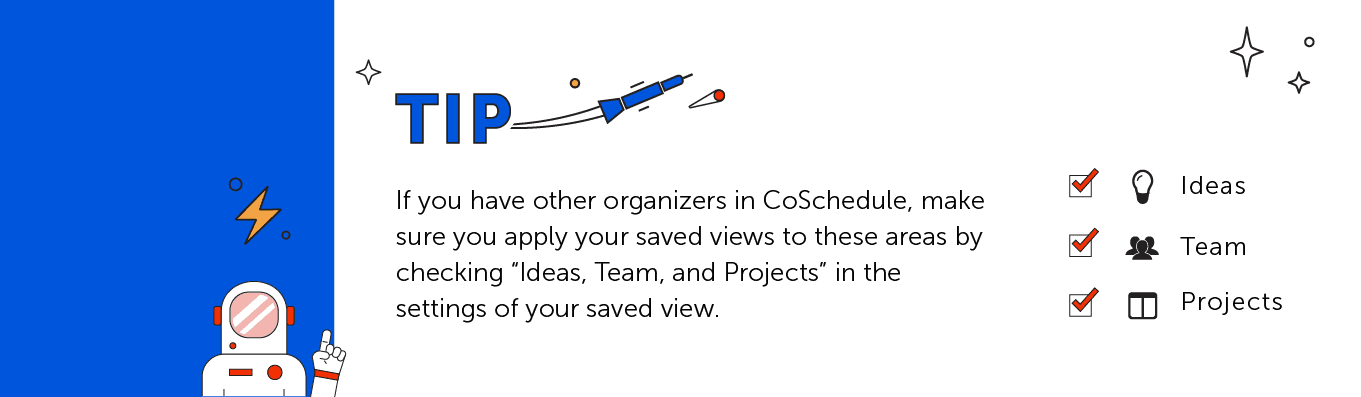
- What a saved view is and 4 different ones your team might need.
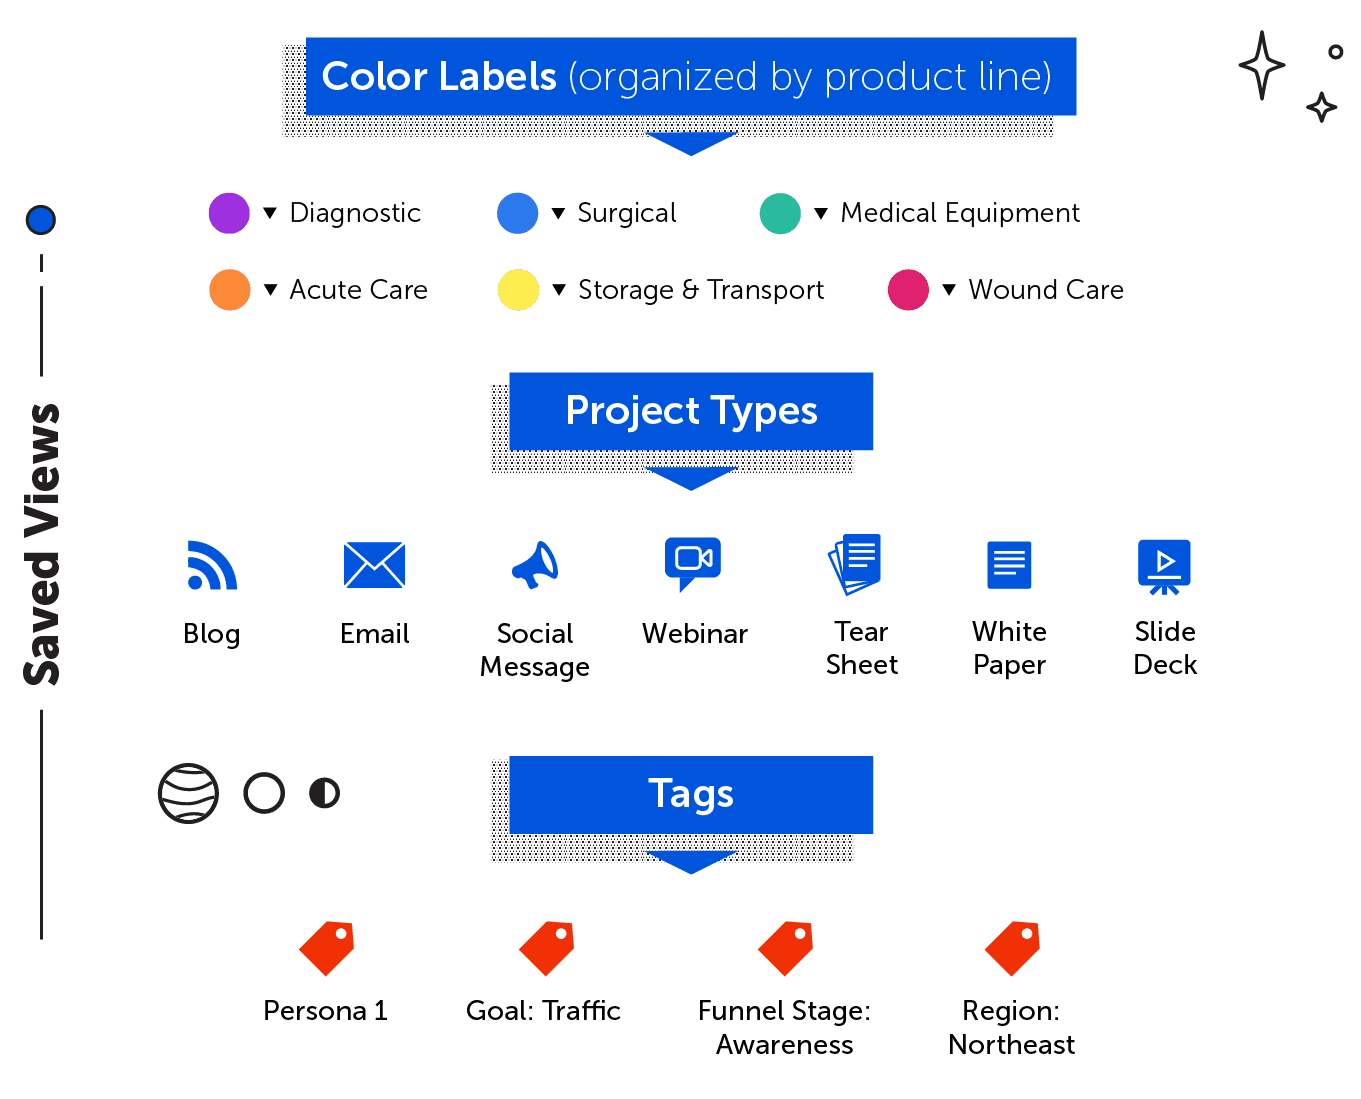 These things give you ways to organize and filter your calendar to make reporting, planning, and tracking easy by using something called a saved view.
Here are a couple of examples of saved views you can create based on color labels, project types, and tags.
These things give you ways to organize and filter your calendar to make reporting, planning, and tracking easy by using something called a saved view.
Here are a couple of examples of saved views you can create based on color labels, project types, and tags.
Recommended Reading:
Color Labels Power Tip
Filter Based on Color Label: A Saved View for Each Department You Work With
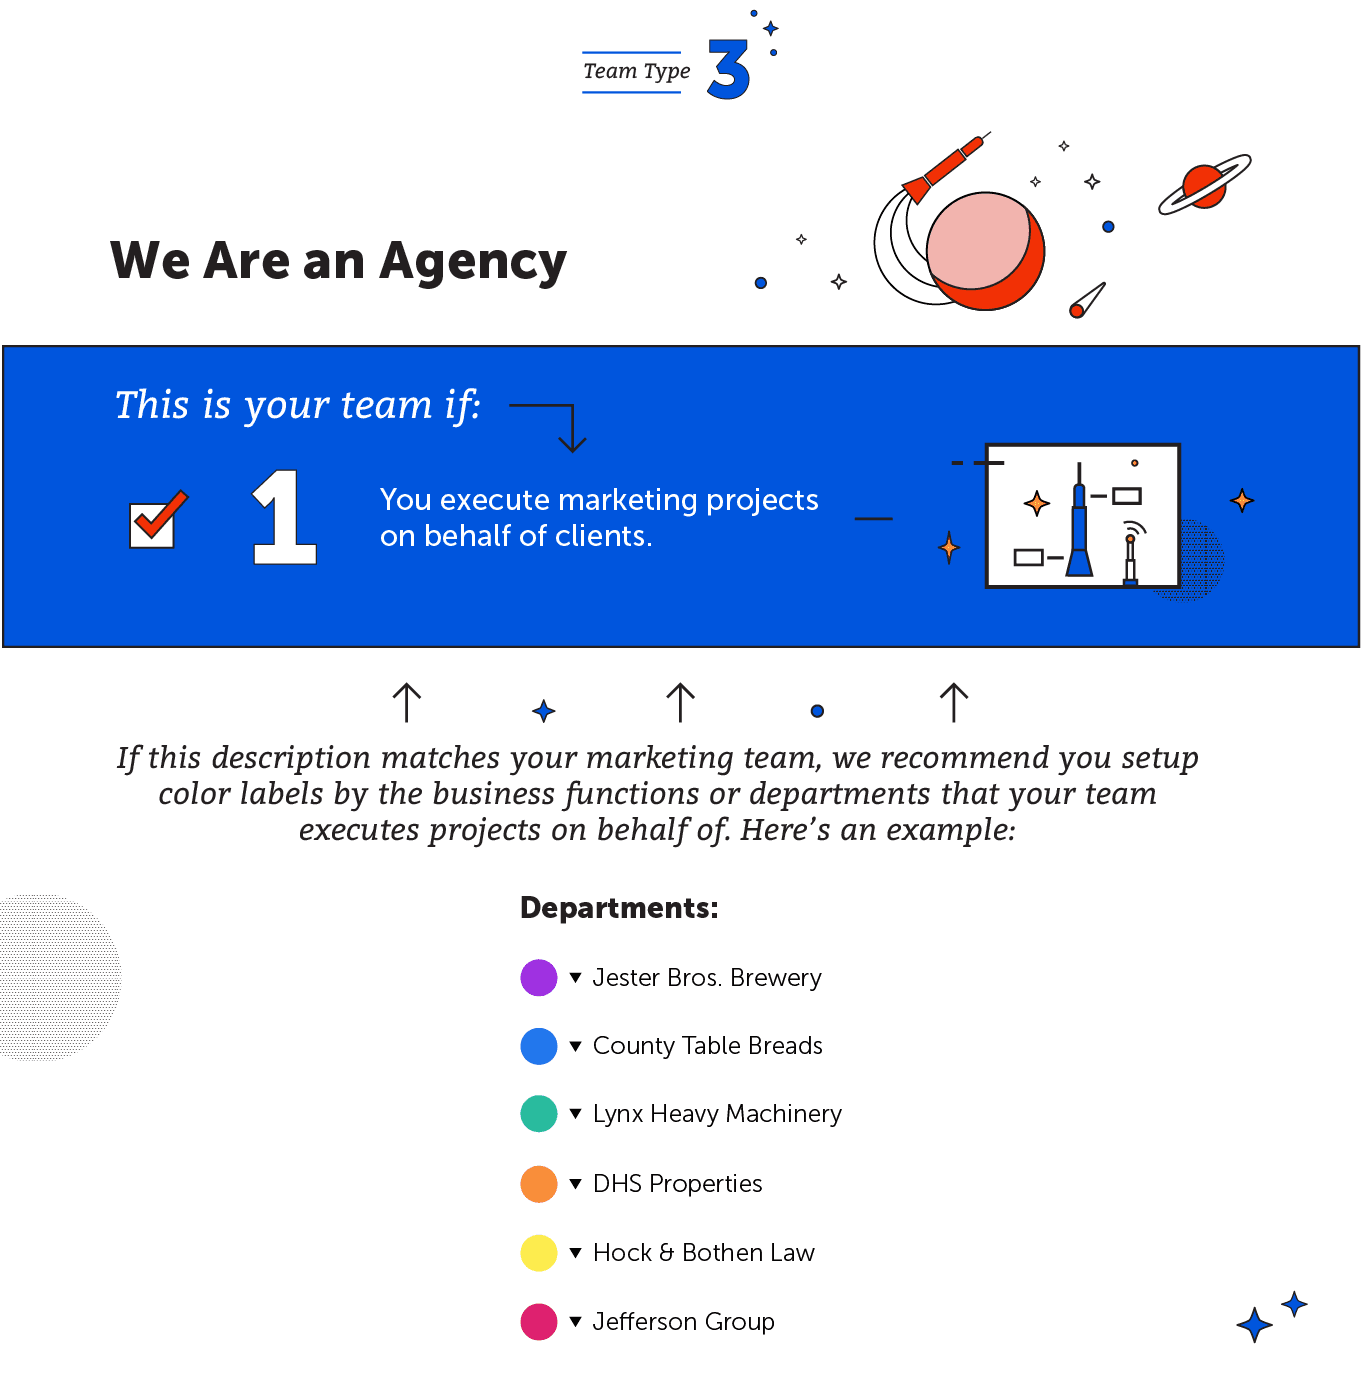
This saved view gives you visibility into the work your team does on behalf of other departments so you can quickly provide timelines for projects.
 Filter Based on Project Types: A Saved View of All Emails and Newsletters
This saved view shows you all the emails your team will send so you can avoid collisions and sending too often to the same audience. Here’s what it looks like on the calendar:
Filter Based on Project Types: A Saved View of All Emails and Newsletters
This saved view shows you all the emails your team will send so you can avoid collisions and sending too often to the same audience. Here’s what it looks like on the calendar:
 Filter Based on Tags: A Saved View of Every Project That Contributed to a Certain Region
This saved view pulls every project that is tagged with a specific region so you can prove to stakeholders all the activities your team is doing per region.
Filter Based on Tags: A Saved View of Every Project That Contributed to a Certain Region
This saved view pulls every project that is tagged with a specific region so you can prove to stakeholders all the activities your team is doing per region.

Color Labels
As mentioned above, color labels are the highest and most general level of organizing your calendar. These are concrete categories that are applied to all your marketing activities – meaning these categories are not likely to change over time. Here are a few of the most important things color labels can do for you:- Allow you to quickly visualize which activities are tied to certain departments, business units, or teams.
- Help you report on what your team is working on.
- Easily see how all the pieces of your marketing strategy fit together.
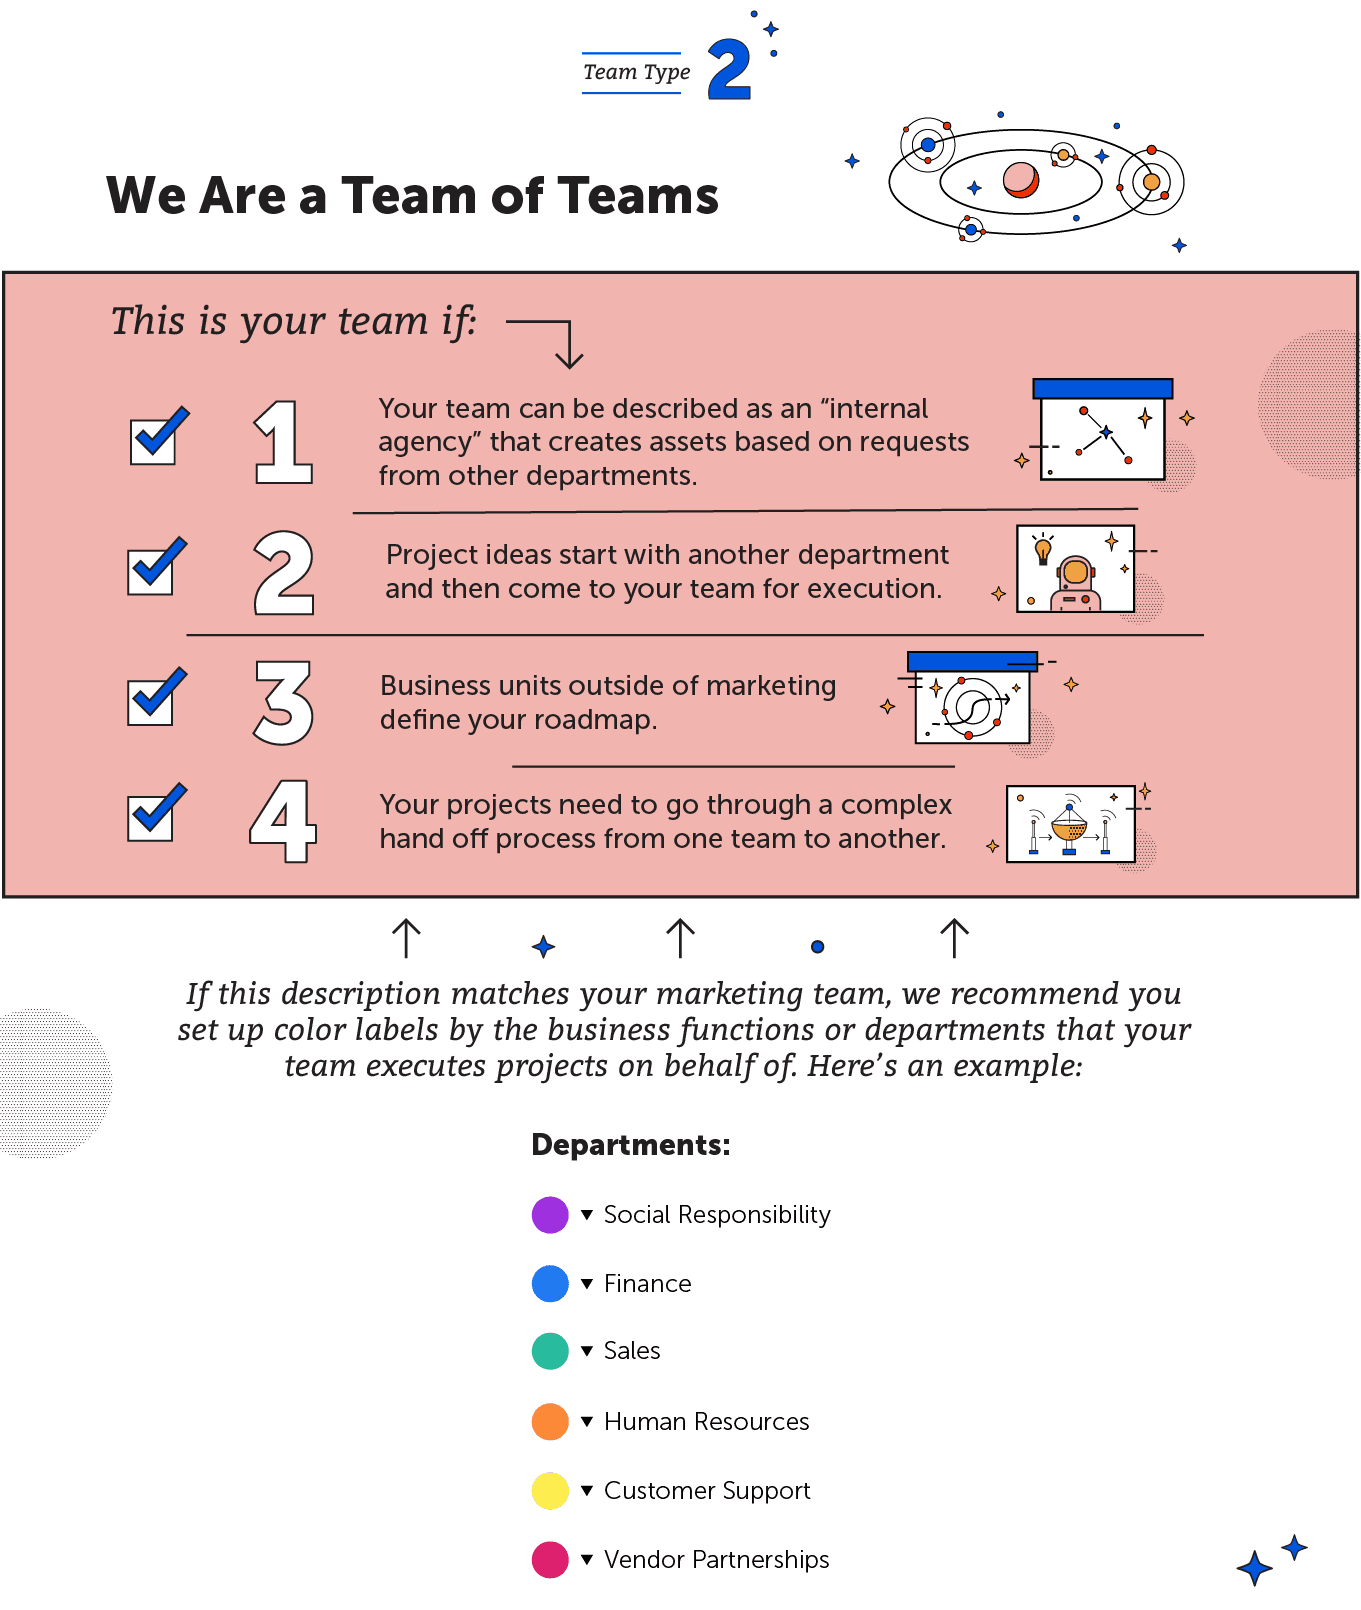
Choose Your Color Label Strategy
To make it easier to set-up, we have a suggested color label structure for three different types of marketing teams. Read the descriptions and select the one that best fits your marketing team.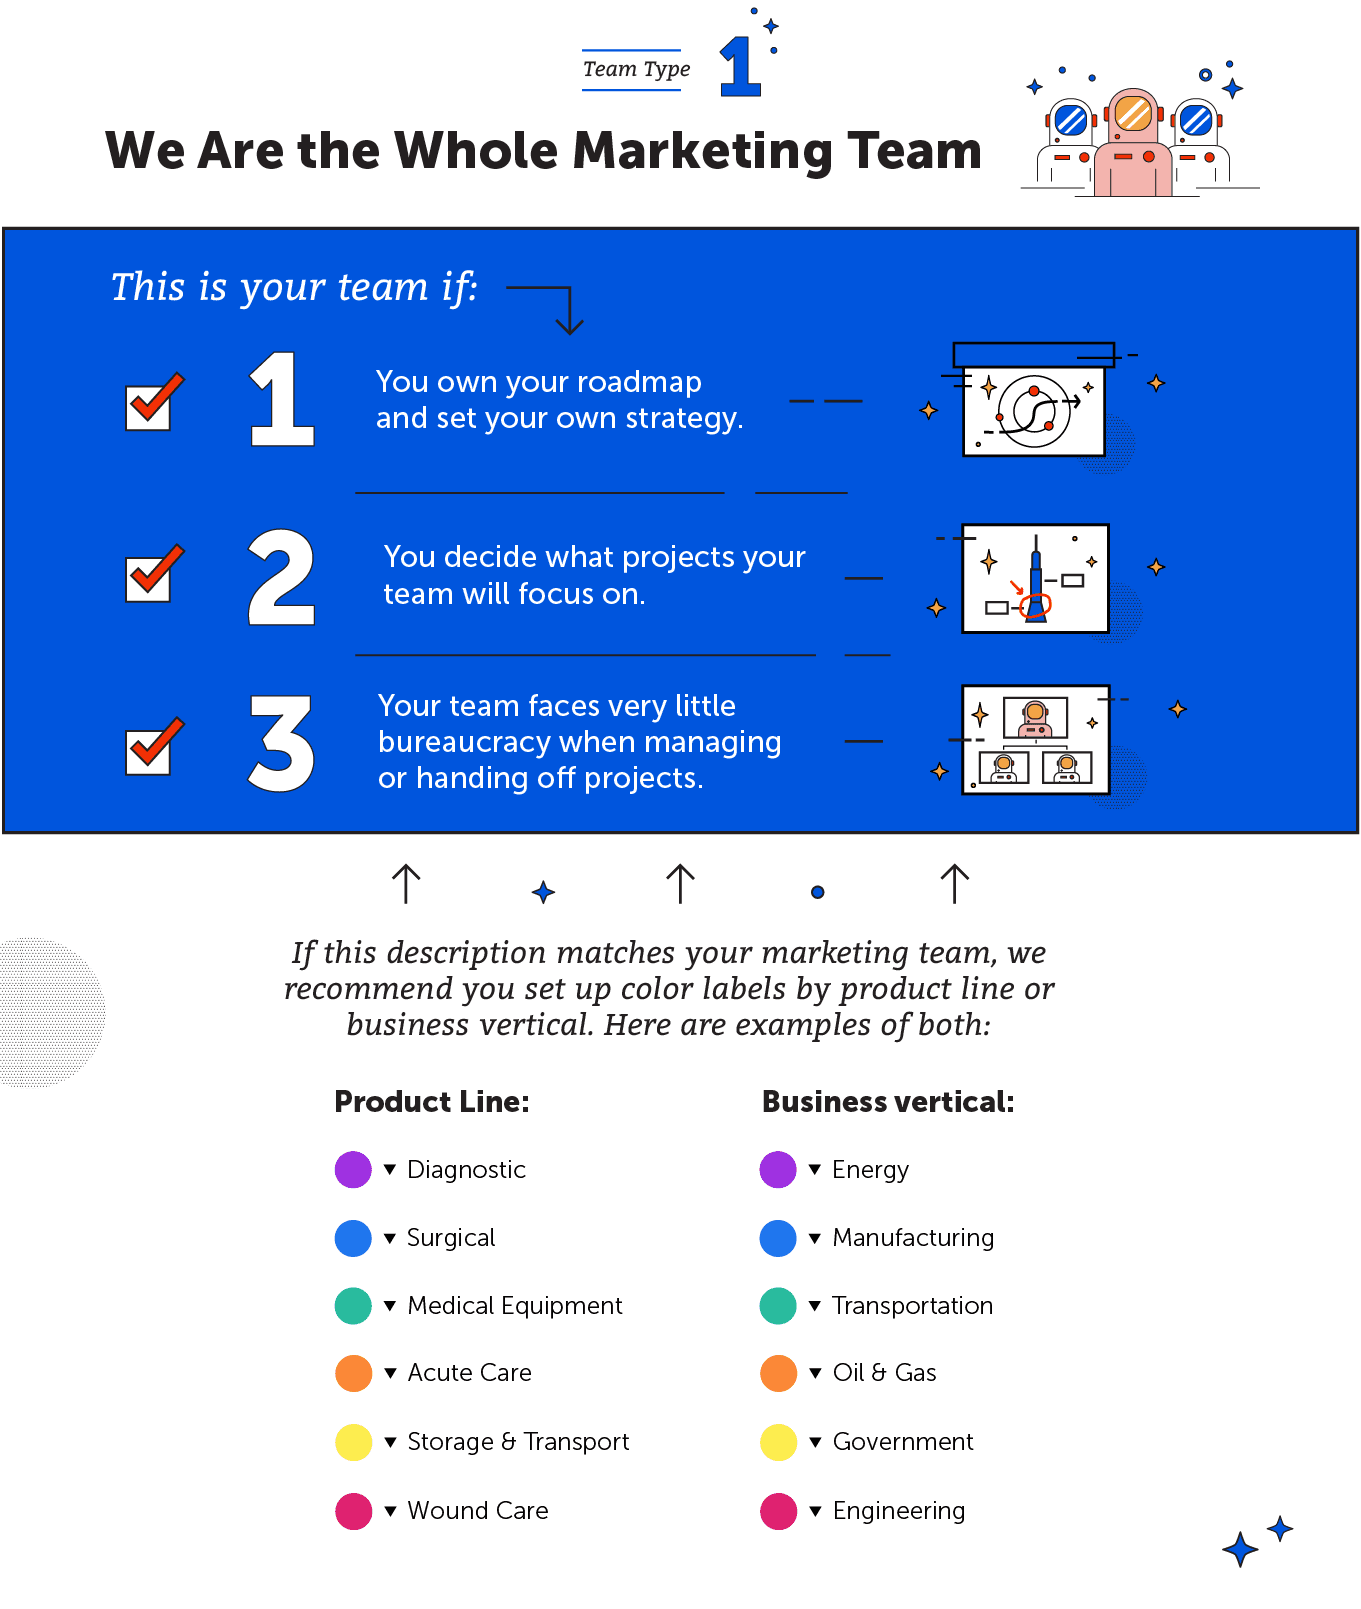
Apply Color Labels to Your Calendar
Now that you know what your color labels will be, here’s how to set them up on your calendar. Click the Settings button on the left-side panel. Select "Color Labels" from the menu list under Settings. Name your labels and apply a color.
 Your CoSchedule calendar will automatically create a Saved View for each of your designated color labels.
Create a Saved View for Each Color Label
To create a new saved view, click the breadcrumb navigation section for Saved Views. This is where you can navigate between Saved Views and create new ones. To create a new Saved View, select Create New View. Give the new view a name and make selections to the Filter Content (i.e. "Color Label") and/or Calendar Display Settings. Whatever options you select will appear on your calendar immediately and whenever you are using this Saved View.

Project Types
A project type describes the type of asset that is being created. There are a few valuable ways project types help you get organized:- Adds an additional filtering layer to your calendar.
- Helps you show marketing activities to stakeholders.
- Allows you to better visualize your marketing strategy.
- Informs team members what type of asset they are creating.
Apply Your Custom Project Types
To add your list of custom project types you created above, click the Settings button on the left-side panel. Then select "Project Types" from the menu list under Settings. Start adding each item you checked on the list above and choose a custom icon from the dropdown menu.
Filter Types
Each Filter will only filter the content that pertains to it. For example, only Projects and Marketing Campaigns have the ability to add Tags. If you filter by a specific Tag, saved calendar views will filter all Projects and Marketing Campaigns by that selected Tag, but will still display calendar items that do not have the ability to be Tagged. To filter more, add additional filter types to reach your preferred outcome. 1. Color Label: Displays any calendar item with the selected color label. 2. Project Type: Displays the Project type that is selected. 3. Team Member: Displays items that can have team members assigned. (Projects and tasks.) 4. Tag: Displays items that can have tags. (Projects and Marketing Campaigns.) 5. Status: Will display items that can have a status. (Projects and Social Messages.) 6. Social Profiles: Will display Social Messages with the selected social profile.Recommended Reading:
Project Types Power Tip
Create a Saved View for Project Types
To create a new saved view, click the last item in the breadcrumb menu and click ‘Create New View’. Name the view after the project type you want to track (ex. Blog Posts). Next, add one of the project types you just created as a new filter category. Here’s how:- Add a filter category.
- Choose the ‘Type’ option.
- Apply the relevant project type from the drop-down list.

Tags
Tags offer an additional way to filter and track your projects. Think of it this way: tags are additional categories that you might need to track which aren’t covered by color labels and project types. Here are a few ways tags add value to your CoSchedule calendar.- Provide more context to each project.
- Allow you to create additional saved views.
- Help you quickly find all projects that are tagged with a certain keyword.
Apply Your Tagging Structure
To create a new tag, click the Settings button on the left-side panel. Select "Tags" from the menu list under Settings. Enter each one from your list on the worksheet above. Only Owners, Managers, and Admins can add or edit templates (social, task, project, marketing campaigns). Templates vary based on what's available to you in your plan.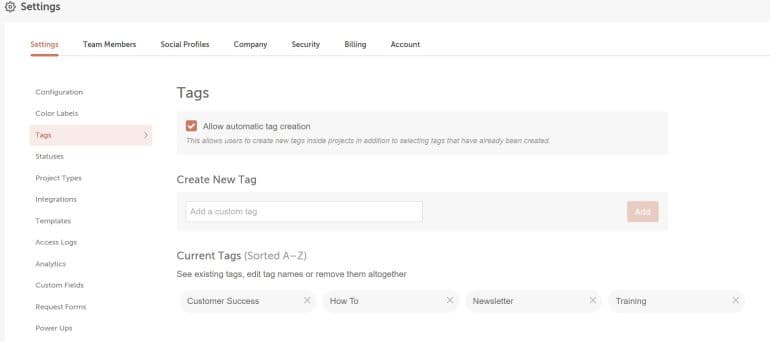
Create a Saved View for Project Tags
To create a new saved view, click “All” in the breadcrumb menu and click “Create New View”. Name the view after the project type you want to track (ex. Blog Posts). Next, add one of the project types you just created as a new filter category. Here’s how:- Click the plus sign in the filter option to your right.
- Choose the “Tag” option.
- Apply the relevant project type from the drop-down list.
Custom Fields
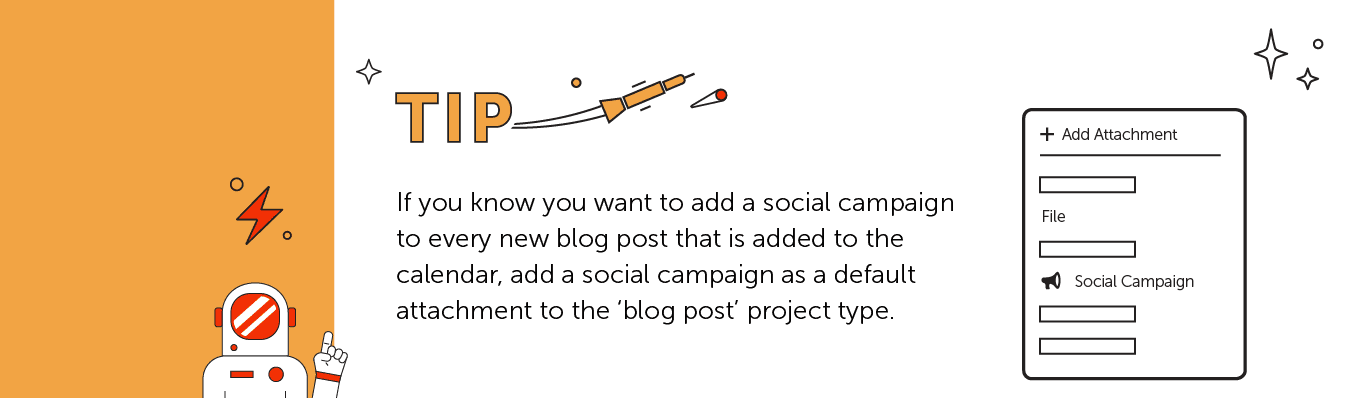
This feature gives you the ability to add various custom fields that will allow you to have ultimate control over your calendar. Create your own field with a variety of different entry forms to get the most information in an efficient, easy-to-understand manner. Once you decide what form your custom field is using and what information it will be requesting, you can implement it into both Request Forms and Projects.Project Types
When editing the variety of project types, you can add custom fields to a project to further customize projects to fit your needs. Possible custom fields could include text fields, a date or time, dropdown boxes, checkboxes, or multiple choice fields.
Request Forms
Custom Fields can also be utilized in Request Forms. When creating a form, you can add any of the custom fields that have been previously been created. *** Request forms are an add-on to CoSchedule Marketing Suite. Please contact your Customer Service Manager to add this feature to your plan.