If you work for a large organization, your department probably collaborates with other teams. For agencies and consultants, that could even mean working with separate teams per client. That can make keeping workflows organized and collaborative difficult.
Some of the challenges you might face include:
- Different teams preferring to use different toolsets.
- Different teams using different processes to complete similar tasks.
- Different teams simply working differently than one another.
The best way to get around these snags and work together effectively is to build cohesive workflows inside one platform.
That’s where CoSchedule comes in.
Instead of creating confusion between processes and tools, you can add everyone from each team into one platform, and get stuff done all in one place.
Let’s walk through all the steps to manage a marketing project across teams using CoSchedule.
Step 1: Add Your Team Members
Once you’re set up with a CoSchedule plan, your first step is to add team members.
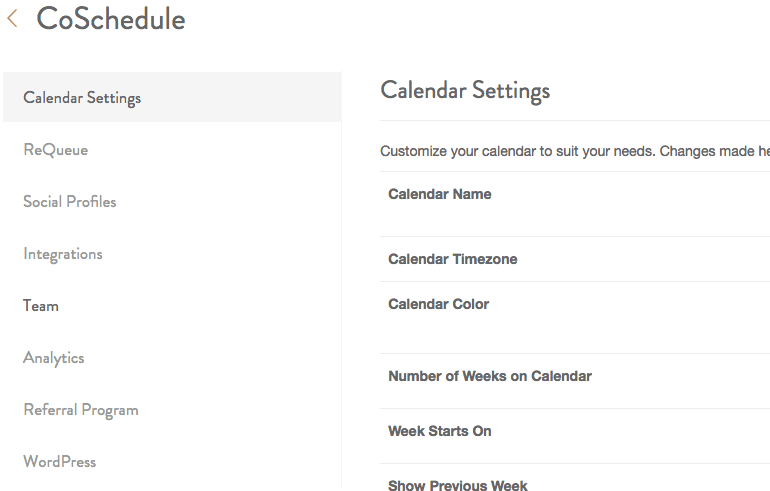
First, find your Team settings:
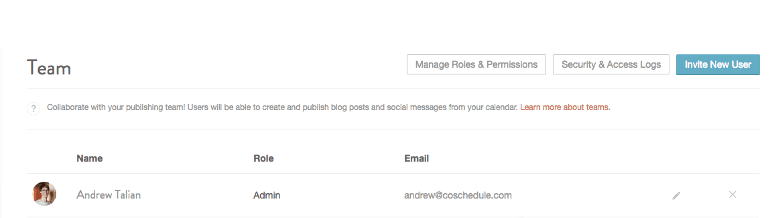
Now, you’ll be able to see two different types of team members:
- Your team. These folks will have full access to everything in your CoSchedule account.
- Your guests. These members will only be able to access content they’re assigned.
Your team should include anyone you trust with publishing privileges and the ability to add content onto your calendar. For everyone else, make them a guest.
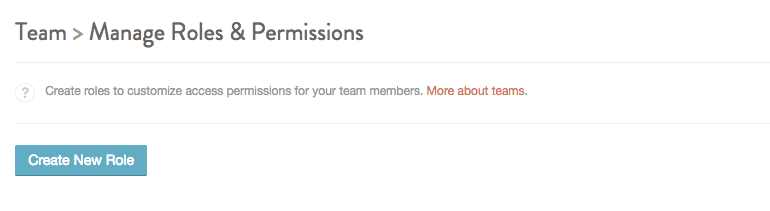
If you’d like to manage team member permissions, you can do that by clicking here:
Then, you can add new team members, or create permission settings for custom roles:
Get your team set up how you’d like. Then, we’ll move on.
Step 2: Create a Marketing Project
Our next step is creating a Marketing Project.
In context with CoSchedule, a Marketing Project is an overarching collection of tasks and content pieces, all connected to one campaign or project.
So, if you have different pieces for one big project, you can manage each individual component separately. That could mean:
- Writing a blog post
- Coordinating a social media campaign
- Shooting a video
- Setting up a podcast episode
- Or any other number of tasks or content pieces you might have associated with one project
Here’s how to set one up in CoSchedule.
First, click a day to start on your calendar:

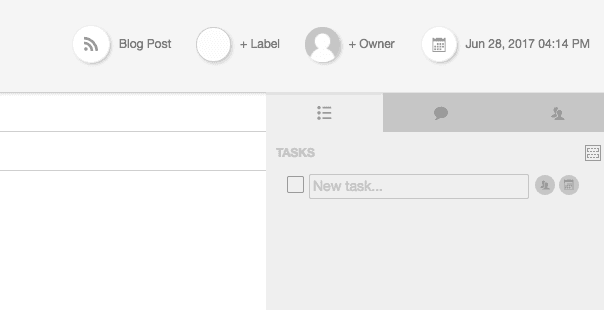
Then, click the Marketing Project folder at the top:
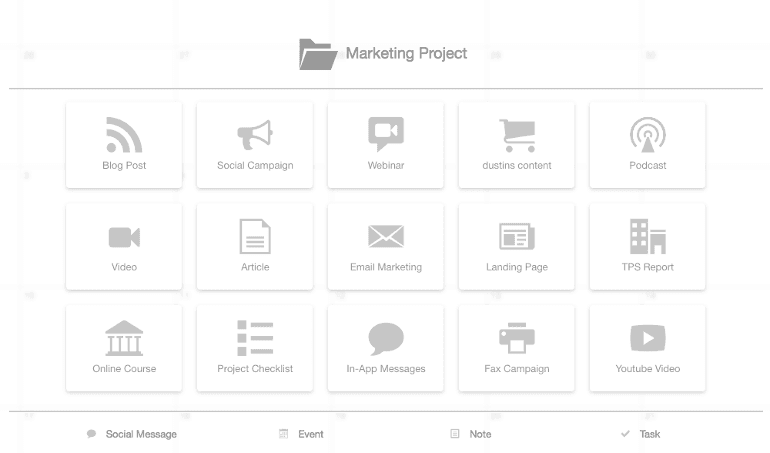
Give your project a name and an end date. Then, click Create Project:

Step 3: Set Up Calendar Items and Deadlines
Now, you’ll need to add each piece to your project. Click the day each piece of content will be due. Then, select the appropriate content type:
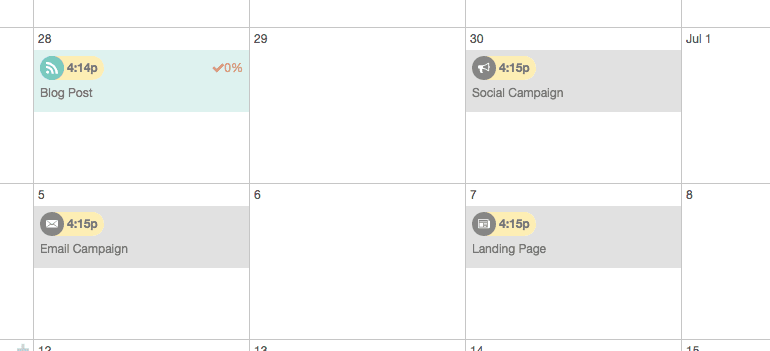
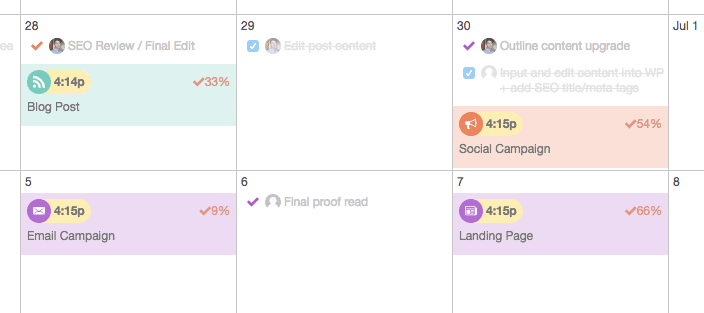
For the sake of example, we’ll add a Blog Post, Social Campaign, Email Campaign, and Landing Page. Here’s what our marketing project looks like now:
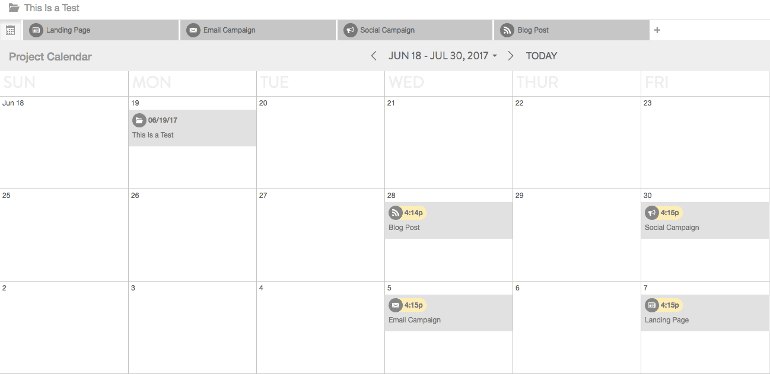
You can now navigate to each piece of content in the project by clicking the tabs at the top, or on each item on the calendar.
Step 4: Assign Projects and Apply Task Templates
Now, you’ll need to decide who is responsible for working on each piece. This could include:
- Content creators. These would be writers, designers, videographers, or anyone else working on executing deliverables.
- Project managers. These are the team members responsible for making sure everyone gets their work done.
- Client stakeholders. If you’re working on behalf of a client, add stakeholders responsible for approving work or collaborating on projects.
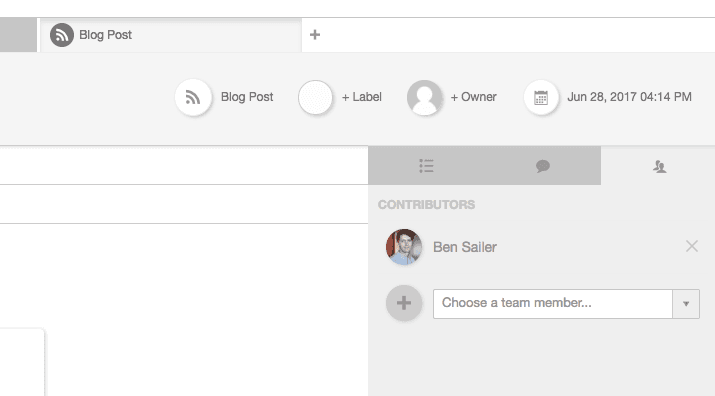
Now, let’s add some team members to our blog post. First, click into it through the calendar. Then, click the face silhouettes on the right. From there, you can choose team members using the drop-down:
Next, we’ll apply a Task Template. These are reusable checklists that make sure every step gets completed properly.
Start by clicking the checklist icon on the left:
Now, you can add new tasks and save your tasks list, or you can choose a pre-built Task Template that will automatically assign the appropriate tasks to each team member:
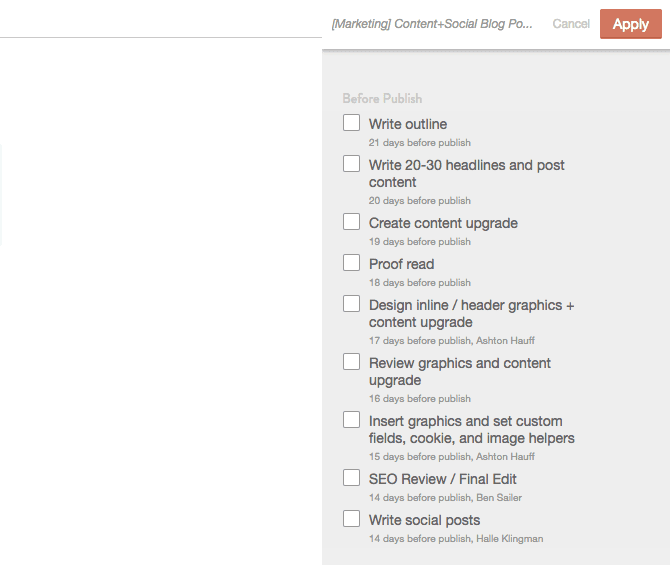
Click Apply, and now everyone working on your project will get email notifications when their tasks are due.
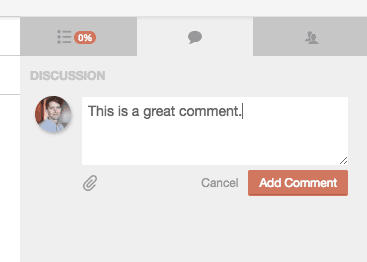
Using the chat bubble tab in the middle, you can now leave comments for your team members, too. This way, everyone can communicate in one place, instead of notes going down a black hole in an external messaging app.
There you have it! You now have everyone from each team working on the project all set up to collaborate in one place. Repeat this process for each content item in your marketing project.
Step 5: Color-Code for Teams
Now, if you have multiple teams managing projects on one calendar, you can color-code each team accordingly. To do this, bounce over to Calendar Settings:
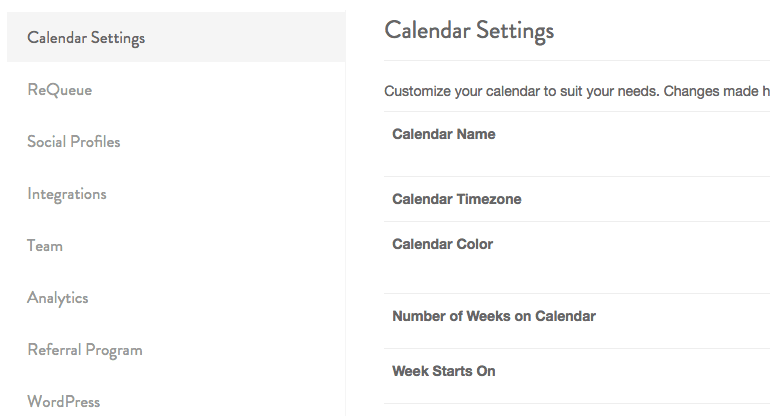
Then, scroll down to find Color Labels:
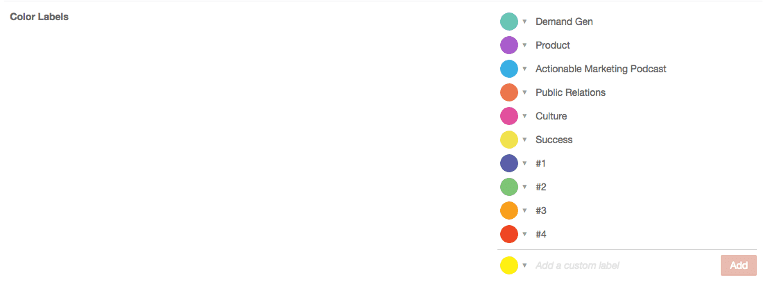
Using the panel on the right, you can create as many different color-coded labels you’d like, and name them by team. In our example, teal denotes projects for our Demand Generation team, purple is for the Product team, and so forth.
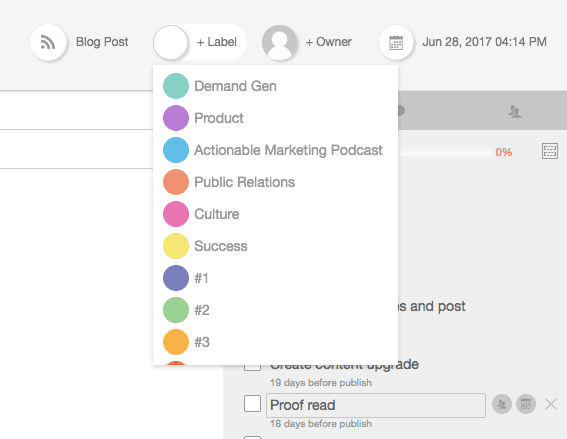
Back on the calendar, let’s find our Blog Post. Then, we’ll click Color Label and select Demand Gen:
It’ll now appear teal on the calendar. Anyone in this Marketing Project will now know the Demand Gen team has the blog post covered.
What about the other three pieces in this marketing project, though? Let’s say hypothetically that our Public Relations team is responsible for the social campaign, while the Product team is covering the email campaign and landing page. We’ll go ahead and label those purple accordingly:
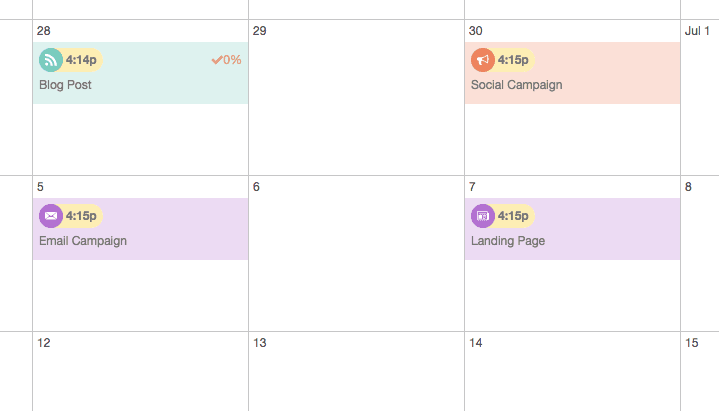
Now there’s no confusion which team is working on which tasks. All we have to do is glance quickly at the calendar, and everyone knows who is doing what.
Plus, with the built-in commenting feature on each content item, anyone can ask anybody else a question on any of these calendar pieces.
Once items start getting checked off Task Templates for each calendar item, their completion percentage can also be seen on the calendar. That makes it easy for project managers to hold each team accountable, and allows clients to see exactly what’s getting done, and when:
There you have it! All your projects and teams in one place.
Now, Try Managing All Your Teams In One Place For Free
Ready to give CoSchedule a spin? Get started free now and see everything it can do for your company, your team, and your clients.


