Getting Started With CoSchedule for Bloggers and Individuals
Get To Know Your CoSchedule Editorial Calendar
The TL;DR Version
CoSchedule Project Use Cases:- Blog Post: Choose this if you 1) Use something other than WordPress OR 2) Prefer to write your posts outside of WordPress and convert them later.
- WordPress: Choose this if you want to write your post directly in WordPress. It will automatically create the post for you in your WordPress account.
- Social: Choose social campaign to schedule multiple social messages across several days or weeks OR choose social message to create a single, stand-alone social message.
Introduction
What Is This Guide? This guide will walk you through the different areas of CoSchedule to help you feel comfortable navigating the tool. Who’s This Guide For? New CoSchedule Editorial Calendar users. What You Will Learn:- More in-depth features of CoSchedule.
- What type of activity to create in CoSchedule and when.
- The best strategy for setting up color labels.
Creating a New Activity in CoSchedule
Let’s spend a minute discussing different CoSchedule activities and how you can use them. When you click the plus sign in the top corner of a date, you’ll see a list of activities appear. Here’s how they differ and how we recommend working with each.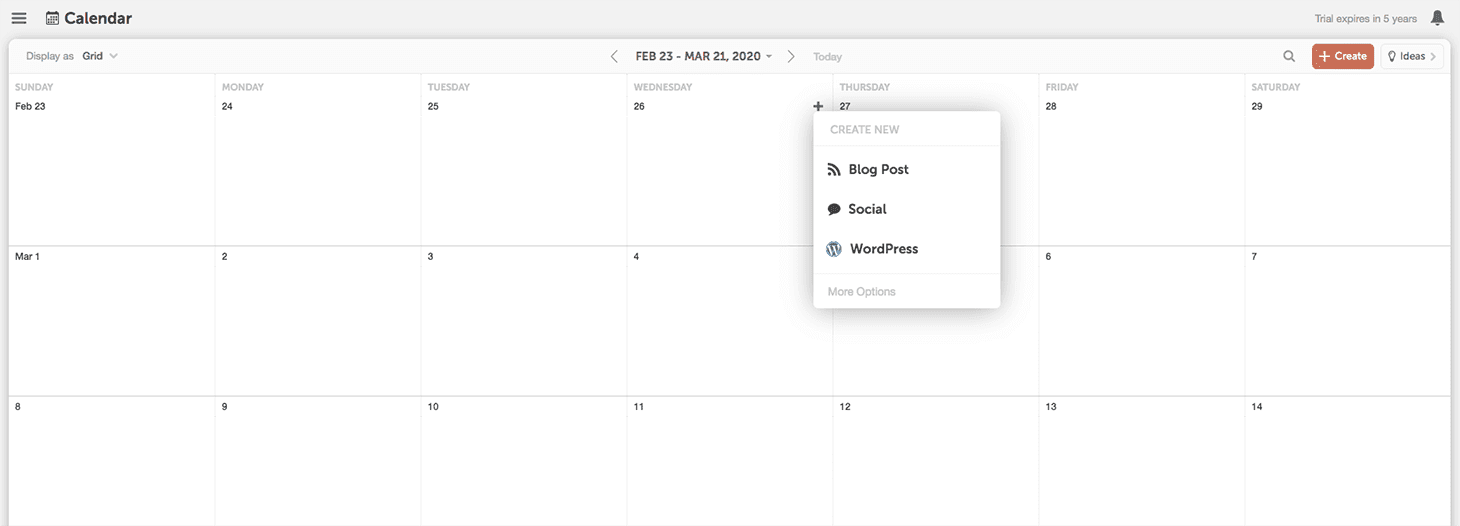
- Blog Post: This allows you to create a blog post on your calendar. This is best for users that like to write their blog posts outside of WordPress and move them over when they’re ready to publish. This is also the option you should choose if you use a blogging platform besides WordPress.
- Tip: Text CoSchedule’s text editor or attached Google Docs can be converted to WordPress in just one click.
- WordPress: This also allows you to create a blog post on your calendar, but it will simultaneously create a new post directly in your WordPress account, too. This option is best if you want to do all your writing in WordPress.
- Social: This allows you to create social media campaigns or stand-alone social messages.
- Use the social campaign option to schedule multiple messages across several days or weeks. This option is best for promoting things like blog posts since it will drive more traffic.
- OR, choose the social message option to create a one-off, stand alone social message. This option is best for curated messages or social messages on trending or news topics.
The Calendar View
CoSchedule is the only editorial calendar and social media scheduler that allows you to see everything you have scheduled in a calendar view. Let's explore its characteristics to help you navigate your calendar.
- Hamburger menu: This is where you will find your calendar settings, email preferences, and profile information.
- Breadcrumb navigation – tools: Quickly navigate to different features of CoSchedule. Here you will find things like your analytics & reports, social media conversations, ReQueue, and the Kanban board.
- Breadcrumb navigation – saved views: Choose specific saved views of your calendar to filter out the info you don’t need.
- Filtering: Organize your Saved Views your way using filters by adding & customizing your filter settings.
- Display settings: Easily choose how far out you want to view your projects and declutter your calendar by hiding items you don’t need to see.
- Read-only sharing: Once you save your new view, you can create a read-only link and share your work with your team.
- Date navigation: Choose specific months/years or navigate forward/backward through your calendar. For example, use this to easily see what you delivered last month.
- Search: Find past or future marketing projects on your calendar using keywords. For example, if a recently published blog post needs an edit, search the title to find it.
- Create: Add projects to your calendar like new blog posts, social media messages, and newsletters.
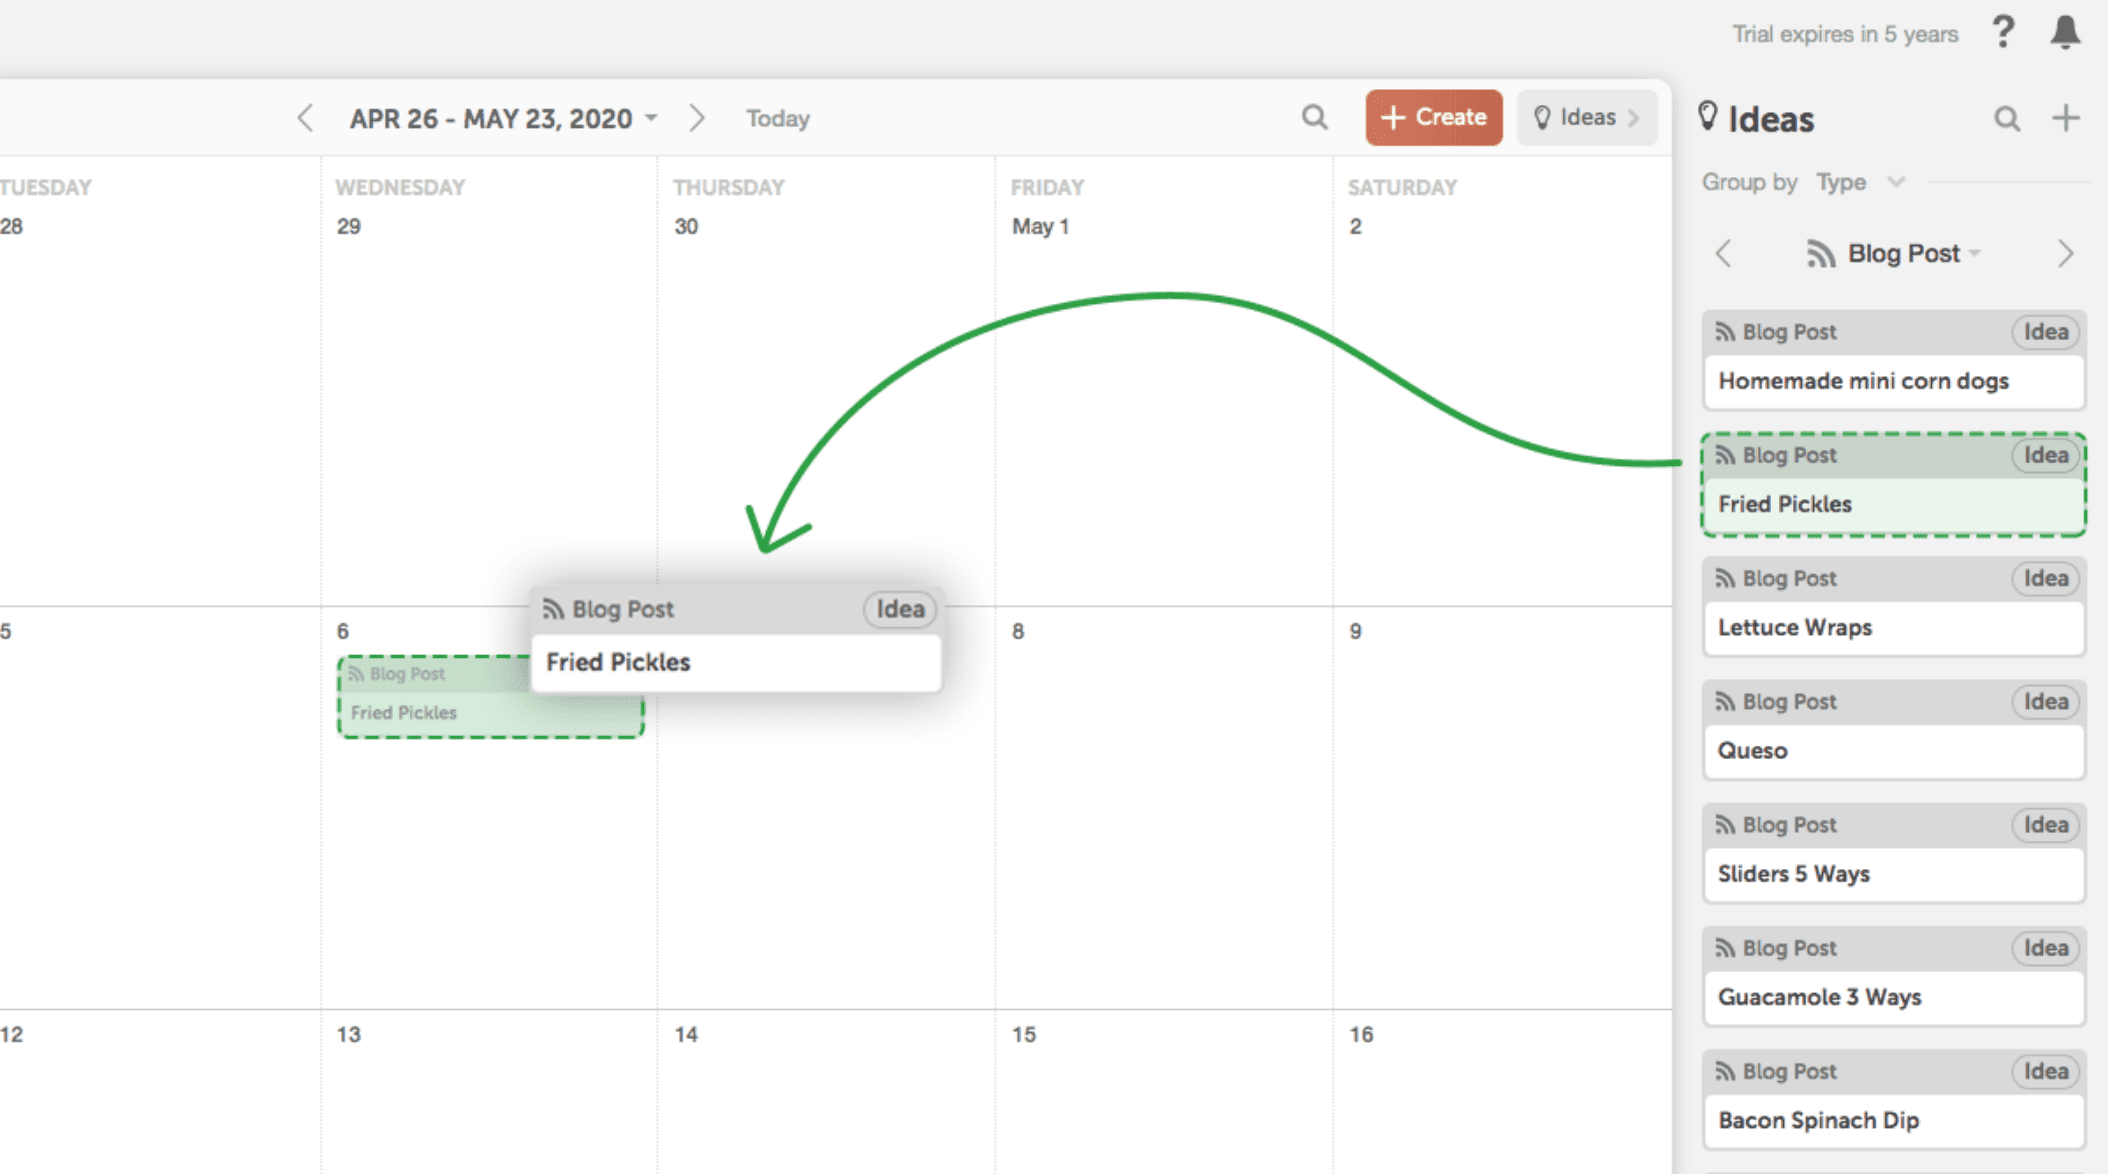
- Ideas: The ideas bin is where all project ideas live. When the project is ready to be scheduled, it can be dragged to the calendar. Tip: Use this to see projects that will be coming down the pipeline.
- Support center & notifications: Use the question mark icon to get best practice advice or message the CoSchedule support desk. Use the bell icon to see notifications, recent projects, and favorites.
- Create a project on a specific date: Know the date you want to schedule a project? Add items to specific days using the plus sign on a date.
The Home Dashboard
The Home Dashboard in CoSchedule gives you a snapshot of all your tasks and helps you quickly find projects on your calendar.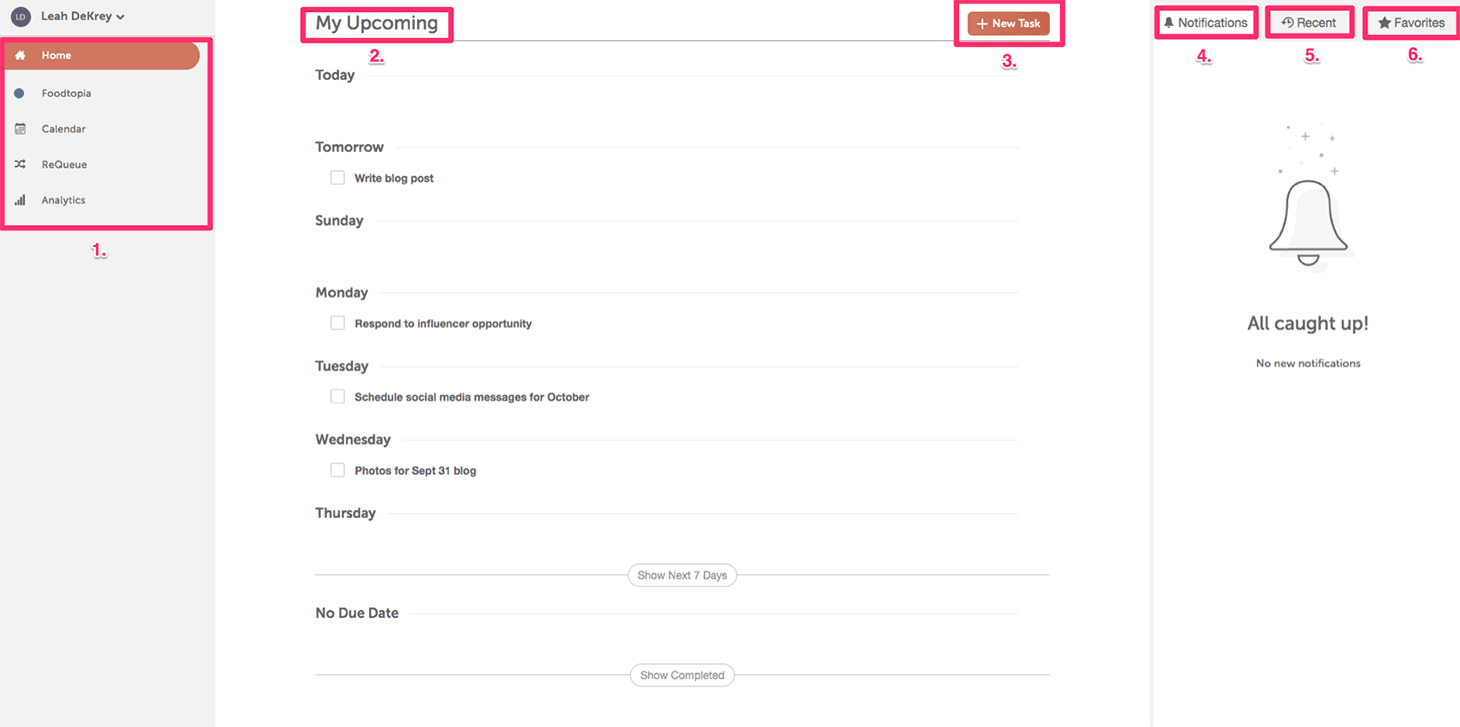
- Left navigation: Navigate to your calendar, ReQueue, or Analytics reports.
- My upcoming list: A list of all your tasks and projects coming up. Tip: Consider this your to do list so you publish consistently according to your game plan.
- Add task: Quickly add a task to your to-do list. Tip: Add personal tasks here, too, like dropping off the mail, to have a single list of all your to-dos in one place!
- Notifications: Find items that need your attention like new CoSchedule functionality announcements or discussions with team members (if relevant).
- Recent: A list of all the projects you’ve recently been working on. Makes it quick to navigate to where you left off.
- Favorites: A list of all the projects you’ve marked as your favorites. Makes it quick to find projects that need your attention.
Organizing Your Calendar With Color Labels
Color labels help you gain a better understanding of your content mix with just a glance. Let’s cover how to set up a color label and three examples of how you can use color labels. To set up your color labels: Go to Calendar Settings > Color Labels.Strategies For Your Color Labels
Here are some common examples of ways you can set up your color labels.Content Type
If you’re working with promoting your own content; sharing and curating other people’s content; and paid sponsorships or influencer campaigns, color labels help keep track of what things on your calendar are related to each content type.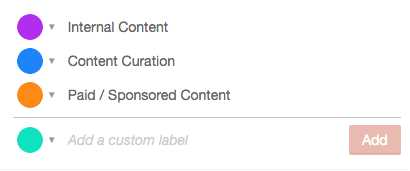
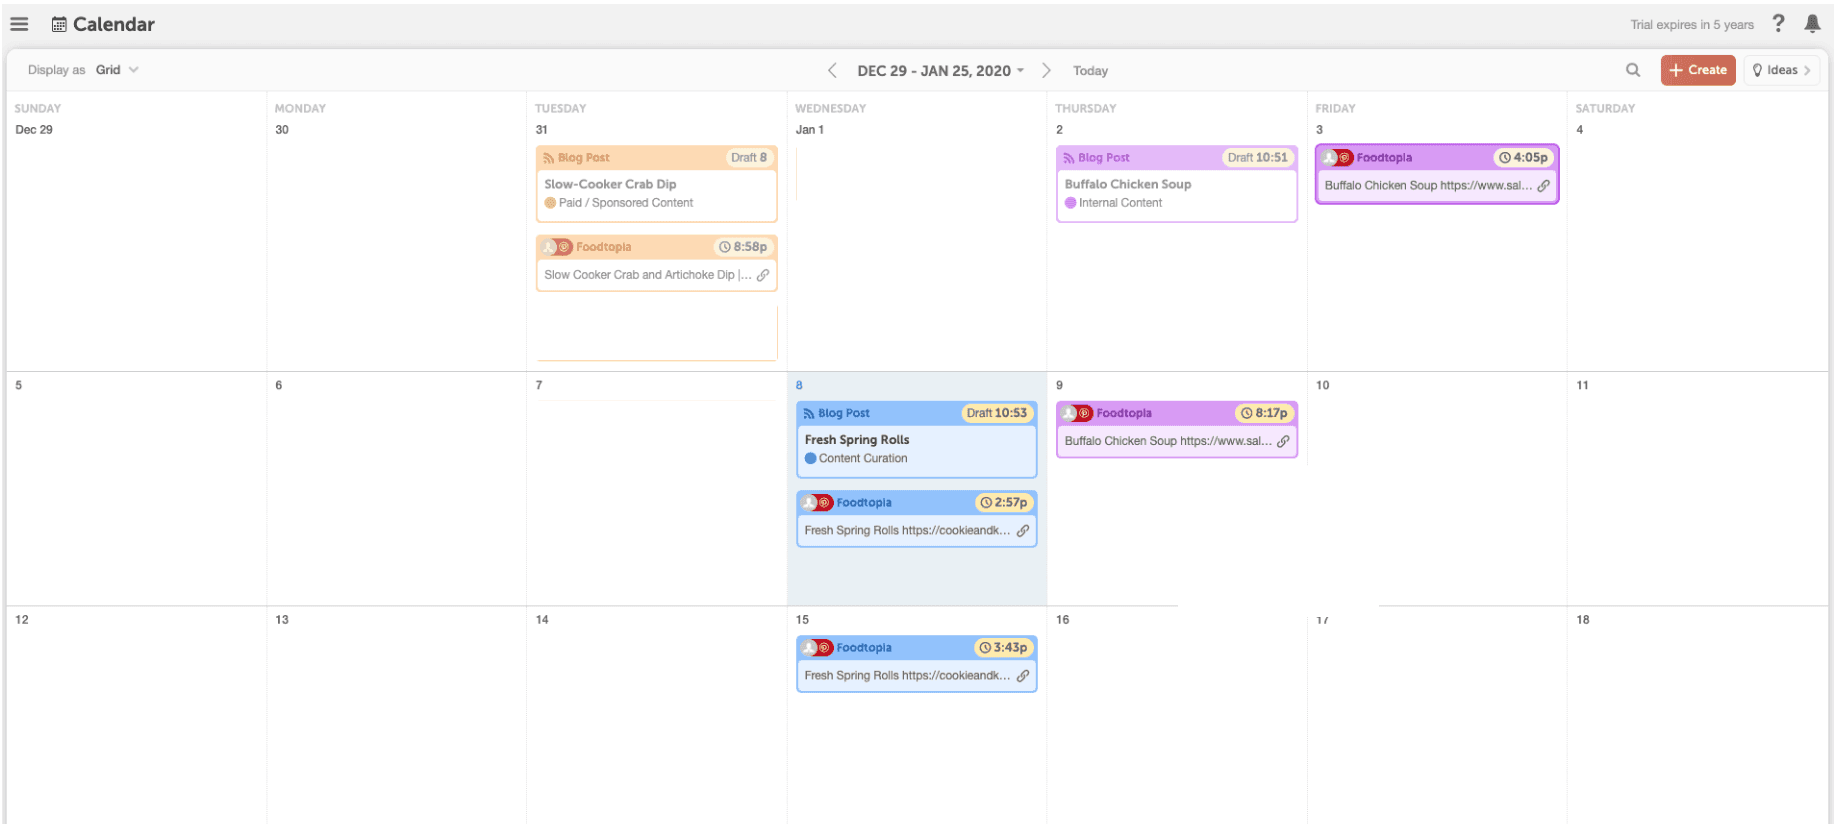 This makes it easy to see that orange projects are paid promotions, purple are internal blogs to promote, and blue are the items you’re curating from external sources.
Topic themes
If your blog posts follow topic themes, using color labels helps you easily visualize what themes you post about the most often and topics you could talk about more.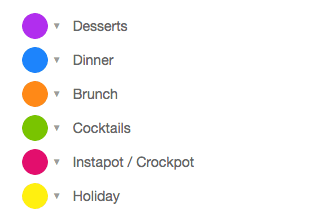
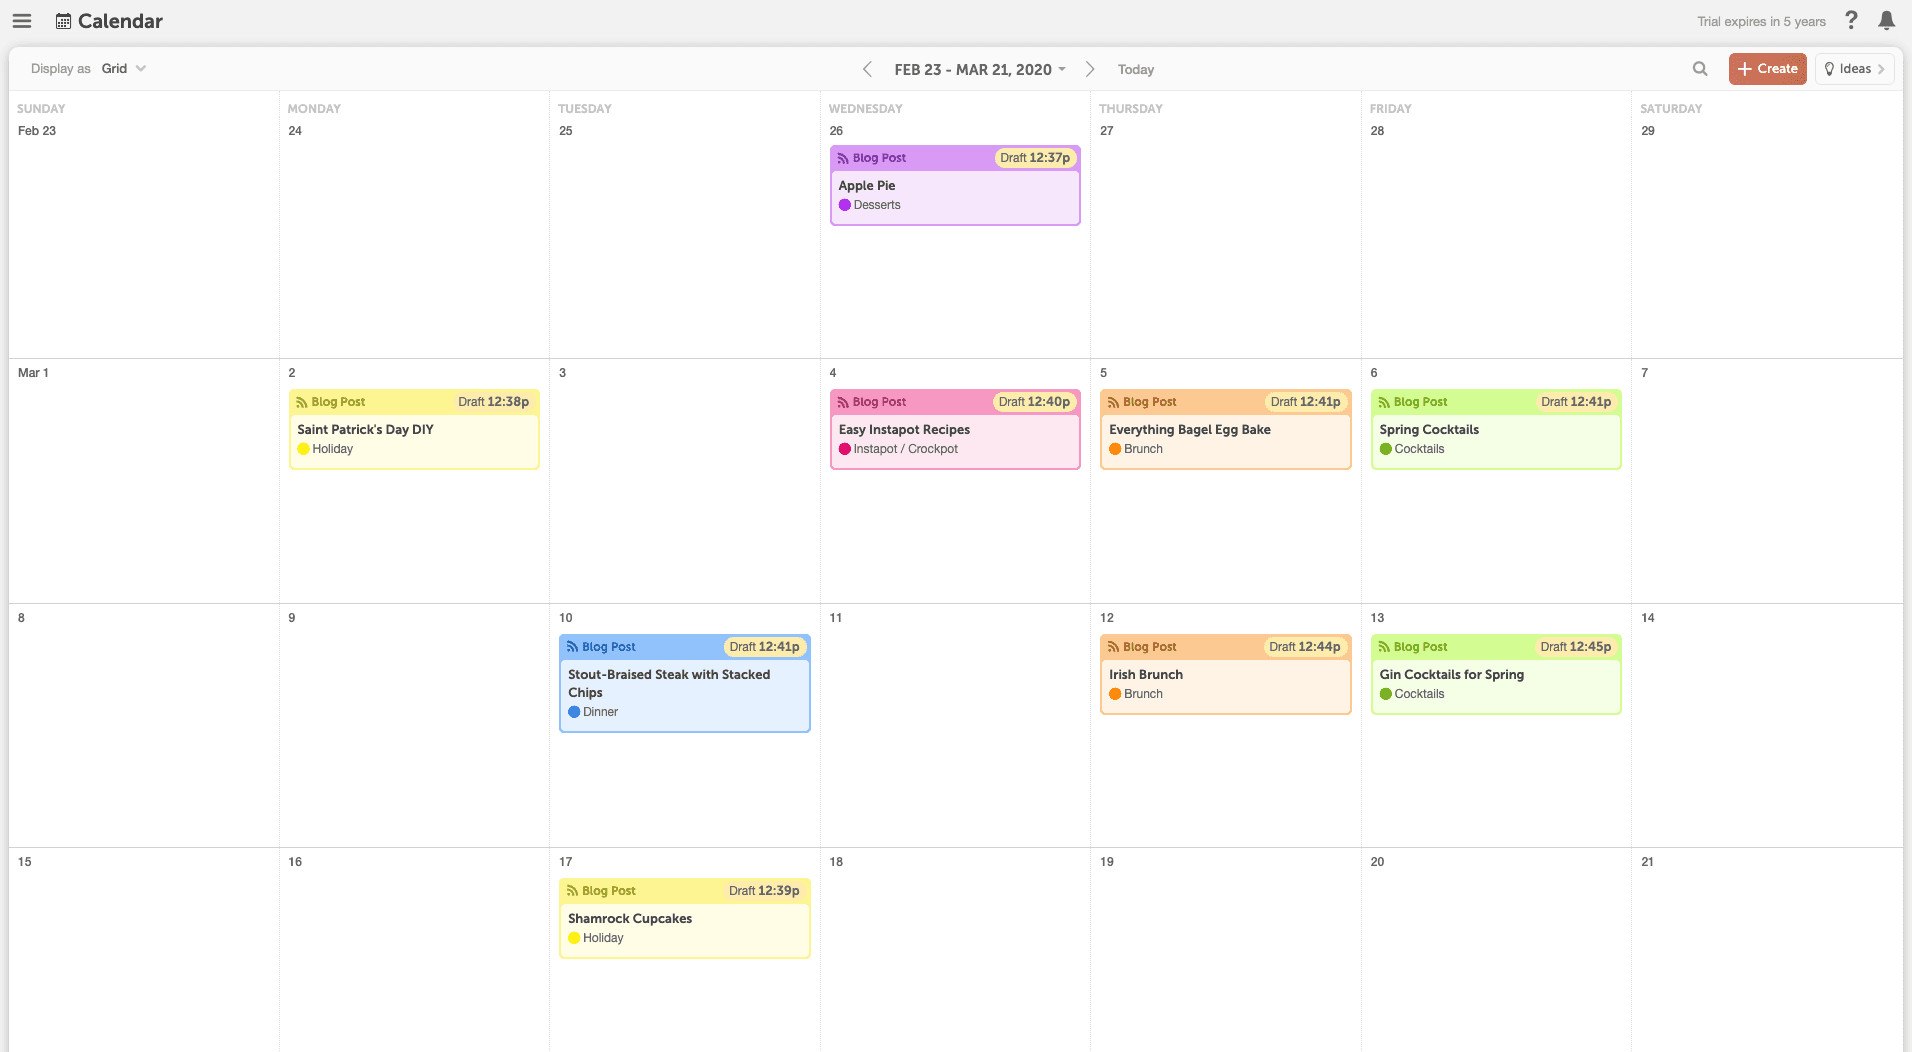 This makes it easy to see themes you blog about the most (and least).
Project Types
Managing a website can entail a lot more than just blogging and social campaigns. You might be planning newsletters, events, ads, etc. You can use color labels to visualize what different types of projects you are working on.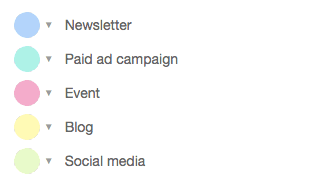
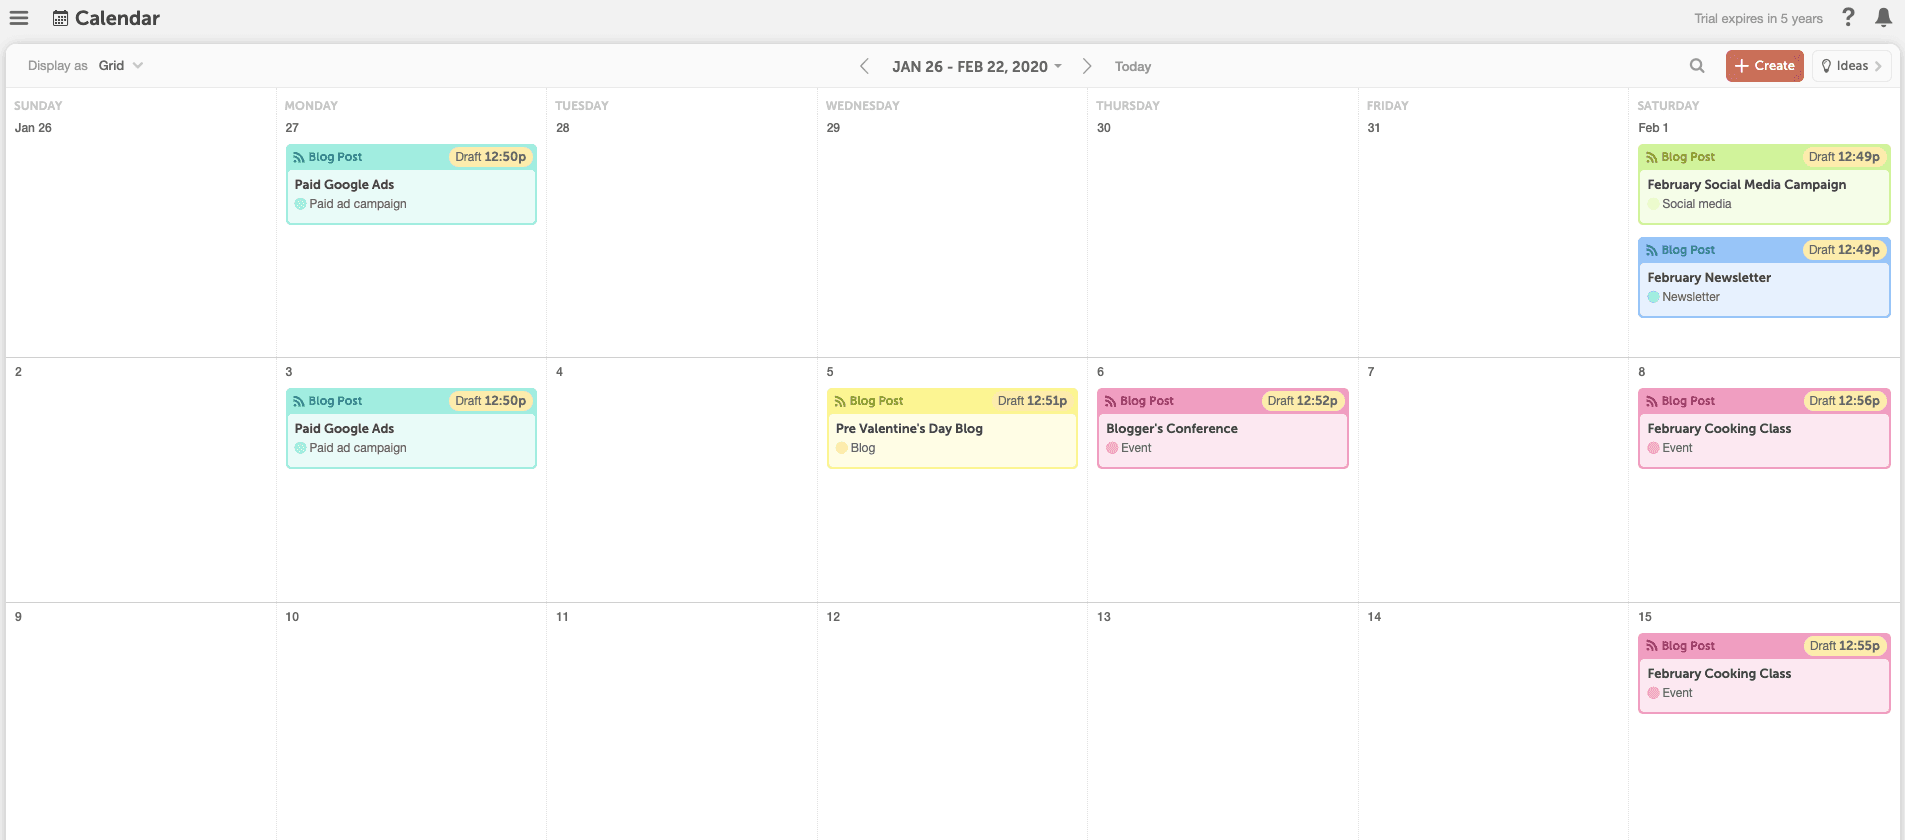 This way, you can plan all sorts of marketing projects in CoSchedule and easily see what different types of projects you have going on.
The Ideas Bin
Brainstorming content ideas in CoSchedule is made easy with the Ideas Bin. Throw a bunch of blog topics in your Ideas Bin so you’re never short on content ideas. When you’re ready to plan some new posts, you’ll always have a list of things you can write about. Simply drag and drop your ideas over to the calendar to start working on them.