The Best Content Review and Approval Process to Eliminate Errors

 “It’s time to scale.”
Those are the words every marketing manager is excited to say.
The words that mean they’ve validated their content strategy and are ready to grow its output and impact.
Finally, the fun part!
You’ve waited for this, and you’re already prepared. You know the tools you want to try, the freelancers you want to hire, and the projects you want to start.
But not so fast...
Growing your blog and content marketing program isn’t as easy as amping up the speed on your current content marketing workflow. As you grow your team, output, and content footprint, new problems and needs will arise that you—and a good process—need to be on hand to solve.
As your company begins producing more content by more writers, you’re going to need a content review and approval process that ensures all the content your brand puts out is consistent in quality, voice, and information.
“It’s time to scale.”
Those are the words every marketing manager is excited to say.
The words that mean they’ve validated their content strategy and are ready to grow its output and impact.
Finally, the fun part!
You’ve waited for this, and you’re already prepared. You know the tools you want to try, the freelancers you want to hire, and the projects you want to start.
But not so fast...
Growing your blog and content marketing program isn’t as easy as amping up the speed on your current content marketing workflow. As you grow your team, output, and content footprint, new problems and needs will arise that you—and a good process—need to be on hand to solve.
As your company begins producing more content by more writers, you’re going to need a content review and approval process that ensures all the content your brand puts out is consistent in quality, voice, and information.
Download Your Content Approval Process Checklist Templates (Word + Excel)
Put this advice into practice with this pair of simple-to-use templates:What is a Content Approval Process?
If you’re used to running a lean team where each member has their own “area” to own, you might not be familiar with what a content approval process is. But as you scale, and you have multiple people covering each part of the process, you need to be sure they’re each doing the same job the same way. That’s what a content approval workflow is for. A content approval workflow is basically the steps between when a draft of the content is completed and when it’s actually published. The good news is, even if you’ve never documented and organized your approval process, you likely have an informal one already implemented.
If you and your team:
The good news is, even if you’ve never documented and organized your approval process, you likely have an informal one already implemented.
If you and your team:
- Edit and review posts before you publish them
- Optimize your content for social sharing and SEO
- Give each other feedback on each other’s content
Recommended Reading: How to Plan an Effective Editorial Workflow in 4 Steps (Template)
Why Does the Review Process Matter?
In any sized marketing organizations, even the most talented one, mistakes will occasionally happen. Your technology will glitch out, a team member will make a human error, a ball will get dropped. It happens even to the best marketers. But the best marketers are prepared with a process to deal with it. Your content approval process, and taking the time to review content before you release it to your audience, will catch any totally normal mistakes before they get published. Because even if it’s not something that your readers will notice, like an incomplete meta description, it can impact your content’s growth long-term. But the review process lets your team:- Fix any mistakes before they go live
- Optimize and improve content to its fullest potential
- Ensure your targeting and strategy stayed on point throughout the creation process
 And while it may not seem like a huge deal now, it will be when you’ve tripled your team size and content output and are juggling production for a dozen pieces of content at a time.
So get prepared.
Here’s how you can create a top-notch, ready-to-scale approval process for your own team.
And while it may not seem like a huge deal now, it will be when you’ve tripled your team size and content output and are juggling production for a dozen pieces of content at a time.
So get prepared.
Here’s how you can create a top-notch, ready-to-scale approval process for your own team.
The Best Content Review and Approval Process to Eliminate Errors by @thatbberg via @CoSchedule
Click To TweetHow to Create a Review and Approval Process for Your Growing Content Team
[Long image illustrating & titled “The Perfect Content Approval Process”: iconography and copy for 1. Writer submits a first draft to editor. 2. Editor leaves feedback. 3. Writer makes revisions while… 4. Designer creates visual assets. 5. Strategist uploads to CMS, optimizes, and publishes.]Step 1: Define Your Stakeholders
The first step to formalizing your content review process is to figure out who needs to be involved in which steps of the process. This means discussing project ownership, getting clear on job roles, and everyone taking responsibility for their own stage of the process. Regardless of the total size of your marketing team, you’ll want to keep the number of people involved in a single piece of content as small as possible. You know what they say about too many cooks. The two jobs you’ll want to start with clarifying are the strategist and the owner. On a smaller team:- The content strategist is the manager (likely yourself) who’s maintaining the calendar, assigning out content and reviewing it before pressing “publish” in your content management system.
- The owner is the writer producing the content and making revisions based on the feedback given in the review process.
- The editor giving feedback and/or making changes to the writer’s drafts.
- The designer creating or editing graphics to go with the content.
- A subject matter expert giving information or insight from another department.
- An SEO manager that, in addition to strategy, optimizes all parts of the content for SEO in your content management system.
- A social media manager writing promotional assets and optimizing content for audience shareability.

Step 2: Clarify Your Process
Once you have the people involved decided on, you’ll want to lay your review process from start to finish. For the content review stage specifically, this tends to mean the time between when the first draft is completed to when the content is published. The reason you’ll want to do this after you decide on who’s involved in the review process is so you can design your process to keep handoffs to a minimum. Those tend to be a common place for balls to get dropped. So the more back-and-forth you can eliminate between different stakeholders, the better. Clearly define each step of the review process needed and which stakeholder is responsible for it. Because you want to avoid the “too many cooks” dilemma, even on a larger team, you wouldn’t want to involve many more people than this. Instead, new additions would better come in the form of having multiple teams working on different pieces of content.
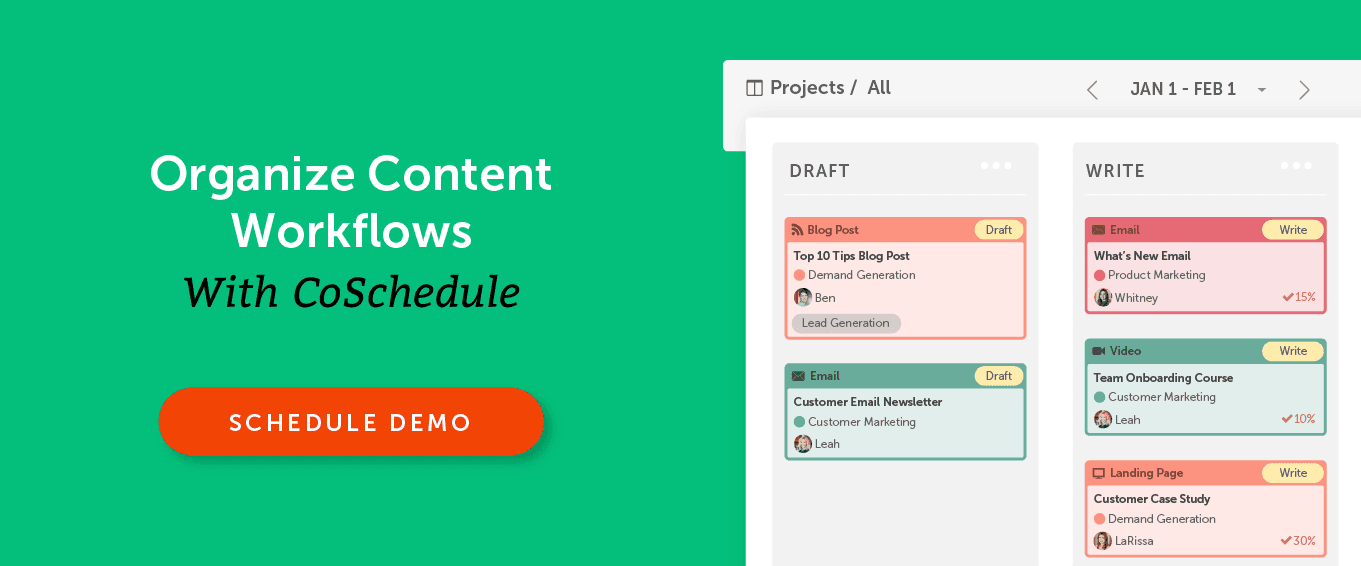
Once each step of the process is clarified, you’ll be able to more easily organize your marketing workflows around it in the future. For example, in CoSchedule you’ll be able to use Kanban boards to visualize which projects are at each step of the process and who’s “in possession” of each piece.
Because you want to avoid the “too many cooks” dilemma, even on a larger team, you wouldn’t want to involve many more people than this. Instead, new additions would better come in the form of having multiple teams working on different pieces of content.
Once each step of the process is clarified, you’ll be able to more easily organize your marketing workflows around it in the future. For example, in CoSchedule you’ll be able to use Kanban boards to visualize which projects are at each step of the process and who’s “in possession” of each piece.

Step 3: Map Out Your Timeline
Once you know the handoff order—the order in which each team member handles the content—and what tasks they’re responsible for, you have enough information to lay out the overall timeline. As you design the timeline for your approval process, some things you’ll want to consider are:- How long each step of review takes
- How often your team publishes
- How many items each team member completes for a piece of content
- How many pieces of content a team member is working on at a given time
 And using the team management dashboard, you can view what work each team member will have on their plate on each day so you can assign content and work accordingly.
Recommended Reading: The Best Way to Plan and Organize Marketing Tasks With Checklists
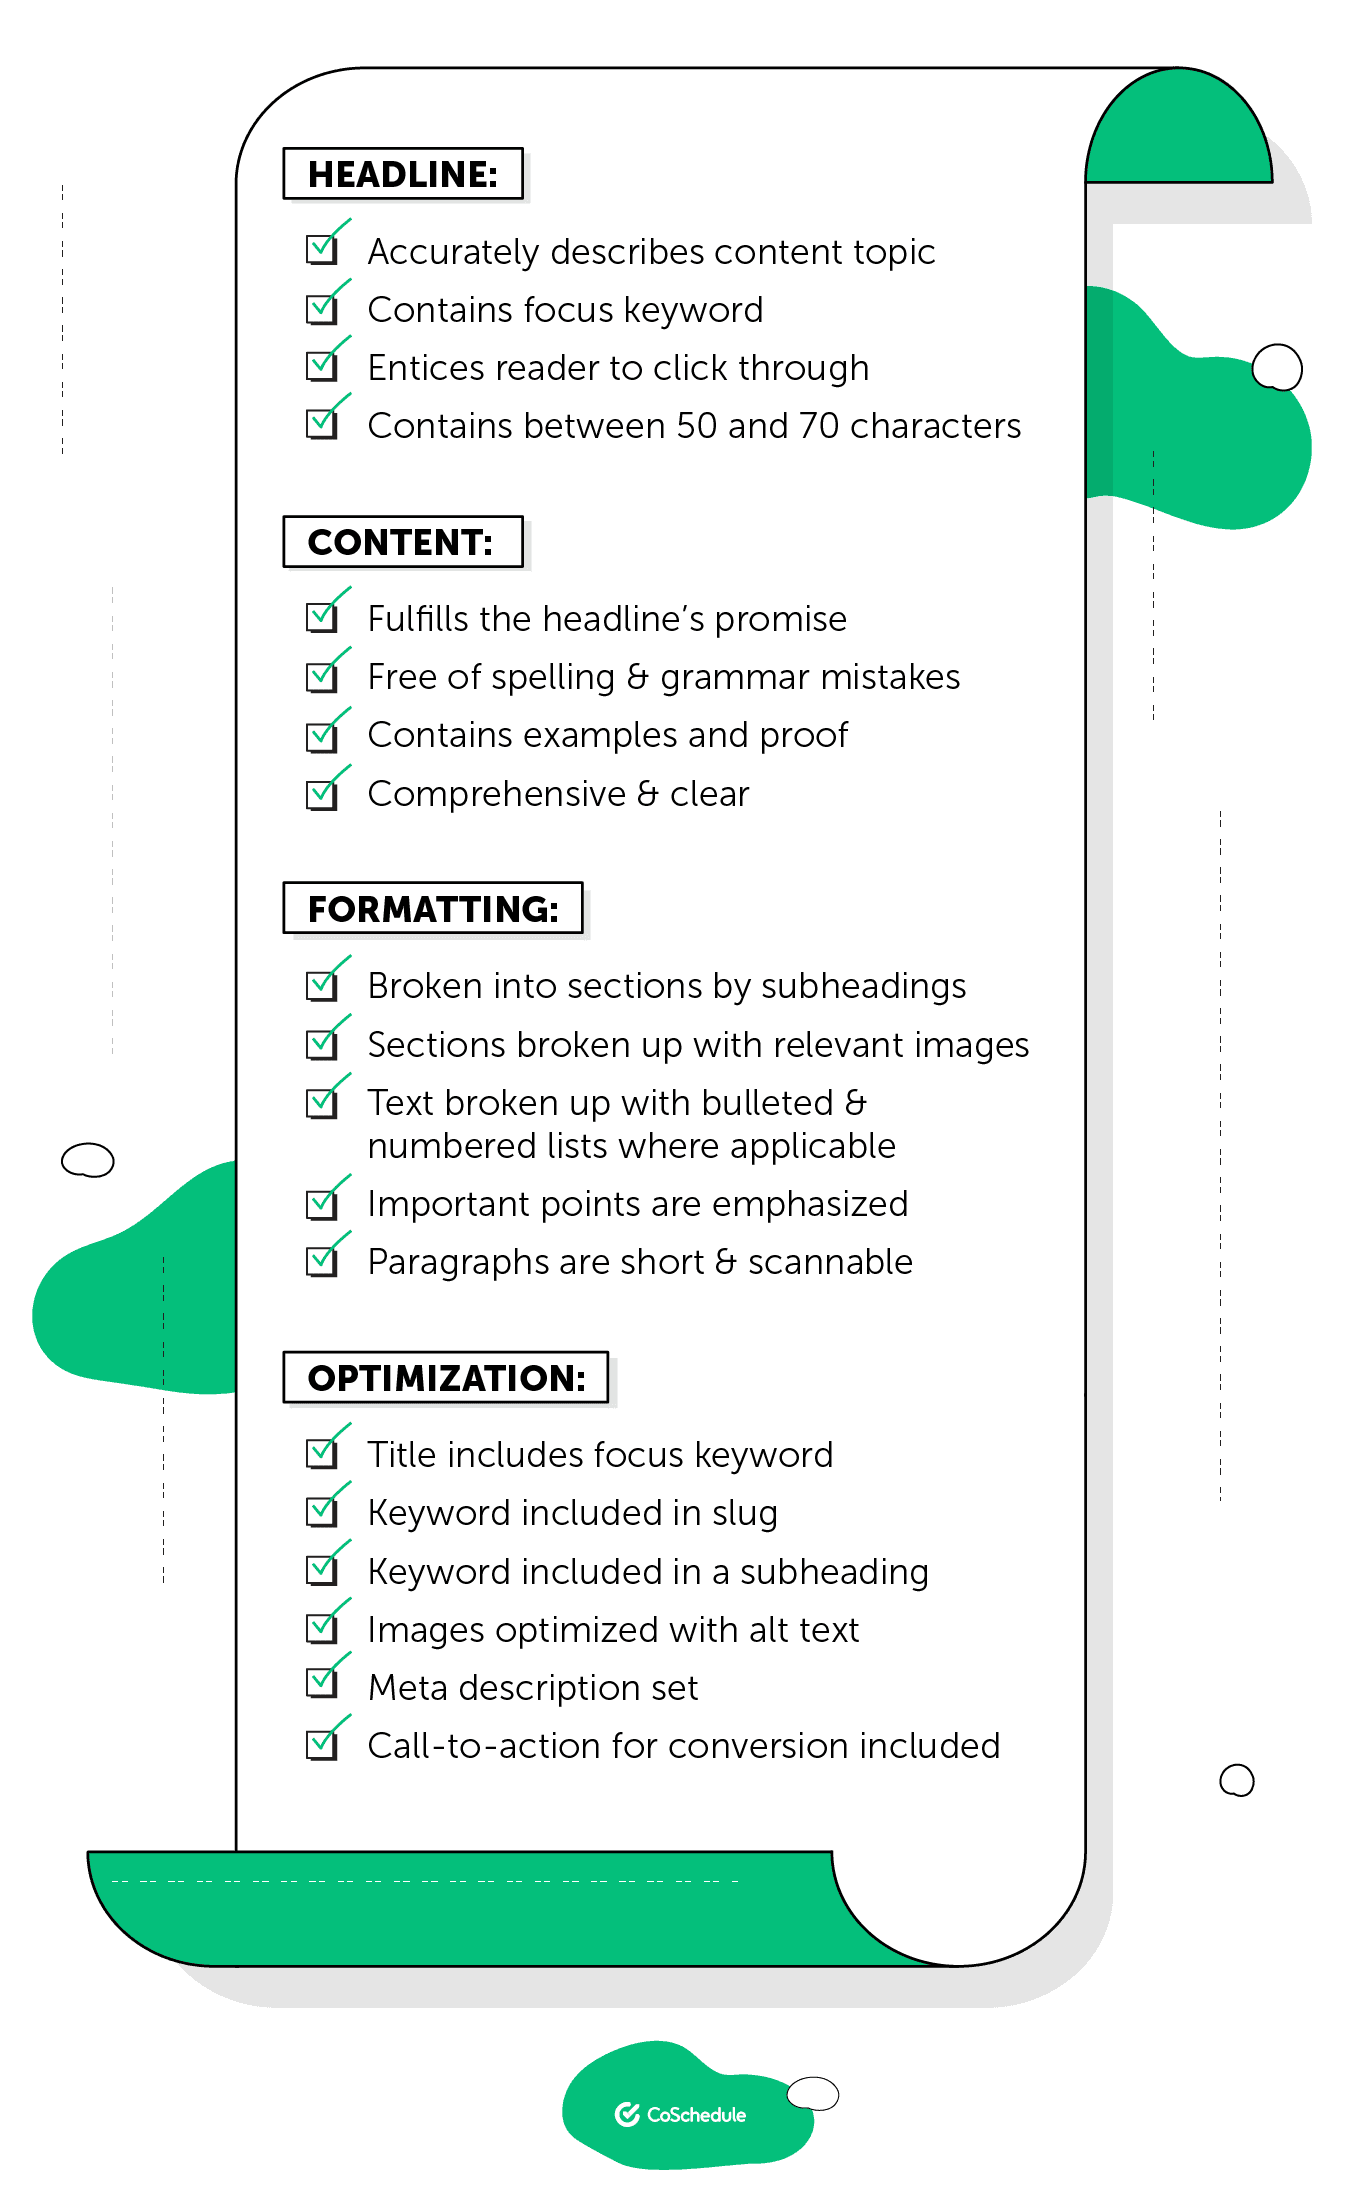
Step 4: Lay Out Brand Guidelines
Once you’ve formalized the overall process of who’s doing what, you need to create editorial guidelines that ensure those steps are being done consistently, no matter who’s completing them. As your team grows and you have multiple writers, designers, and editors, all with different experiences and styles, this is crucial for maintaining your brand consistency, both for design and brand voice. Like your overall process, your guidelines are probably something that exists informally and just needs to be documented and improved. Your guidelines for written content might include things like:- The structure of the intro
- How your company formats headlines and subheadlines
- How to incorporate examples and social proof
- Which grammar standards your team should follow
- Ways of incorporating the target keyword for SEO
- How you mention or incorporate your products and services
- Which graphics are required for each piece of content
- Any image size requirements to keep for each one
- Brand colors to adhere to
- Style and accent elements to include
 You can set up your task templates so that they’re a summary of each step of the review process, so that the checklist contains, for example:
- Write optimized first draft (assigned to: writer)
- Give feedback on first draft (assigned to: editor)
- Check optimization (assigned to: SEO manager)
- Review and press publish (assigned to: content strategist)
- Give structure feedback on draft (assigned to: editor)
- Give optimization feedback on draft (assigned to: editor)
- Review keyword optimization (assigned to: SEO manager)
- Review technical optimization (assigned to: SEO manager)
- Review image optimization (assigned to: SEO manager)
Step 5: Compile everything into a repeatable system
Finally, you’ve hammered out the most important details and are ready to compile them all into a repeatable system and process you can apply to each piece of content you create. Depending on your project management setup, this might look like:- A task template in CoSchedule
- A spreadsheet
- A physical spreadsheet or list
Kickstart Your Approval Process
This is everything you need to organize a content approval process that can grow along with your marketing team. Like any good plan, it covers “who,” “what,” and “when.” And since your strategy is the “why” and your project management tool is your “where,” that covers all your workflow bases.


