
Getting Started Guide: Free Calendar
Take Control Of Your Process With Your Free CoSchedule Calendar
In This Lesson
 To change the status of a project:

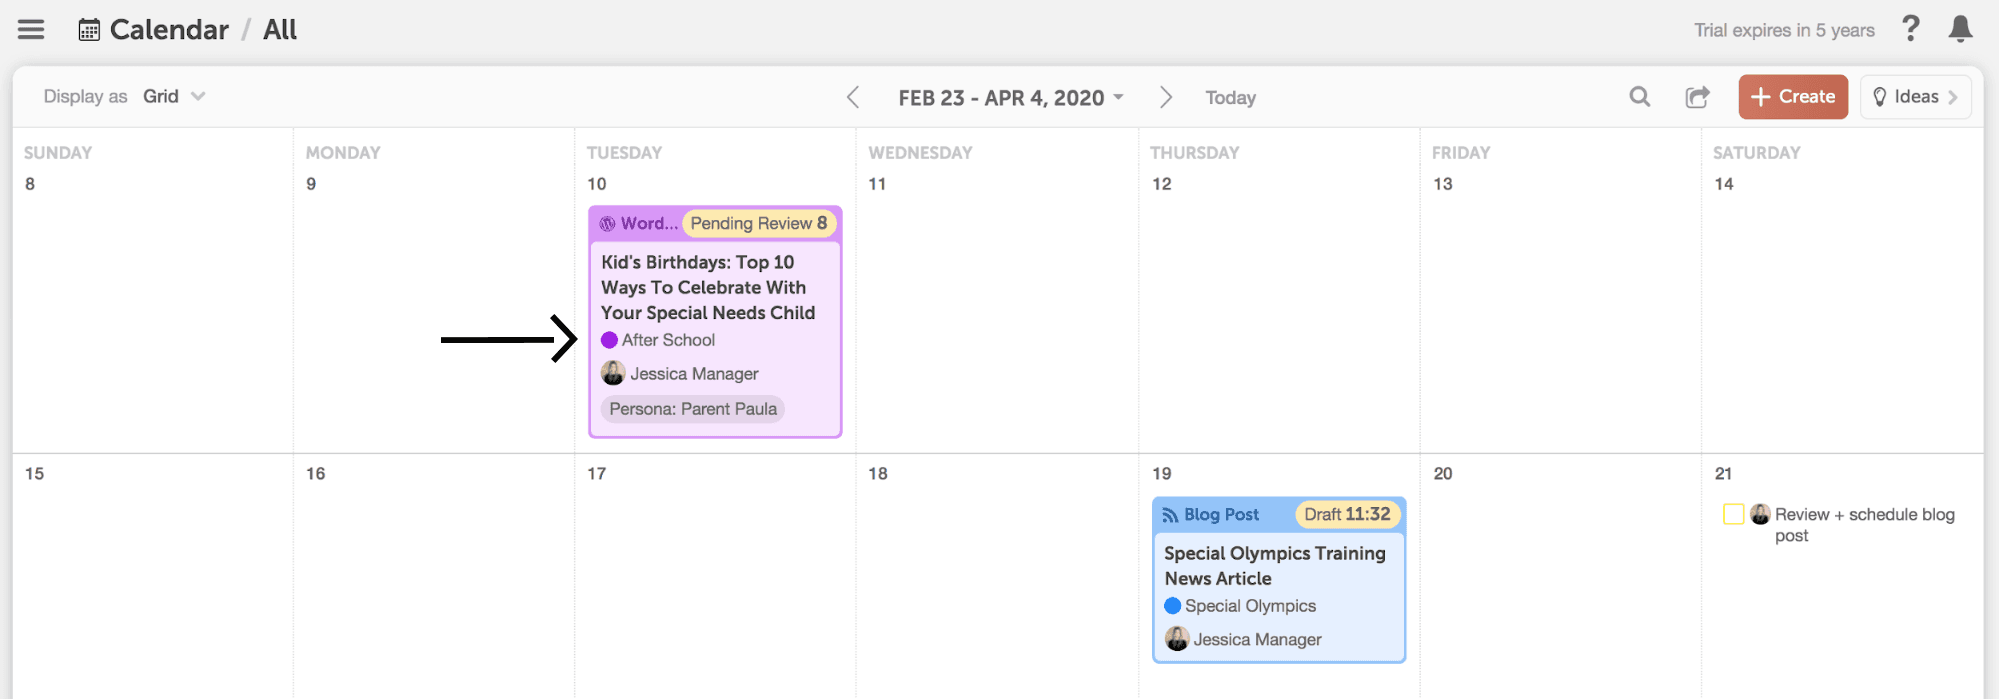
 After you’ve set up color labels, you can apply them to your projects to visually distinguish between different projects on your calendar.
 Tags are automatically added to your calendar when you add a new tag inside any project. You can manage your list of Tags by going to the “Tags” section in your Settings.
 Descriptions can be added by clicking “More Options” when creating a new project or below the project name within a project card.

- Change The Status Of A Project
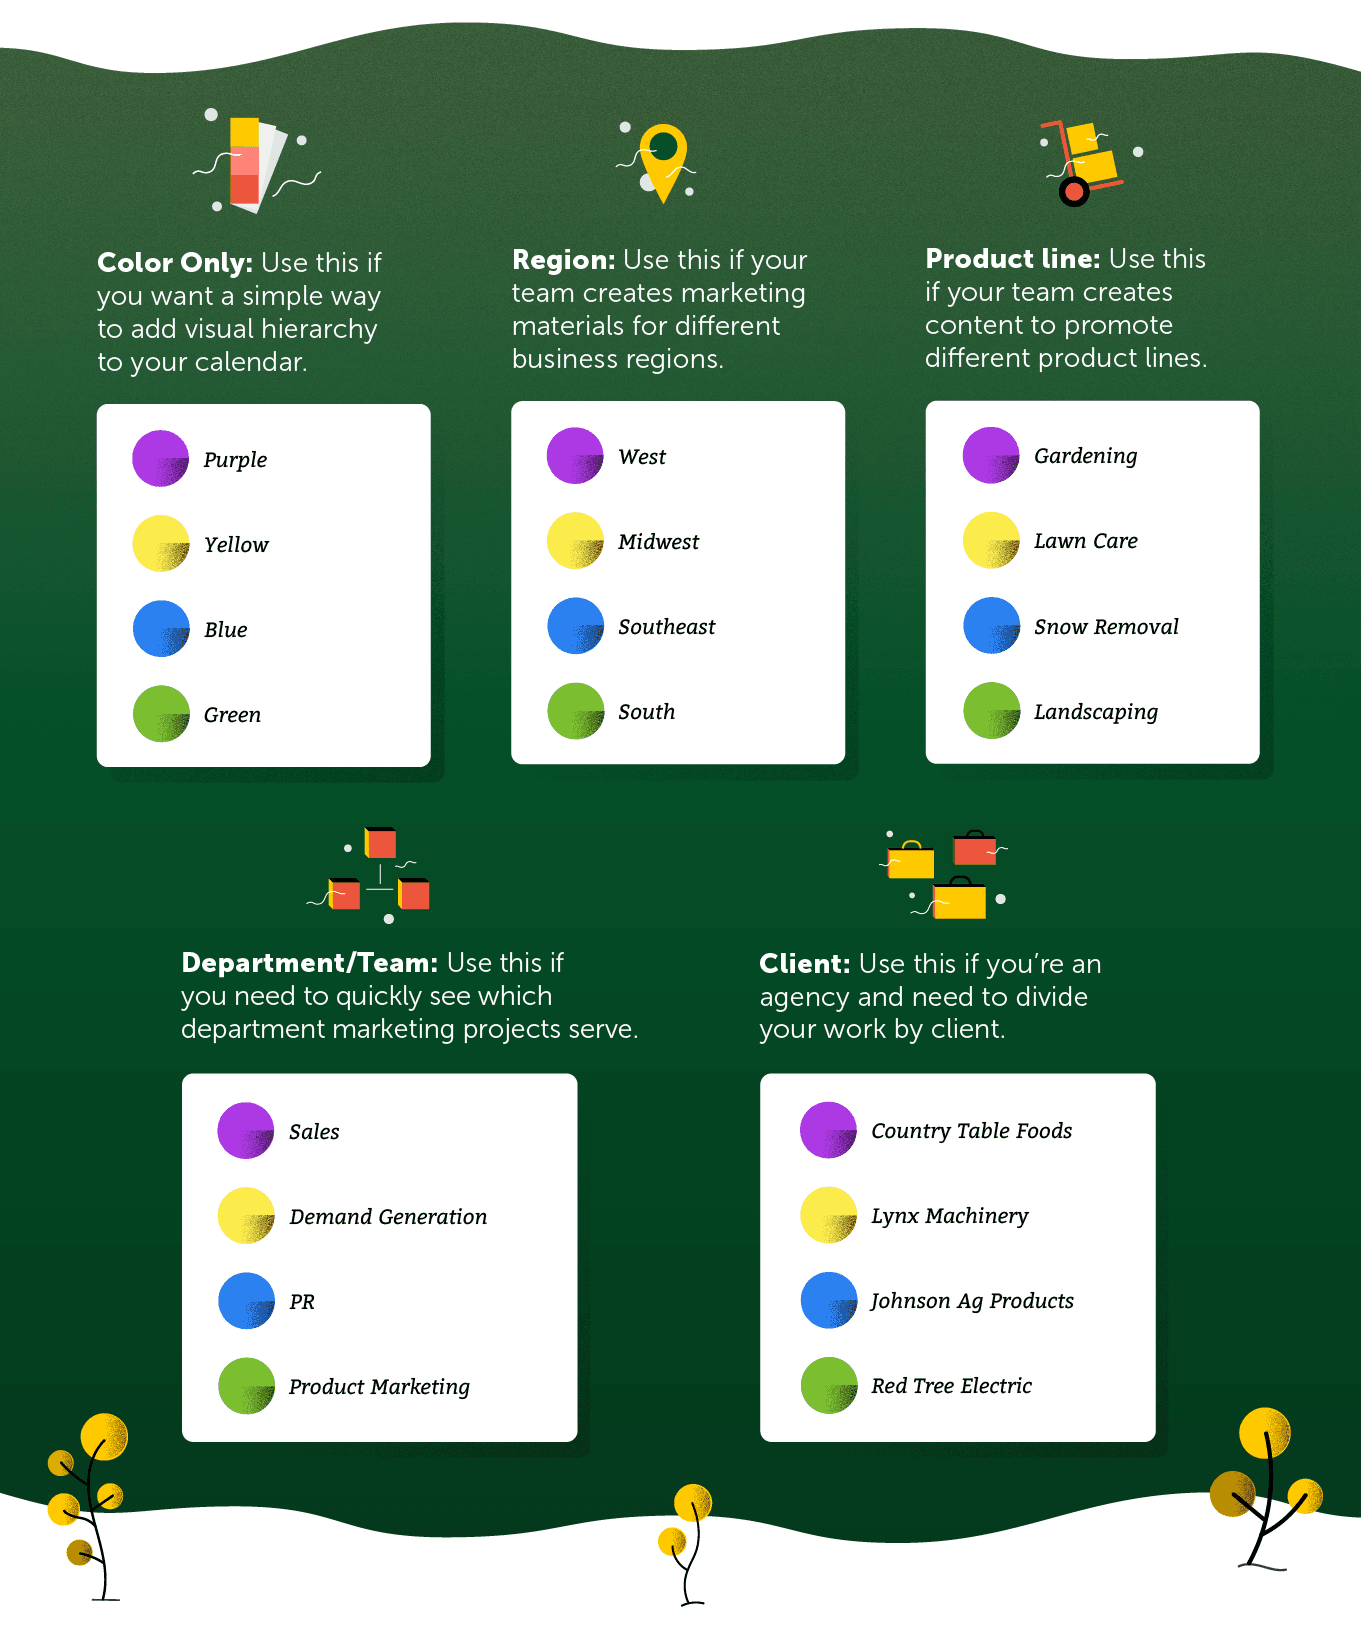
- Choose Your Color Labels
- Apply Color Labels to Your CoSchedule Calendar
- Bonus Step: Apply Additional Metadata To Your Projects
Core Concept: Get Your Process In Order
When you suffer from a lack of process, it can feel like your to-do list & projects are out-of-control. It feels impossible to define your priorities or know when projects will be done. In this chapter, you’ll learn how to use your CoSchedule Calendar to get a solid marketing process in place.
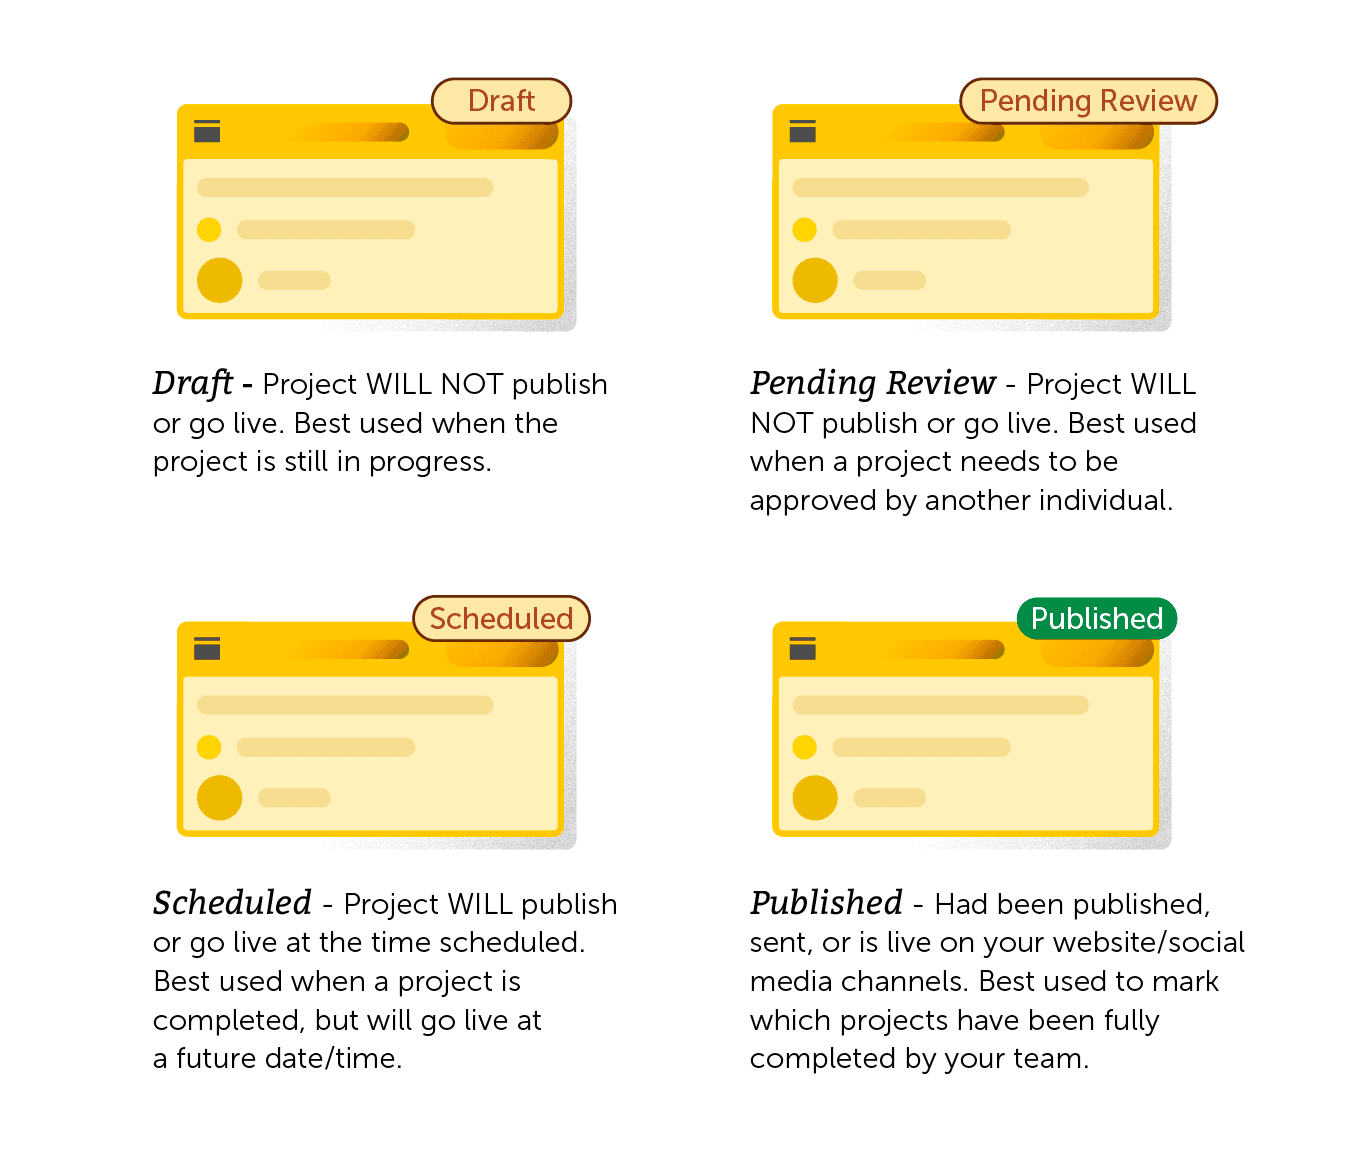
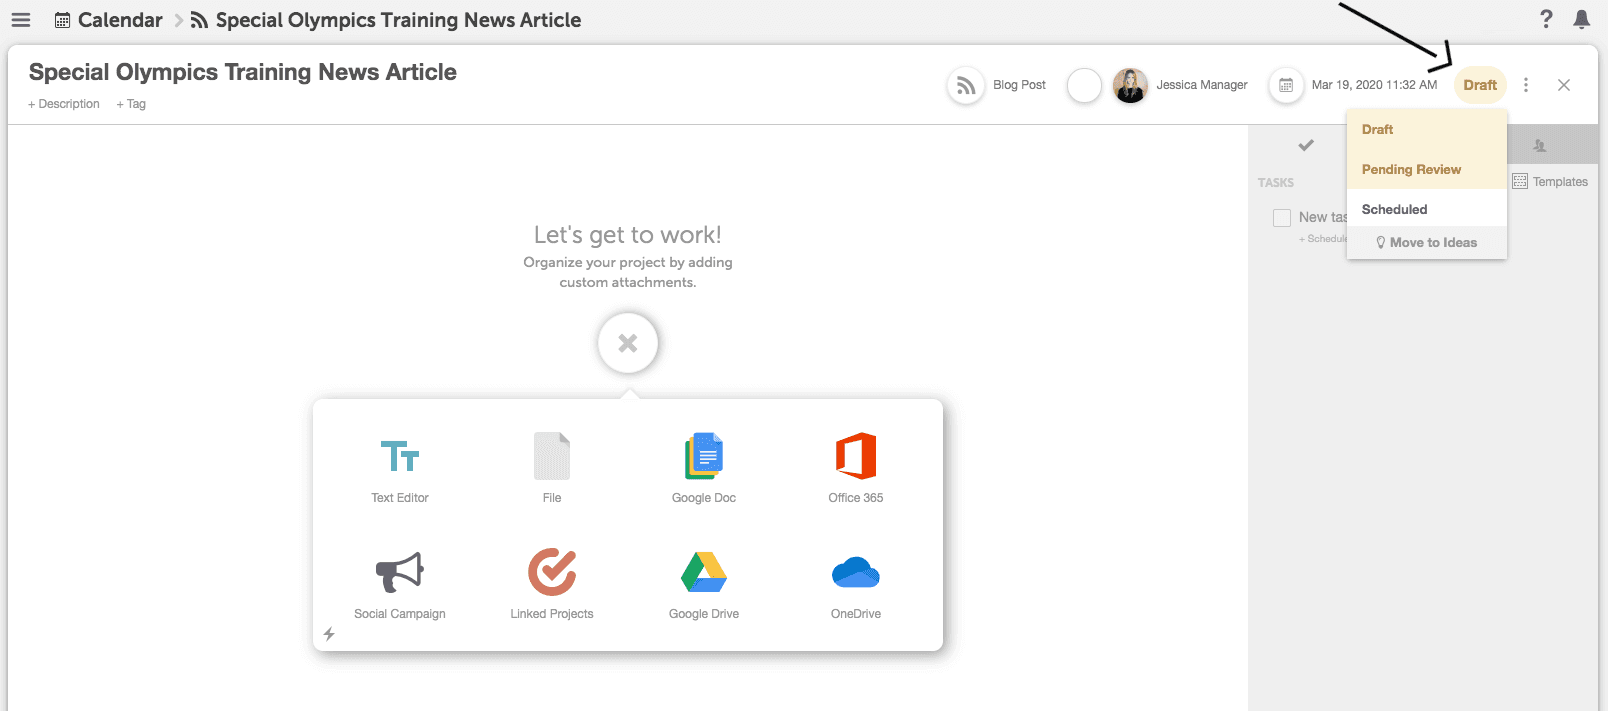
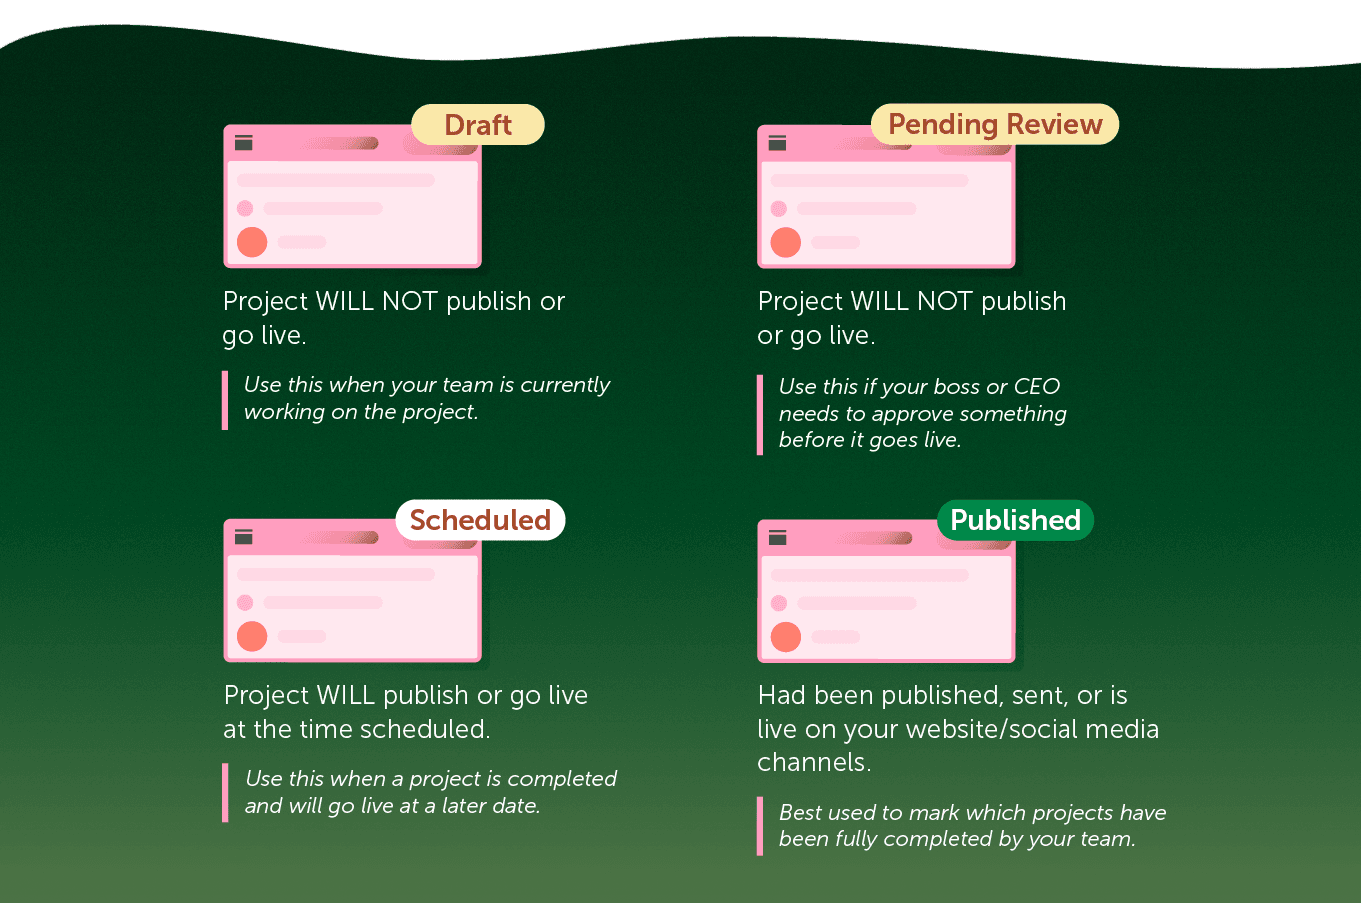
Change The Status Of A Project
- Click a project card on your calendar.
- Click the status button in the top right-hand corner to change the status.
Choose Your Color Labels
Apply Color Labels To Your Calendar
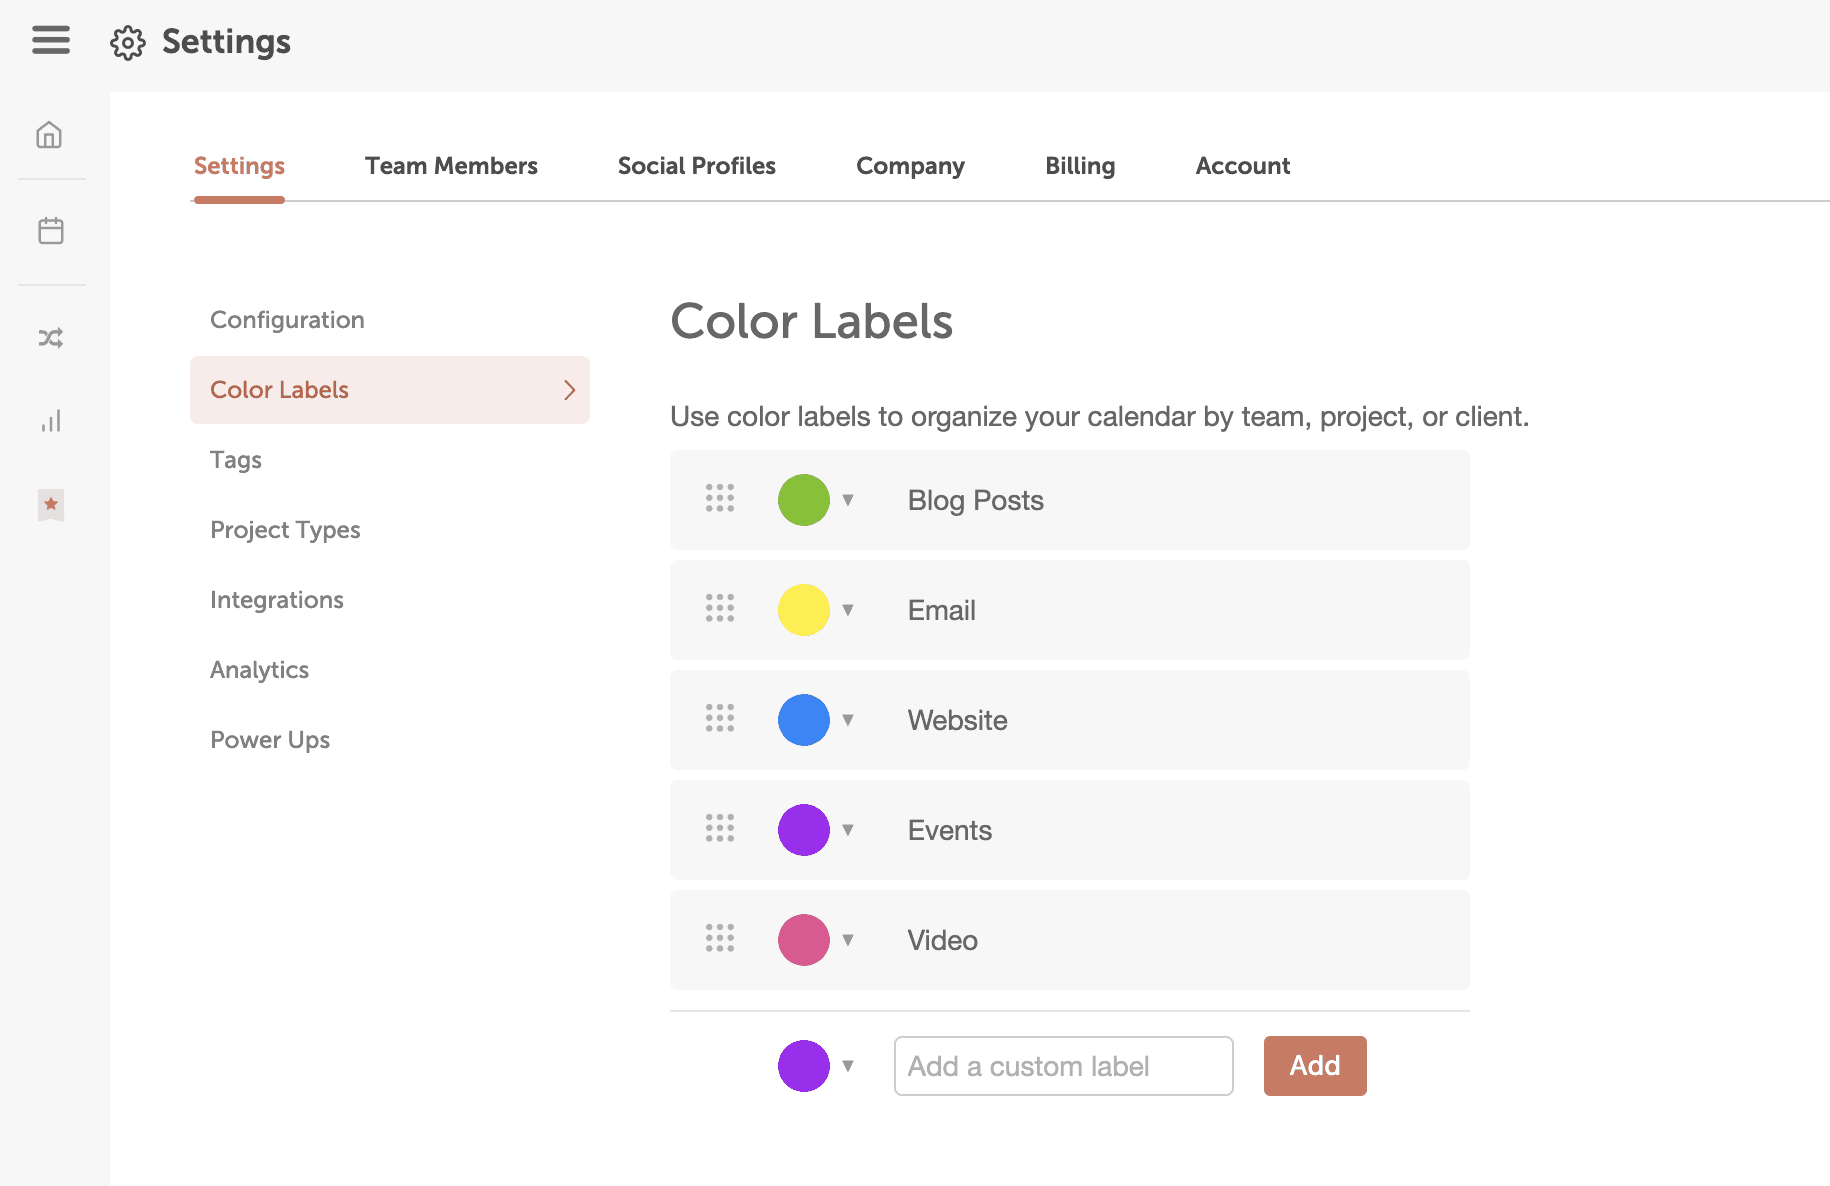
To set up color labels:- Click the Settings button in the left-side panel.
- Select Color Labels from the menu list under Settings.
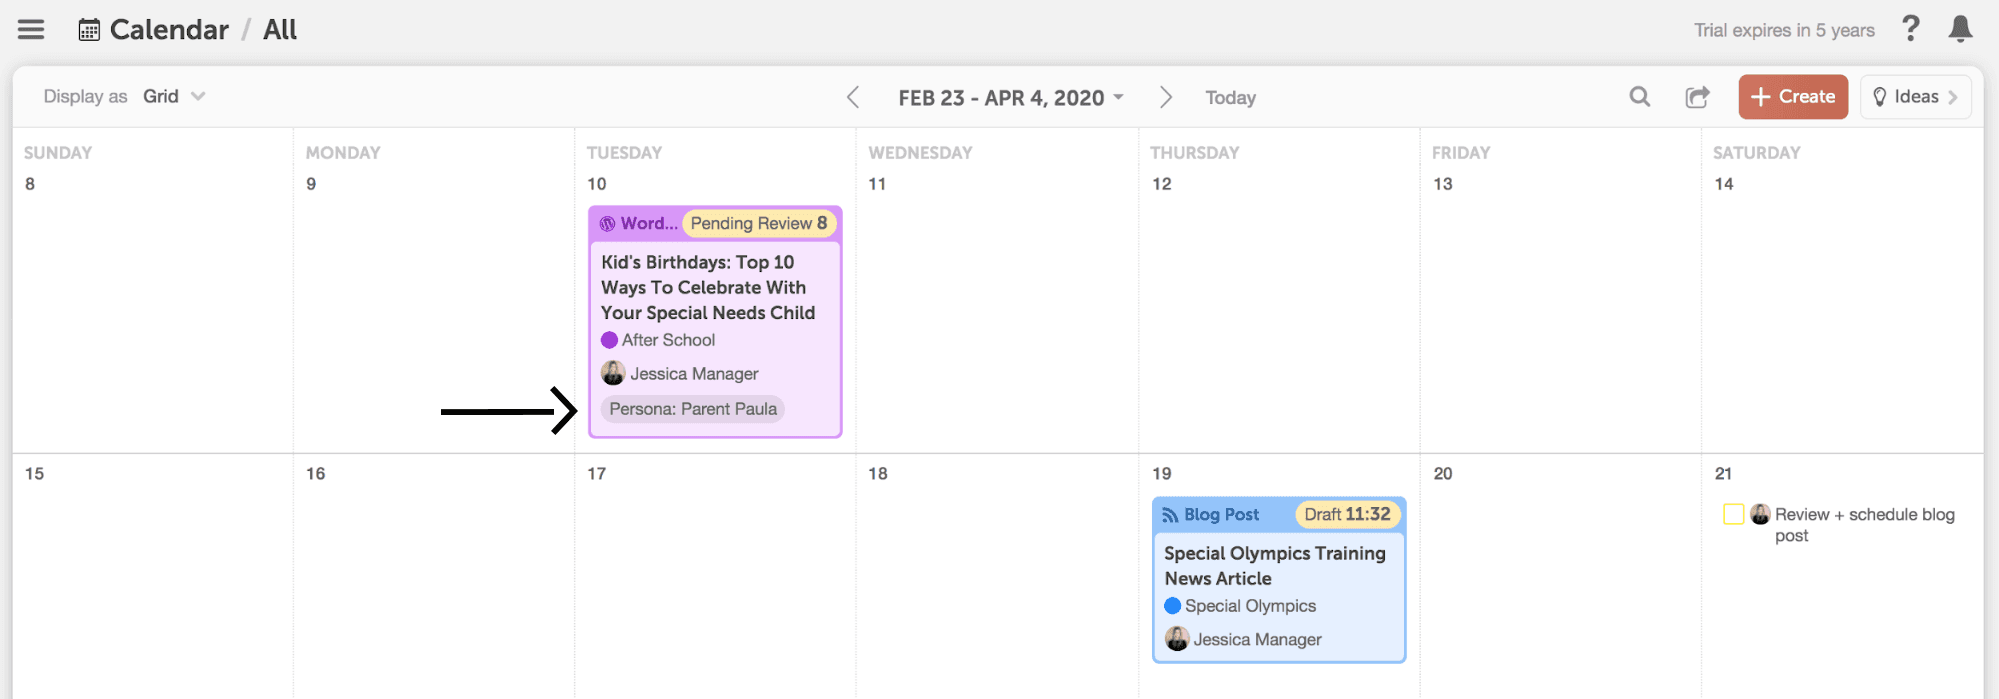
After you’ve set up color labels, you can apply them to your projects to visually distinguish between different projects on your calendar.
Bonus Step: Apply Additional Metadata To Your Projects
Tags
Tags build an added layer of information on top of your color labels. Use tags to quickly see which projects contribute to various goals, target audiences, or initiatives at a glance.
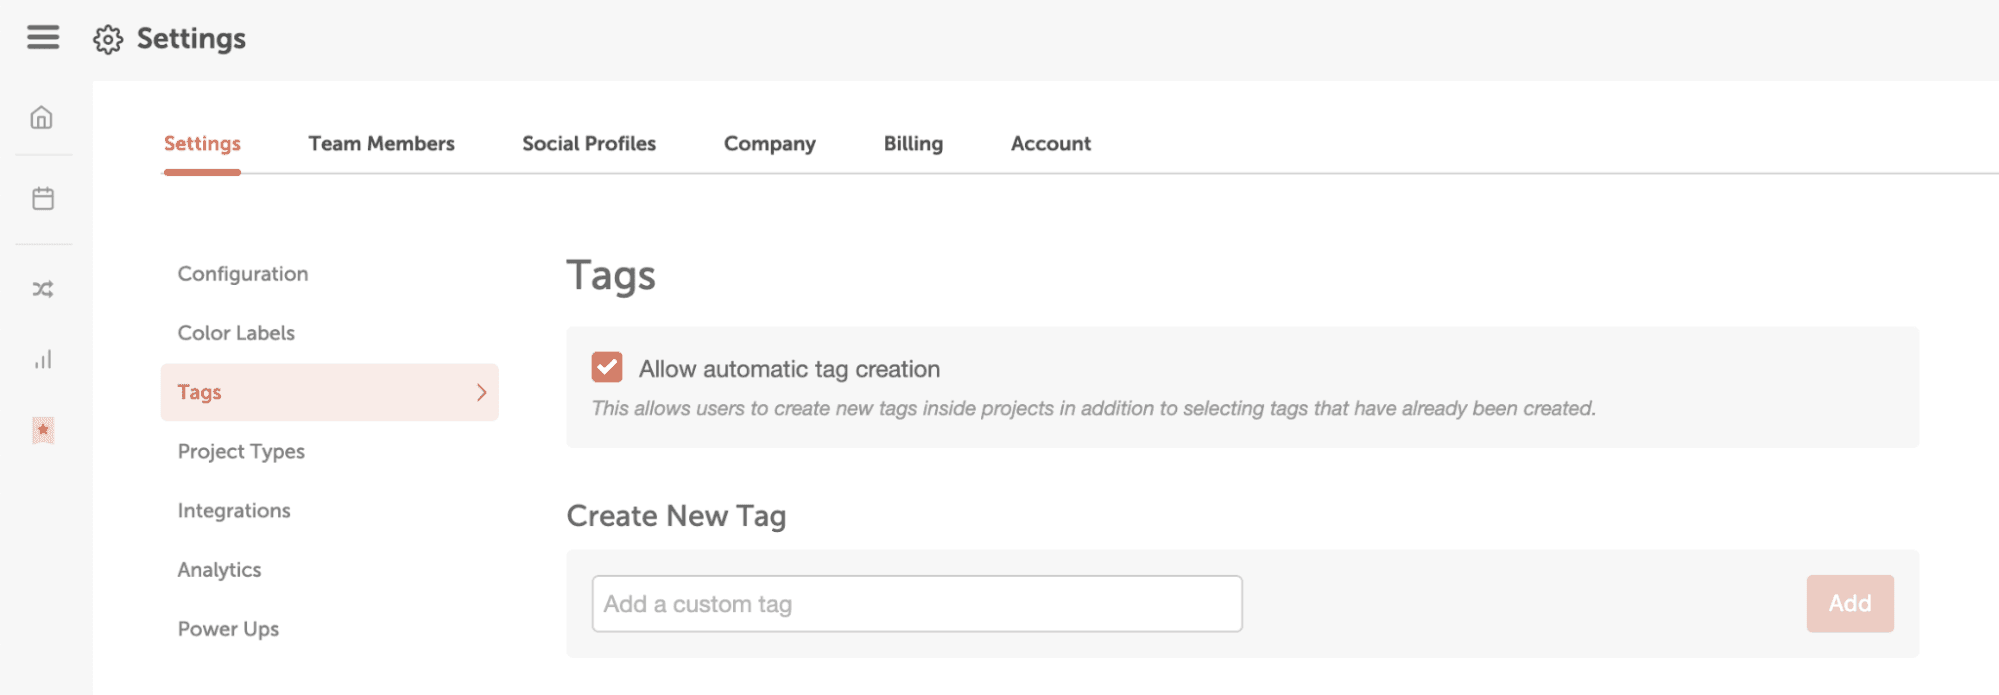
Tags are automatically added to your calendar when you add a new tag inside any project. You can manage your list of Tags by going to the “Tags” section in your Settings.
Descriptions
Use Project Descriptions to add more context or details to a specific project’s Project Card. This helps you quickly know an important summary of your project.
Descriptions can be added by clicking “More Options” when creating a new project or below the project name within a project card.