
Getting Started Guide: Free Calendar
The Best Way To Manage A Project From Start To Finish
In This Lesson
 You can also use Idea Bin to store project ideas you aren’t ready to schedule yet.


 This lets you schedule your projects so CoSchedule Calendar can push everything live when it’s time.

- Step 1: Add Projects To Your Calendar
- Step 2: Add A To-Do List To Your Project
- Step 3: Create A New Google Doc Attachment
- Step 4: Add A Social Media Campaign Attachment
- Step 5: Schedule Your Project & Let Your Calendar Do The Rest
- Bonus: Core Concept: Stay Flexible When Projects Change
Core Concept: Use Your Calendar To Plan A Project From Start To Finish
Now that you’ve learned all the parts of CoSchedule Calendar, it’s time to tie it all together. This chapter focuses on how to manage a marketing project from start to finish using your CoSchedule Calendar. You’ll take the elements you learned in each of the previous lessons to create a streamlined marketing process where things finally run smoothly.
Step 1: Add Projects To Your Marketing Calendar
- Weekly or monthly newsletters
- Upcoming events
- Blog post topics you want to write about
- Product landing page
- Conference slide deck
- Click the Ideas Button.
- Drag and drop the project over to the Ideas area to keep it on your radar, but off your calendar.
You can also use Idea Bin to store project ideas you aren’t ready to schedule yet.
Step 2: Add A To-Do List To Your Project
Manually Add Tasks
Within a project, you can add individual tasks and deadlines. Add all the tasks needed to complete the project.
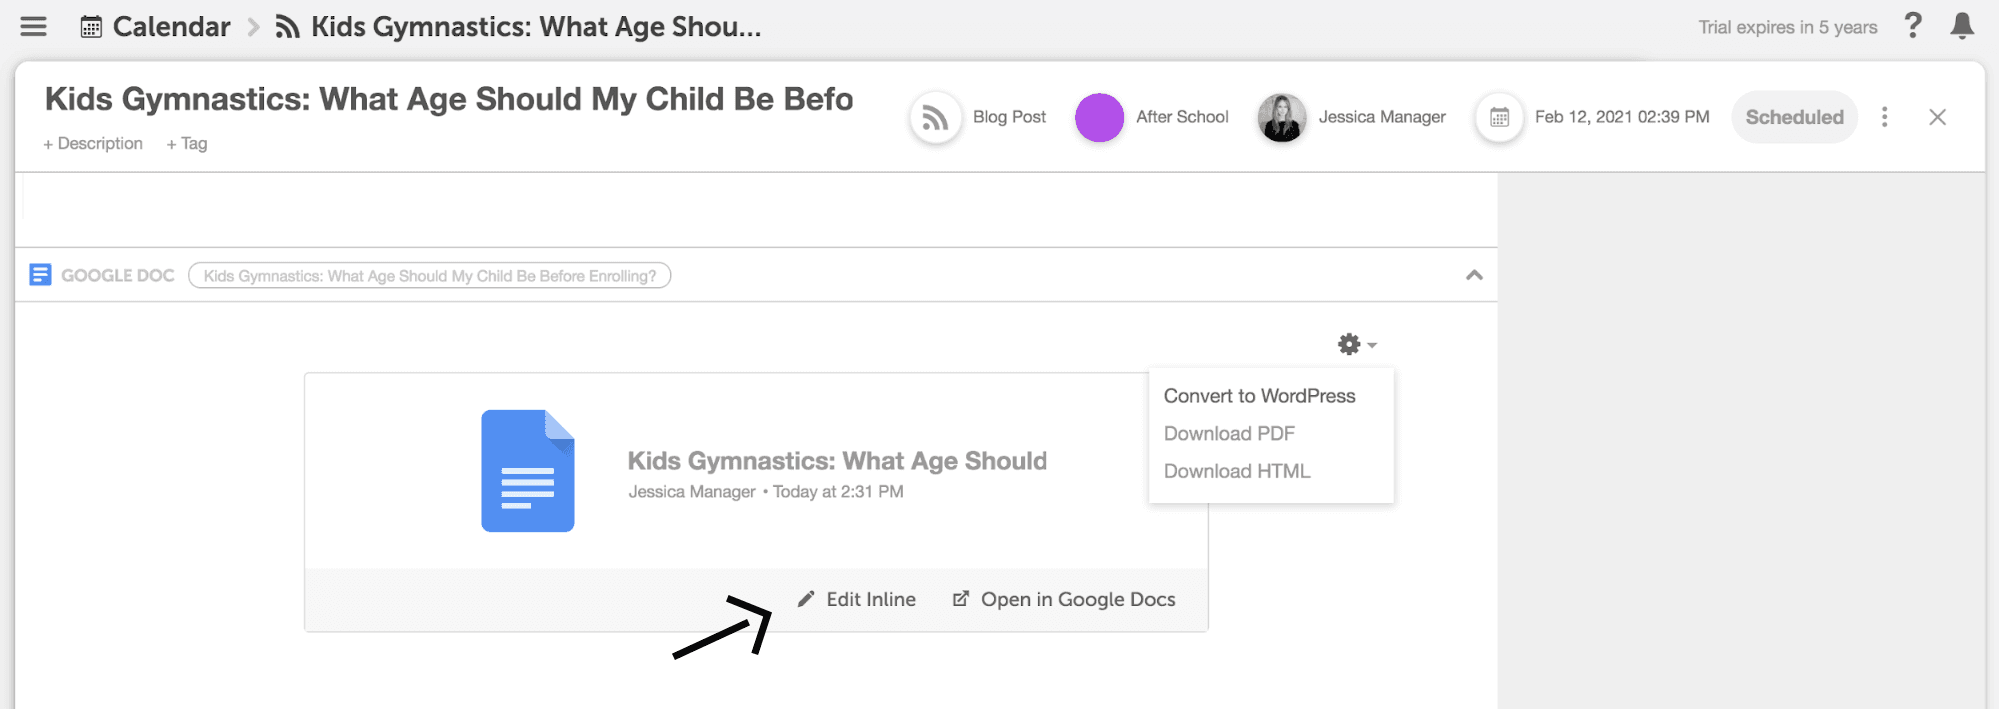
Step 3: Create A New Google Doc Attachment
Step 4: Add A Social Media Campaign Attachment
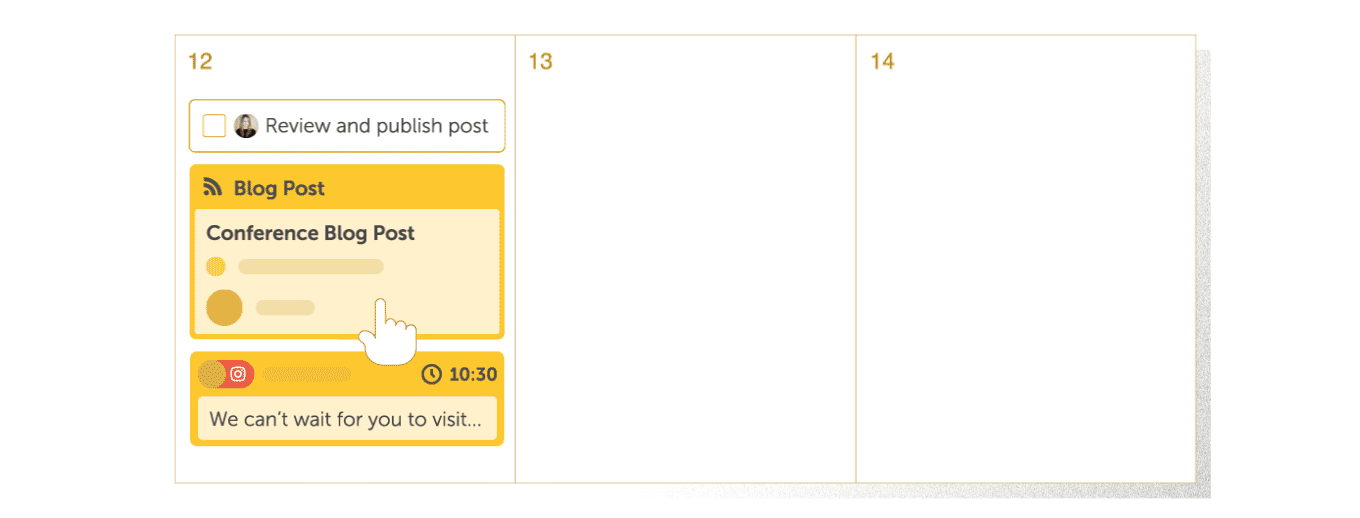
Step 5: Schedule Your Project & Let CoSchedule Calendar Do The Rest
- Click the Status
- Choose Scheduled
This lets you schedule your projects so CoSchedule Calendar can push everything live when it’s time.
Bonus: Core Concept: Stay Flexible When Projects Change