Manage Files in Your Calendar
Marketing Calendar makes it easy to add and manage graphics, photos, videos, and any other files directly inside your calendar. This way you can have files uploaded before actually scheduling any piece of content (i.e. a blog post or social message).
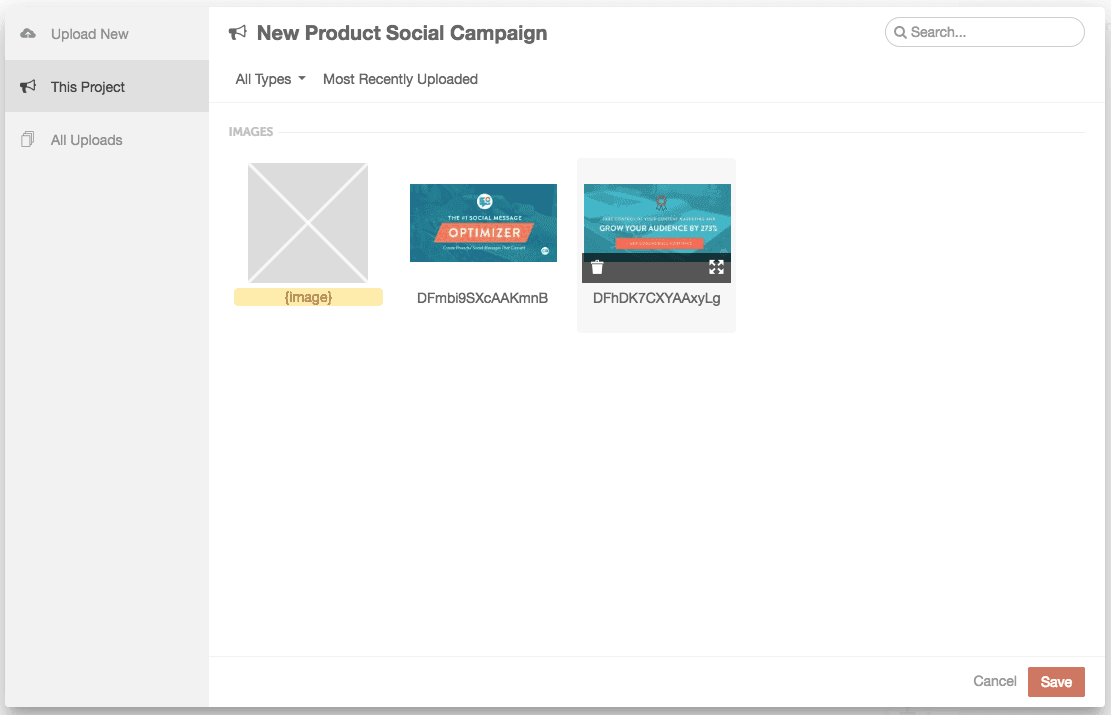
 Once uploaded, the file(s) will be located in the "This Project" tab. To add a file, select the file then click Save.
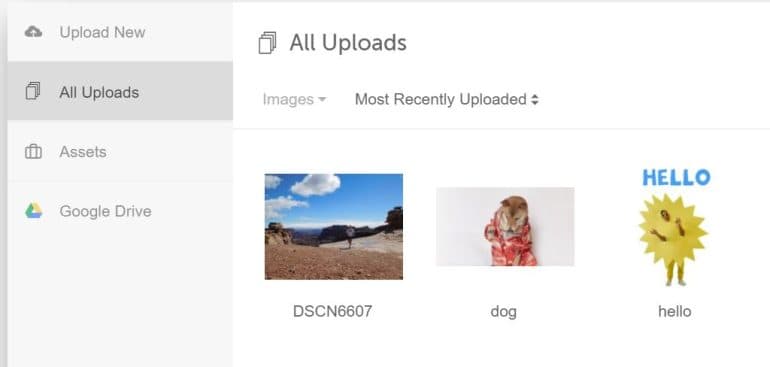
 Once you have opened the Media Library from your project, you can view files associated with the current project or view all the files that you have uploaded across all projects and messages.
Back To Top
Once you have opened the Media Library from your project, you can view files associated with the current project or view all the files that you have uploaded across all projects and messages.
Back To Top
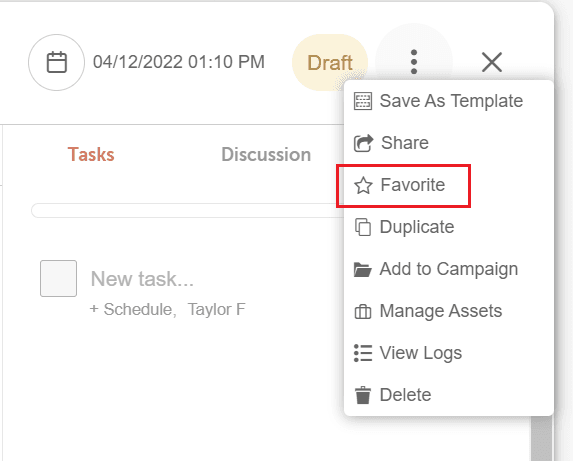
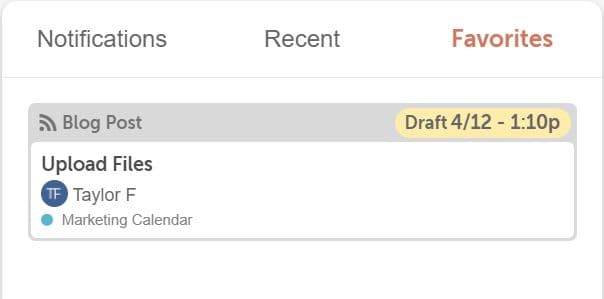
 For easy access to this project, add it to your Favorites. You can find your Favorite projects in the right-side panel on the Home view.
 Back To Top
Please note: This solution is for customers without access to the Assets dashboard.
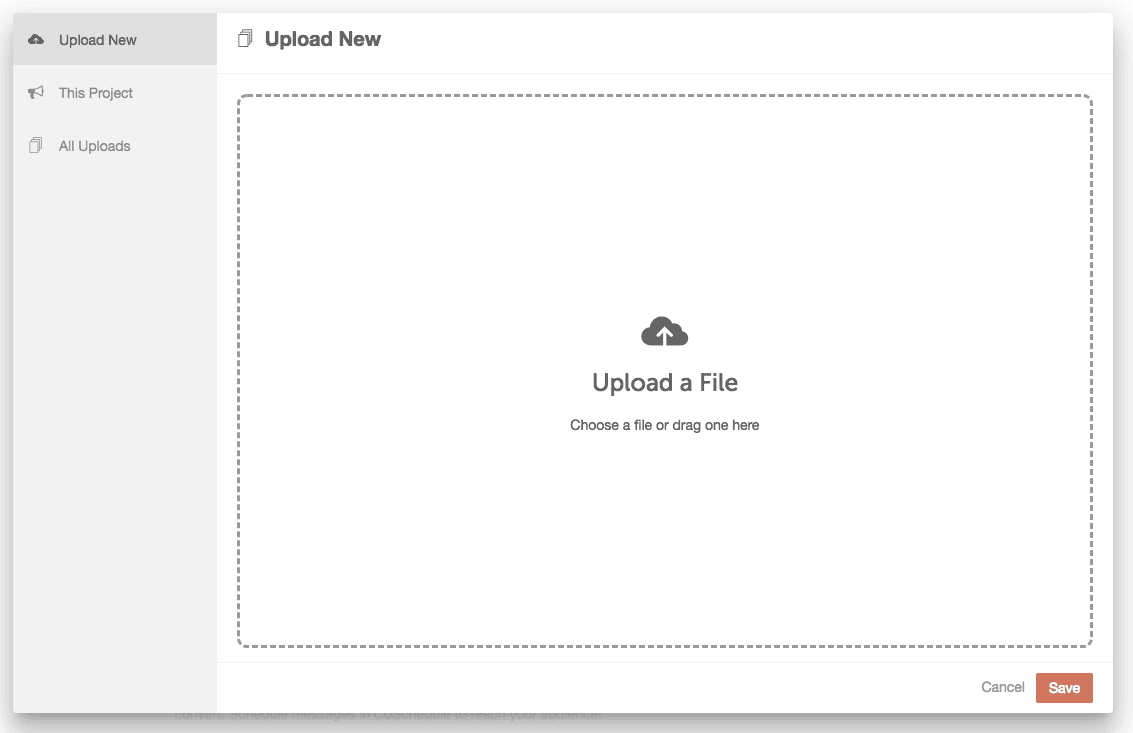
Upload Files
Begin by opening a project or social message. Click to add a file attachment.- In a social message, click the +camera icon or +video icon to add a photo or video.
- In a Project, click to add an attachment, then select Files.
Once uploaded, the file(s) will be located in the "This Project" tab. To add a file, select the file then click Save.
Once you have opened the Media Library from your project, you can view files associated with the current project or view all the files that you have uploaded across all projects and messages.
Back To Top
Create a File Library Inside Your Calendar
When you upload an image or other file as part of a project, that file is saved to your library of uploads. These files are then available for use later on any post or project. Follow the steps below to create a file library inside of your calendar.- Create a new project. Give the project a descriptive name like “Upload Files” or “Social Graphics.”

- Select Files from the attachment options.

- Upload the desired files, then click Save.
- Close the project.
For easy access to this project, add it to your Favorites. You can find your Favorite projects in the right-side panel on the Home view.
Back To Top