
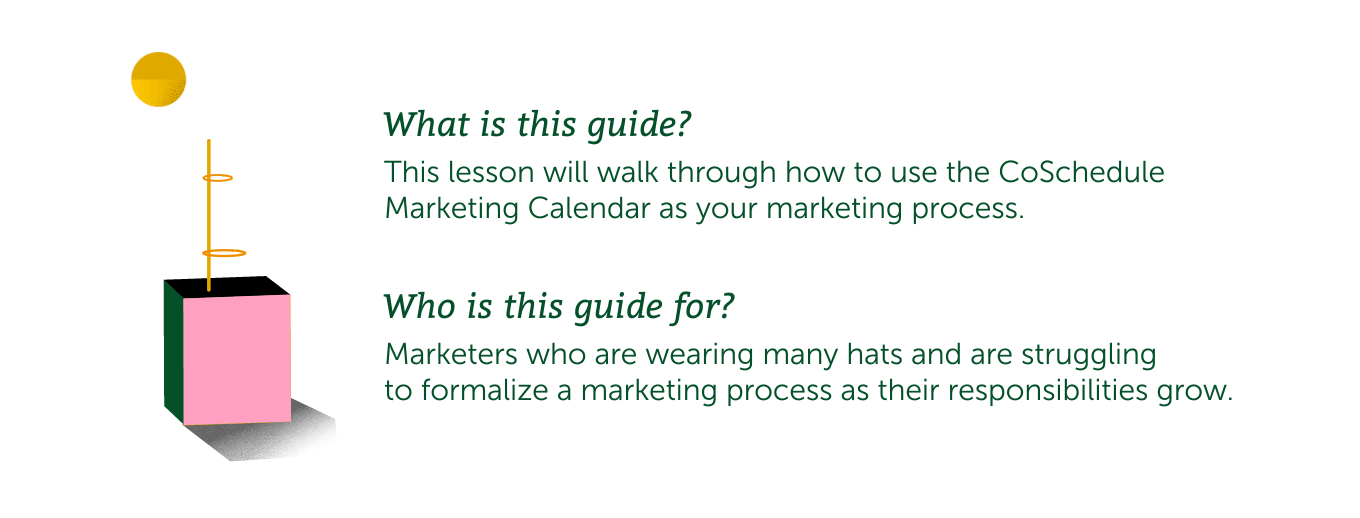
Getting Started with Your CoSchedule Marketing Calendar
Implementation Chapter 1: Build Your Own Marketing Calendar
If you read the Core Concepts chapters, you should have a good understanding of how CoSchedule Marketing Calendar is going to help you get your marketing under control.
Now the fun begins.
You’re going to learn step-by-step, how to build your own marketing calendar and put an end to the overwhelming feeling that is your current marketing situation.
 Now that all of your projects have been added to your marketing calendar, you can continue adding new ones for the future.


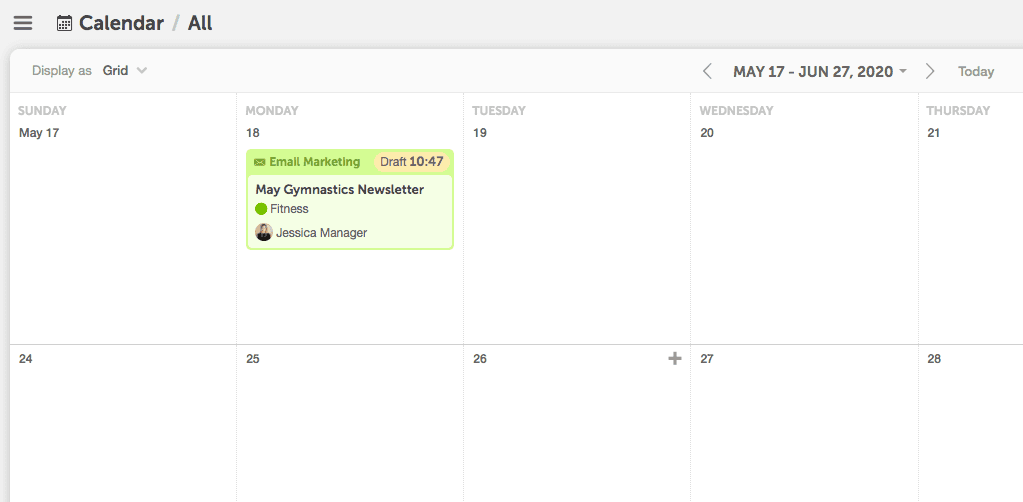
 You’ll see the project you just created on your calendar. The project card tells you all the details you just filled out like the project name, owner, and project type.
 Continue adding planned marketing projects to your calendar to build visibility into everything going on with your marketing team.


 Once your integrations are set up, everything you do outside of your CoSchedule Marketing Calendar will be synced to your calendar – which means you don’t have to waste your time duplicating work.


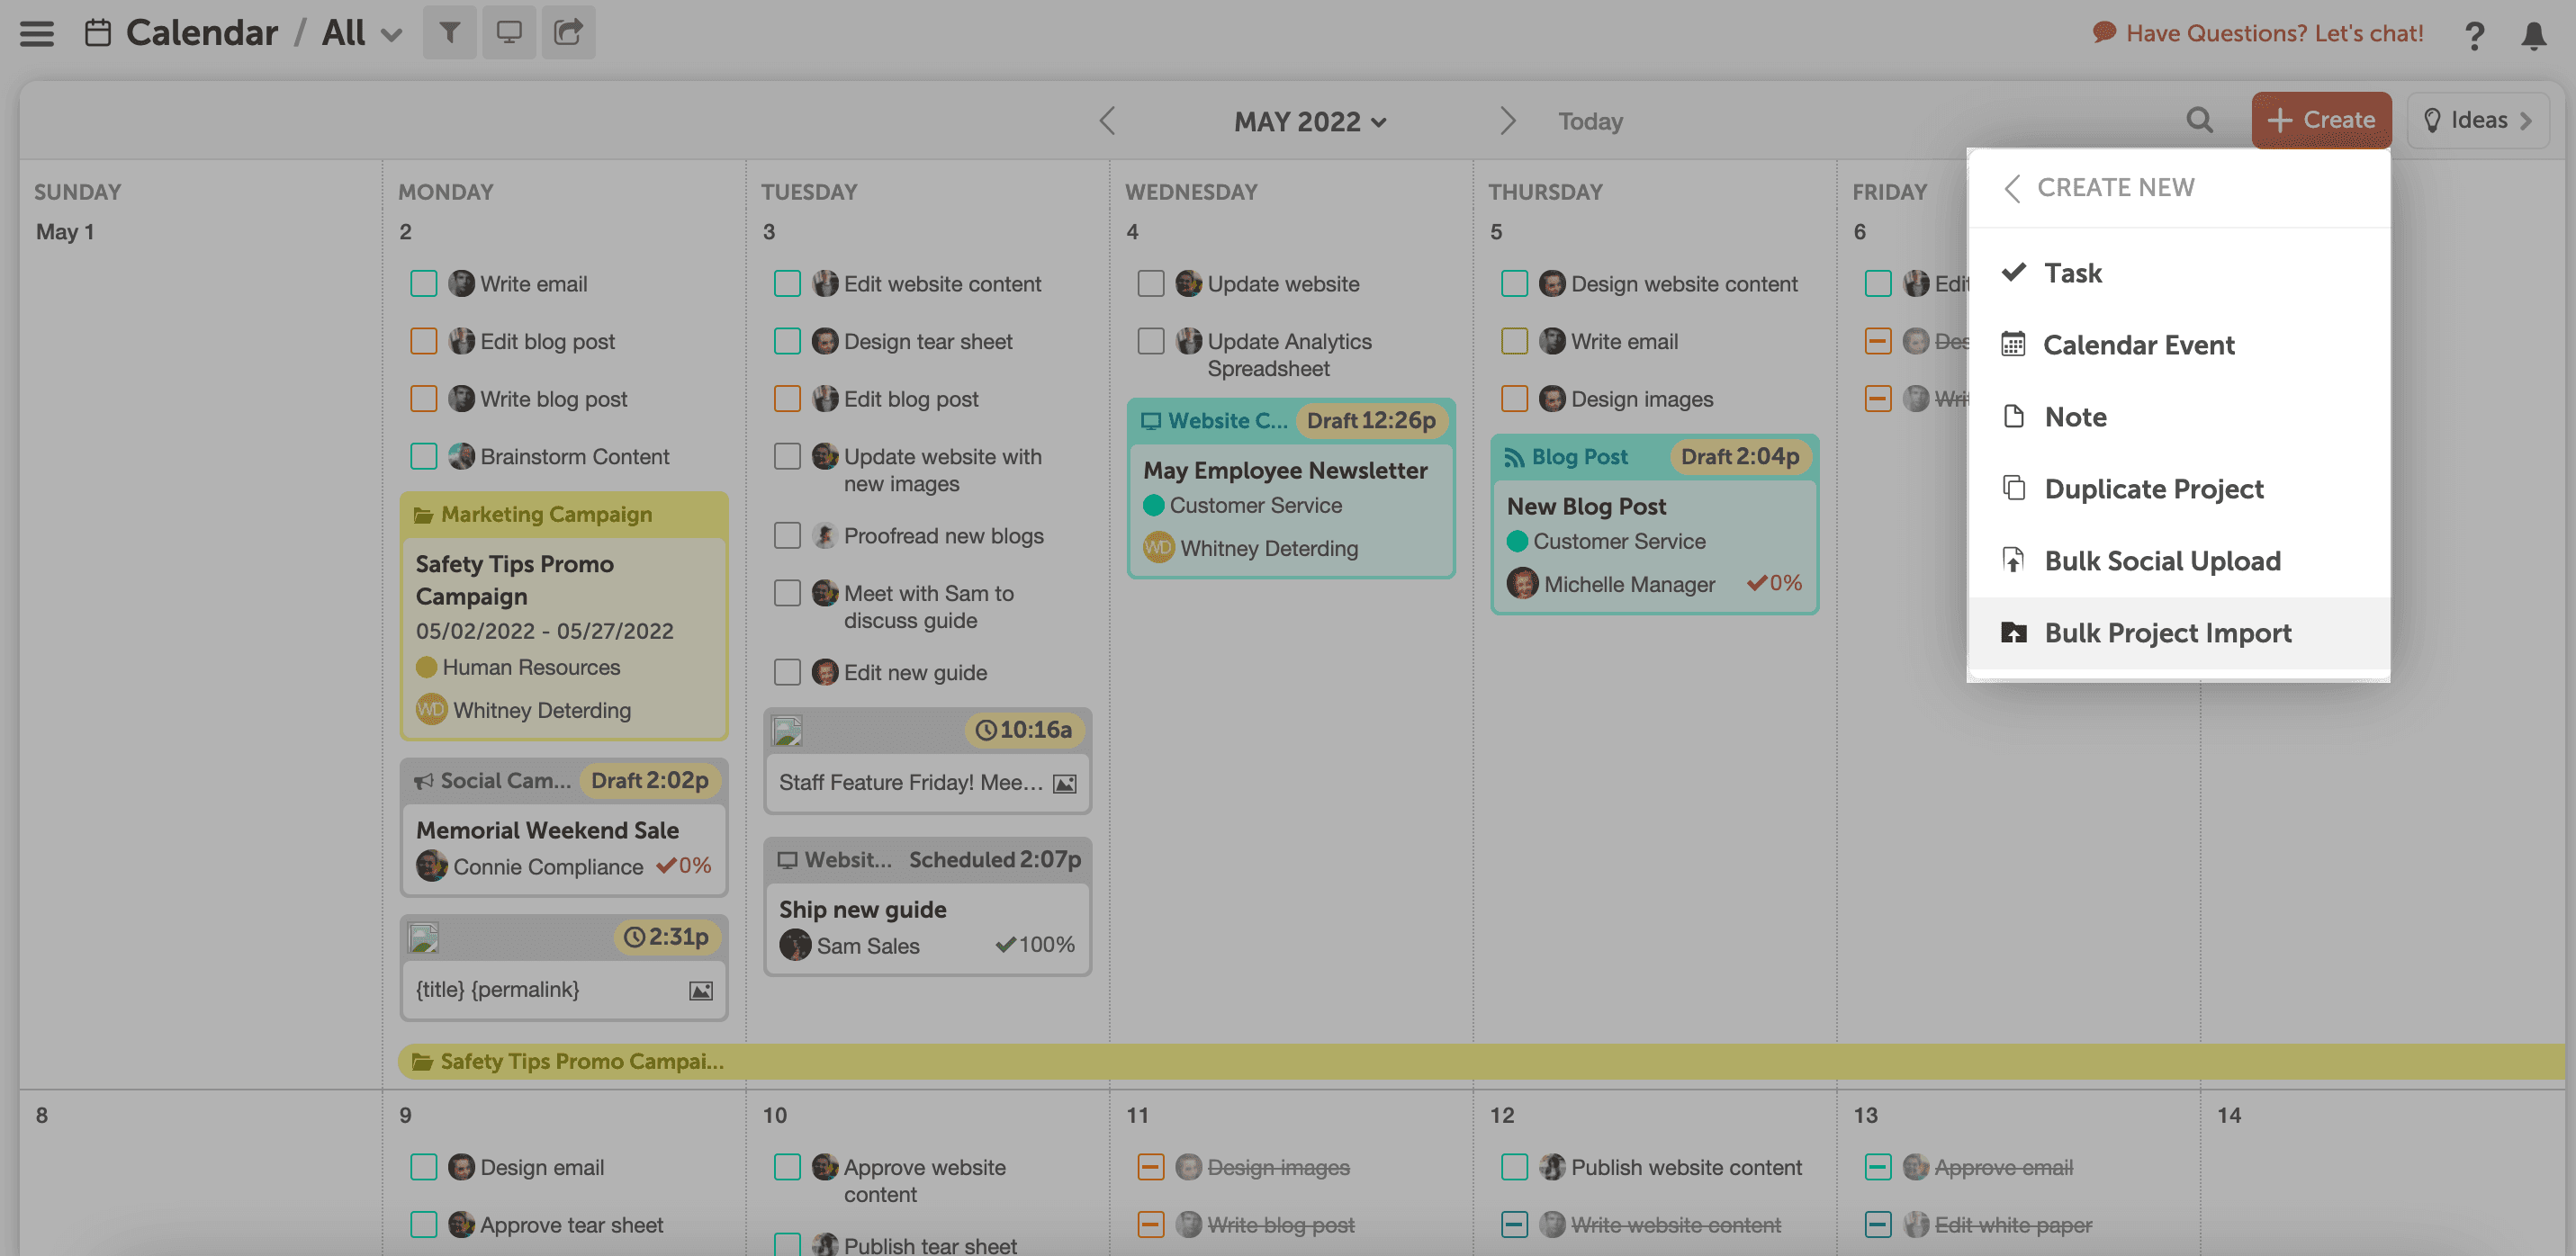
Step 1: Bulk Import Projects and Content:
The first step to building your marketing calendar is to import the projects and content you already have in a different platform such as Google Sheets, Excel, or a project management platform like Asana into your marketing calendar. This is made easy by the Bulk Project Import feature. Select Bulk Project Import in the Create drop down menu, choose which platform you want to import your projects from, and follow the provided directions to import all your content into your marketing calendar.
Now that all of your projects have been added to your marketing calendar, you can continue adding new ones for the future.
Step 2: Add a Project to Your Calendar on the Publish Date
You need to add every project to your marketing calendar from now on. Think of an upcoming blog post, newsletter, event, etc. that you are currently working on. Add it to your calendar on that day you want it to go live or publish.
Here’s a quick cheat sheet for when to choose each project type.
Project: Use if you want to create...
- Blog posts.
- Videos.
- Events.
- Website Content.
- Newsletters.
- Etc.
- Single social media messages.
- Multiple social media messages in a campaign.
- A blog post that also appears in WordPress.
- An email that also appears in your MailChimp account.
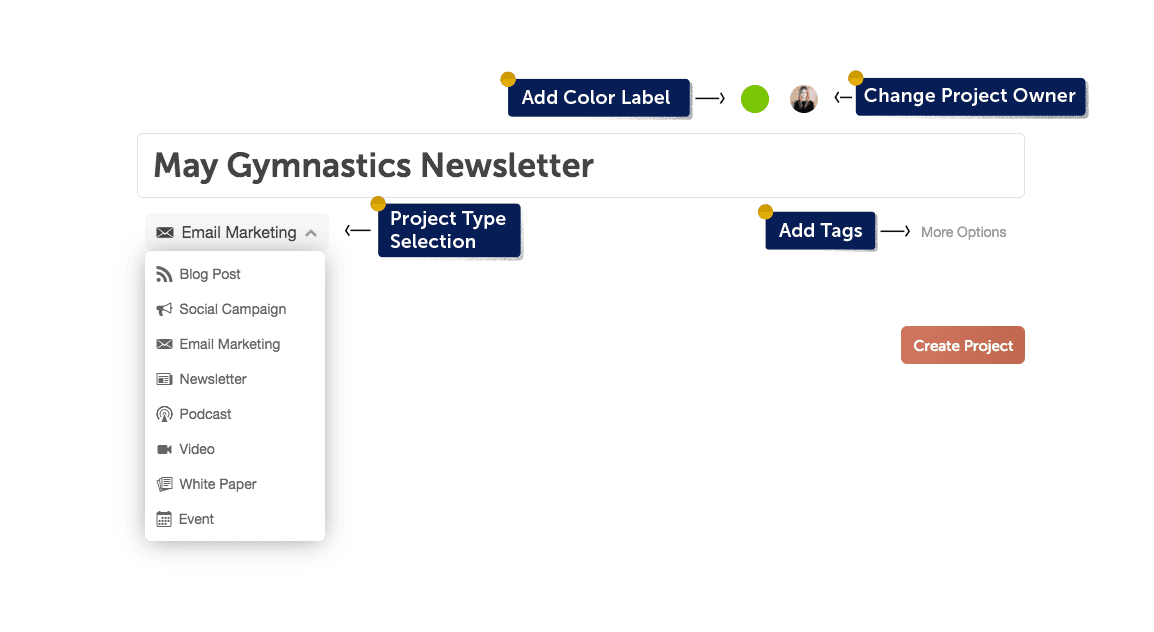
Step 3: Give Your Project A Name
After you’ve clicked the plus sign on the publish date, give your project a name and choose from the dropdown list to add the project type.
You’ll see the project you just created on your calendar. The project card tells you all the details you just filled out like the project name, owner, and project type.
Continue adding planned marketing projects to your calendar to build visibility into everything going on with your marketing team.
Step 4: Add Your Integrations
The three most used integrations include WordPress, Email Marketing platforms (like MailChimp), and Social Media channels. It’s recommended that you set up all three, if applicable.
To add an integration:
- Click the Settings button in the left-side panel.
- Select "Integrations" from the menu list under Settings.
Once your integrations are set up, everything you do outside of your CoSchedule Marketing Calendar will be synced to your calendar – which means you don’t have to waste your time duplicating work.