
Getting Started with Your CoSchedule Marketing Calendar
Implementation Chapter 8: The Best Way to Manage a Project From Start to Finish
Planning a Project from Start to Finish
Now that you’ve learned all the parts of CoSchedule, it’s time to tie it all together. This chapter focuses on showing you how to manage a blog post project from start to finish using your CoSchedule Marketing Calendar. You’ll take the elements you learned in each of the previous lessons to create a streamlined marketing process where things finally run smoothly.
Step 1: Add Projects to Your Marketing Calendar
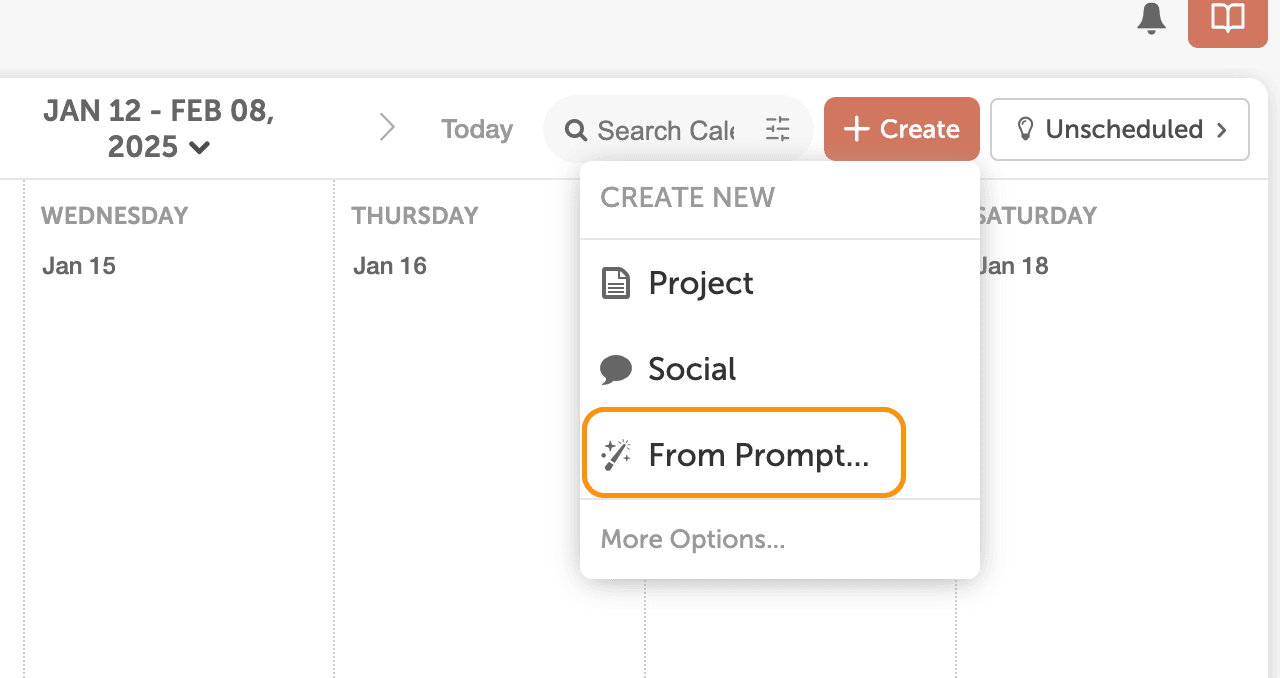
Knowing what type of projects to start putting on your calendar is tricky. It’s a common hurdle for people just getting started with CoSchedule. That said, here are some common recurring marketing projects that you may want to add to your calendar if applicable.- Weekly or monthly newsletters
- Upcoming events
- Blog post topics you want to write about
Step 2: Apply A To-Do List to Your Project
After you’ve got a blog project on your calendar, the next thing you’ll need to do is apply a task checklist to make sure everything gets done on time.Manually add tasks
Within a project, you can add individual tasks and deadlines. Add all the tasks needed to complete the project. Stay flexible when plans change by dragging and dropping tasks to new dates on your calendar in the Calendar View.
Apply an existing task checklist
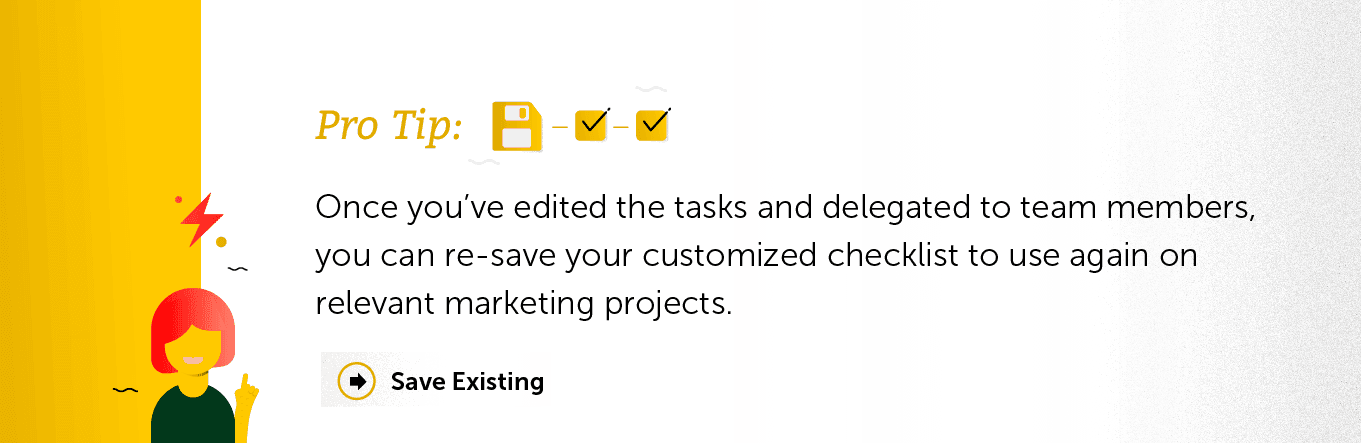
CoSchedule Marketing Calendar has a pre-set list of task templates that contain commonly needed tasks for various types of marketing projects. Once you’ve applied the task template, you can easily delete unnecessary tasks, assign them to yourself or someone on your team, and apply a due date.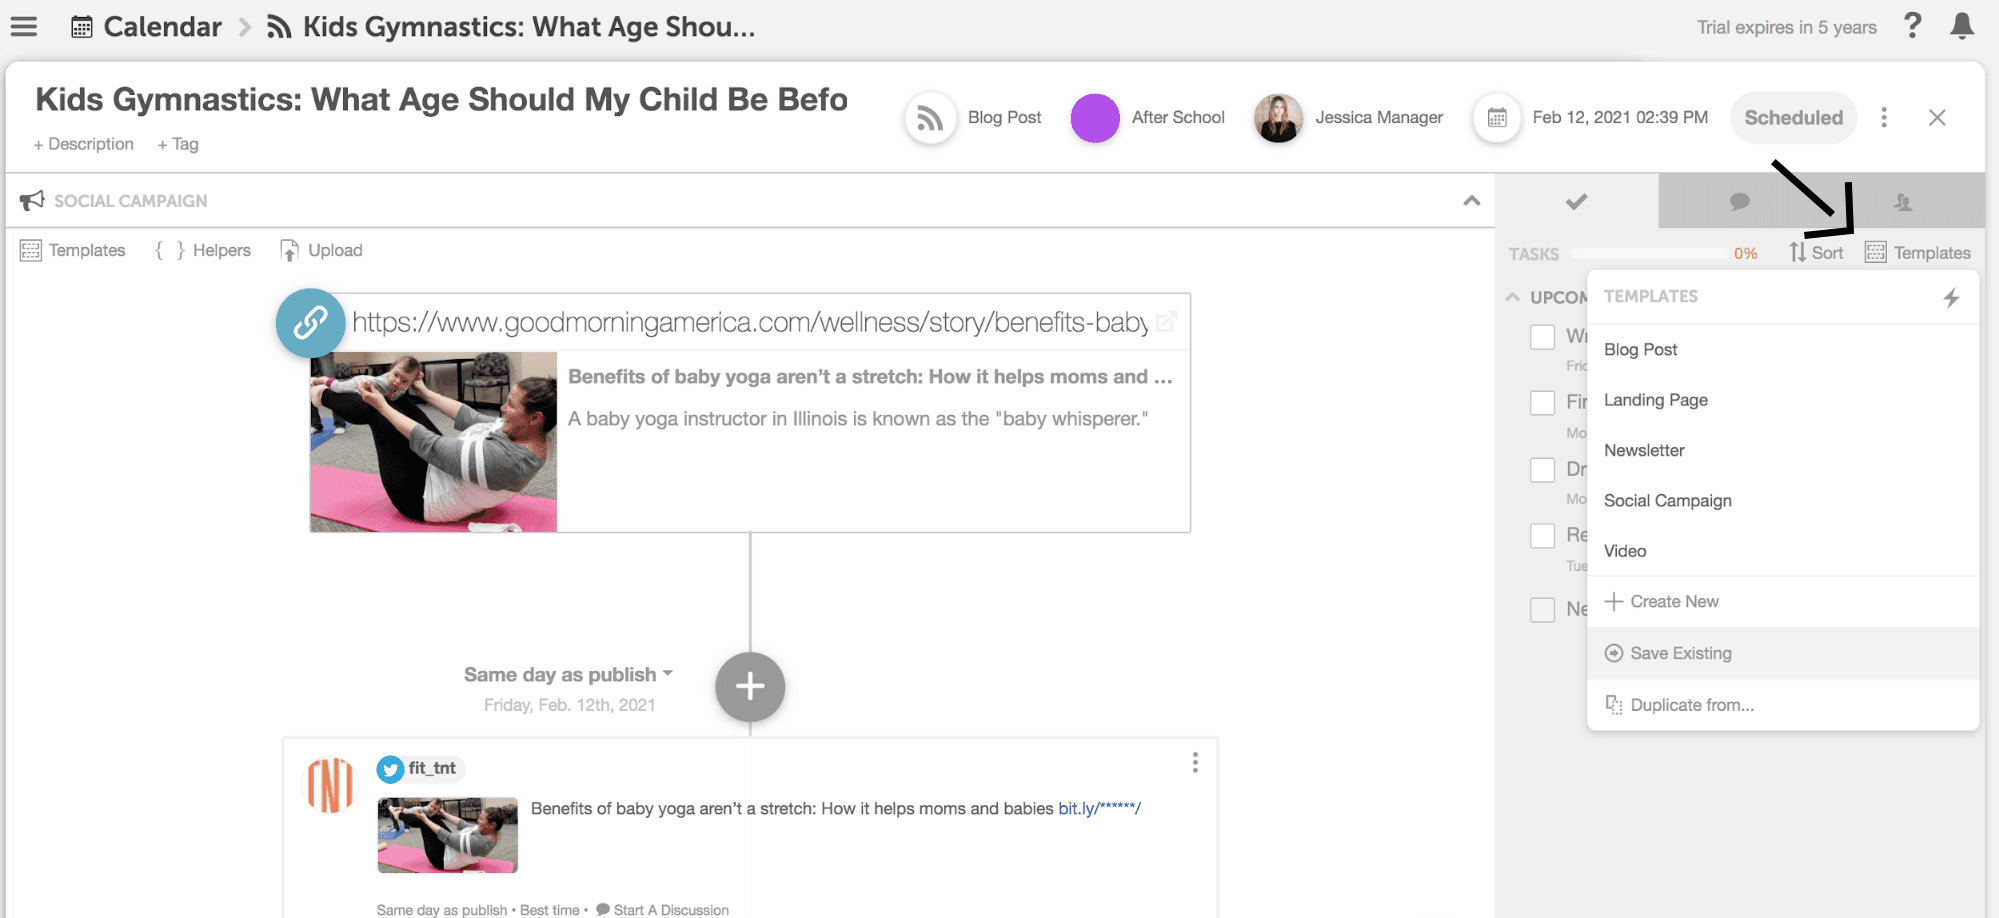

Step 3: Create a New Google Doc Attachment
The next thing you’ll need to do is attach a new Google Doc to your project. This allows you to write your content and collaborate all from one place. Once you’ve added the new Google Doc attachment, click the “Edit Inline” option to start writing your blog post directly in your CoSchedule Marketing Calendar.
 Once all your content is completed in your Google Doc, use the “Convert to Wordpress” button to automatically move everything over to a new WordPress post with one click.

Step 4: Add a Social Media Campaign Attachment
The next step is to add a social media campaign to your project. This allows you to write, collaborate, AND promote your blog post all from your CoSchedule Marketing Calendar. Using the exact social message cadence we discussed in the previous chapter, add your social messages one by one to create a social media drip campaign that will drive more traffic to your blog post over time. In case you don’t remember the social campaign recommendation, here’s a graphic to help. Next, you can save that campaign as a template to use again. This way you don’t have to remember again and again what channels you posted to and on which day.
To save your social campaign as a template to use again, simply click the “Templates” icon and then choose “Save Existing”.
Next, you can save that campaign as a template to use again. This way you don’t have to remember again and again what channels you posted to and on which day.
To save your social campaign as a template to use again, simply click the “Templates” icon and then choose “Save Existing”.
 Did you know that you can create a read-only link of your social campaign to share with anyone? This means you don’t have to copy and paste or screenshot individual social messages to get approval.
To create a read-only link of a social campaign attached to a project,
Did you know that you can create a read-only link of your social campaign to share with anyone? This means you don’t have to copy and paste or screenshot individual social messages to get approval.
To create a read-only link of a social campaign attached to a project,
- Click the ellipsis.
- Choose “Share”.

- Enable sharing on the “Social Campaign Only” option.
- Send the link to anyone for input, comments, or approval.
 Templates and Read-Only Views are only available on Marketing Calendar Pro.
Step 5: Schedule Your Project and Let CoSchedule Do the Rest
Once you’ve completed all the previous steps in this lesson, it’s time to schedule your blog post to go live. This will not only schedule your blog post to publish, but it will also put in motion the social media campaign you scheduled. You’ll find the project status in the top right corner of your project. When you’re ready to schedule your project...- click the status
- choose the “Scheduled” option
 This lets you schedule your projects so CoSchedule Marketing Calendar can push everything live when it’s time.
Some features may only be available in Marketing Calendar Pro.
This lets you schedule your projects so CoSchedule Marketing Calendar can push everything live when it’s time.
Some features may only be available in Marketing Calendar Pro.
