Getting Started with Your CoSchedule Marketing Calendar
Implementation Chapter 2: Take Control of Your Process With Your Marketing Calendar
Get Your Process in Order
When your marketing team suffers from a lack of process, it can feel like things are out-of-control. You have no idea what’s going on, who’s doing what, and when things are going live. In this chapter, you’re going to learn how to use your CoSchedule Marketing Calendar to get a solid marketing process in place.
Step 1: Change The Status of a Project
Project cards can help you track what phase each project is currently in. This helps you better prioritize your work and lets you see what’s currently being worked on.
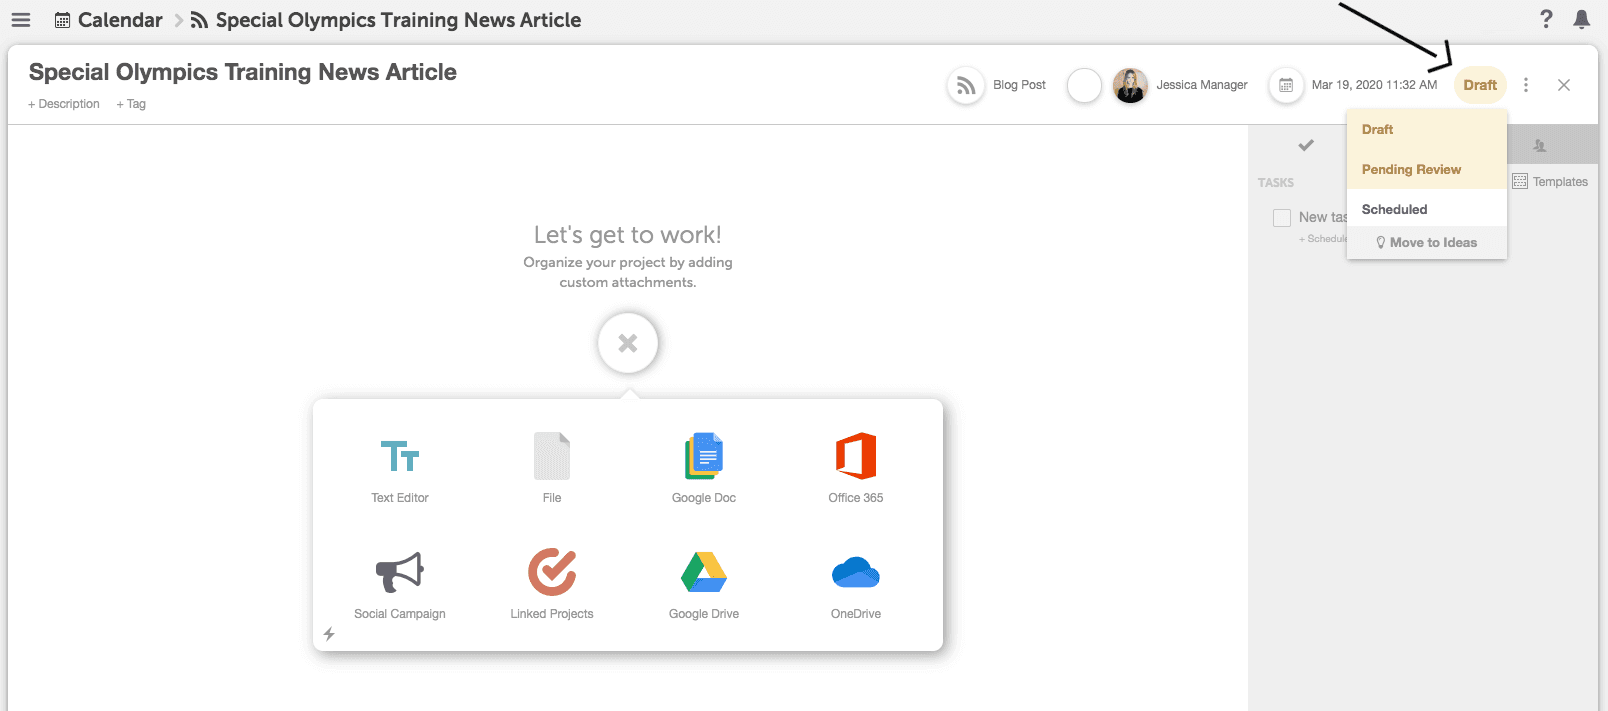
To change the status of a project:
- Click a project card on your calendar.
- Click the status button in the top right-hand corner to move a project forward.
Step 2: Choose Your Color Labels
Color labels are the most powerful way to add visual organization to your calendar. Here are some of the most popular ways to organize your color labels.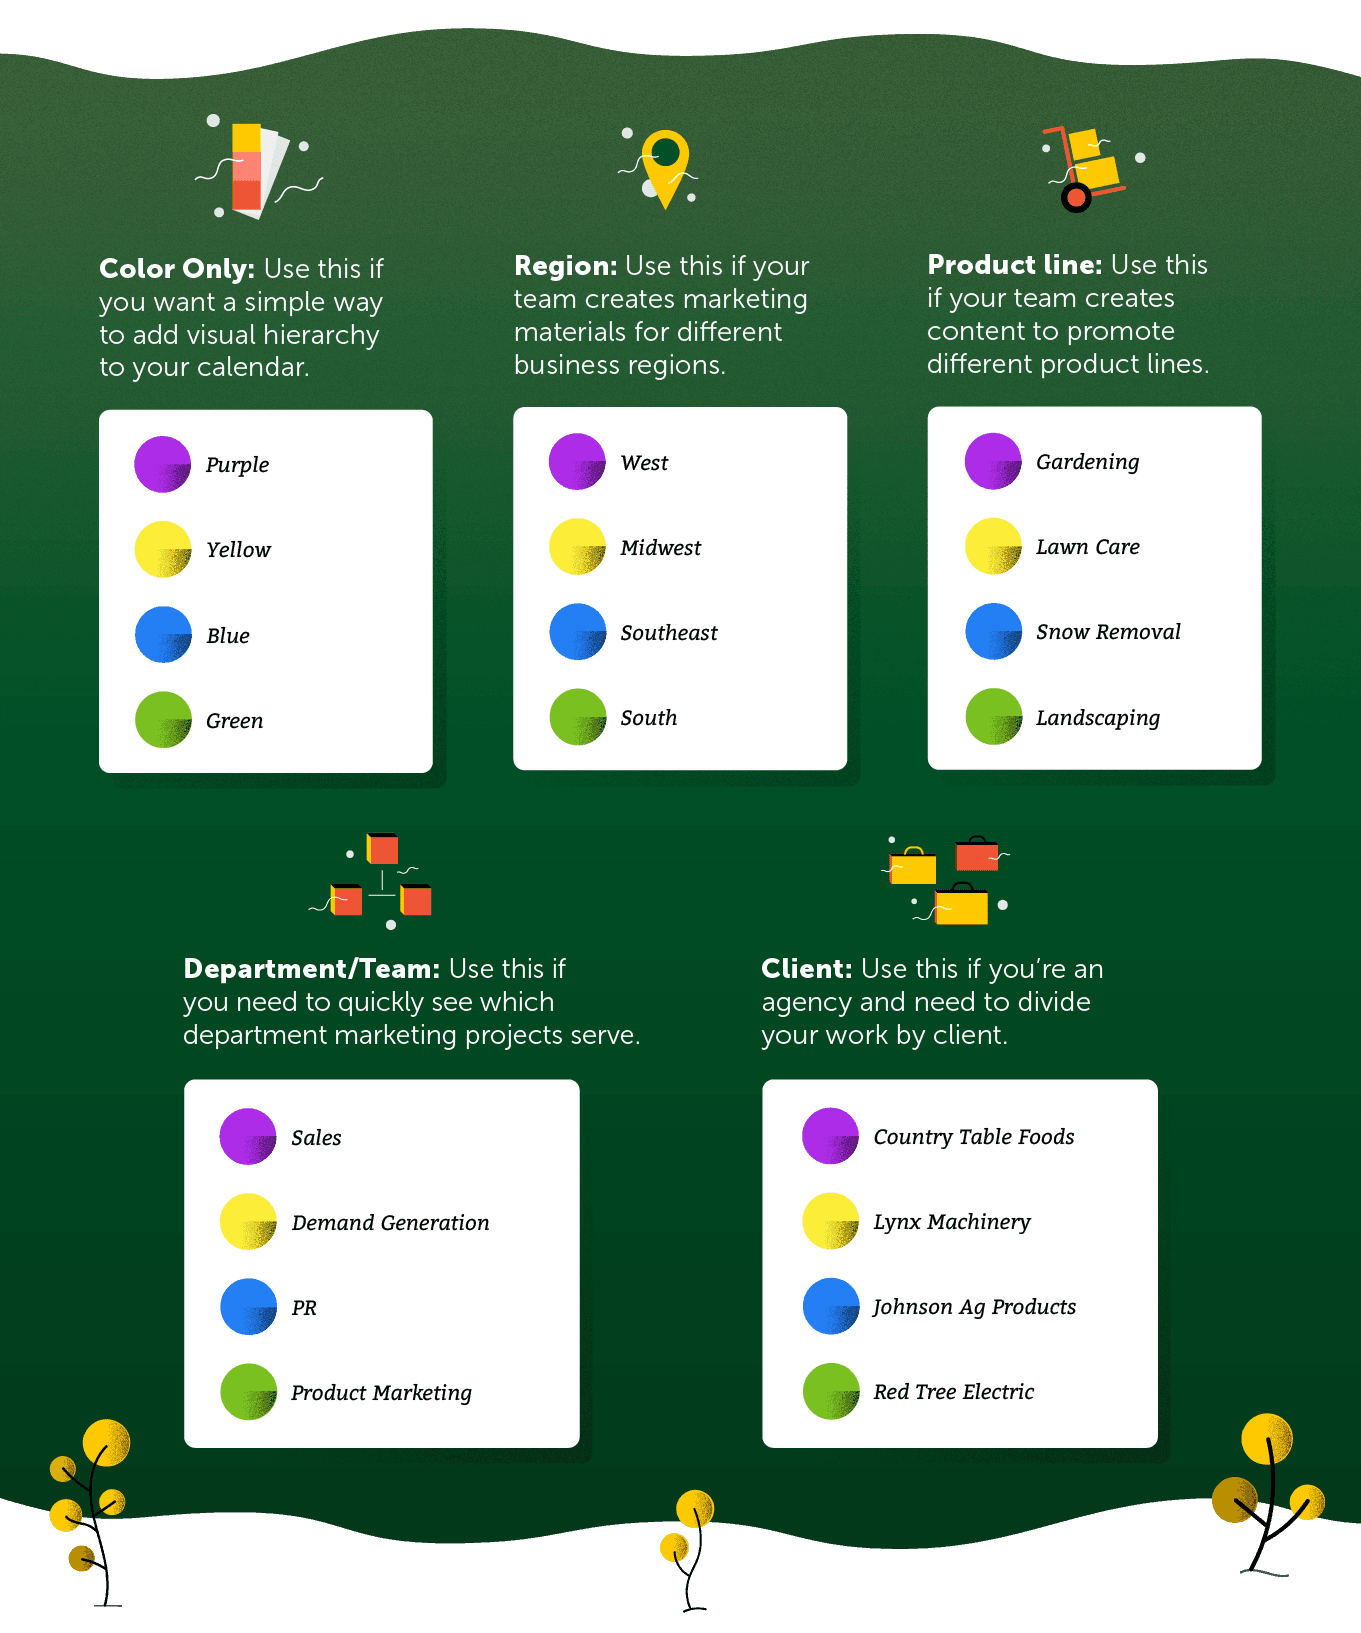
Step 3: Apply Color Labels to Your Marketing Calendar
To set up color labels:- Click the Settings button in the left-side panel.
- Select "Color Labels" from the menu list under Settings.
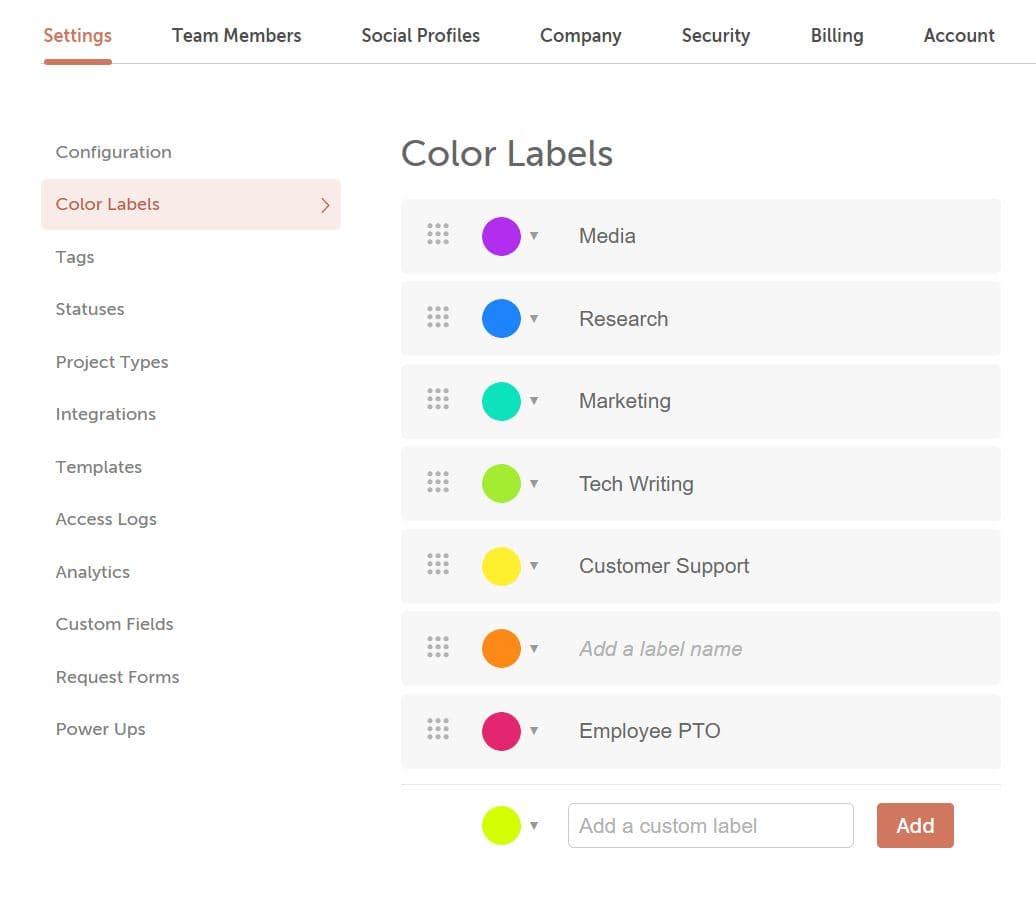
 After you’ve set up color labels, you can apply them to your projects to visually distinguish between different projects on your calendar.
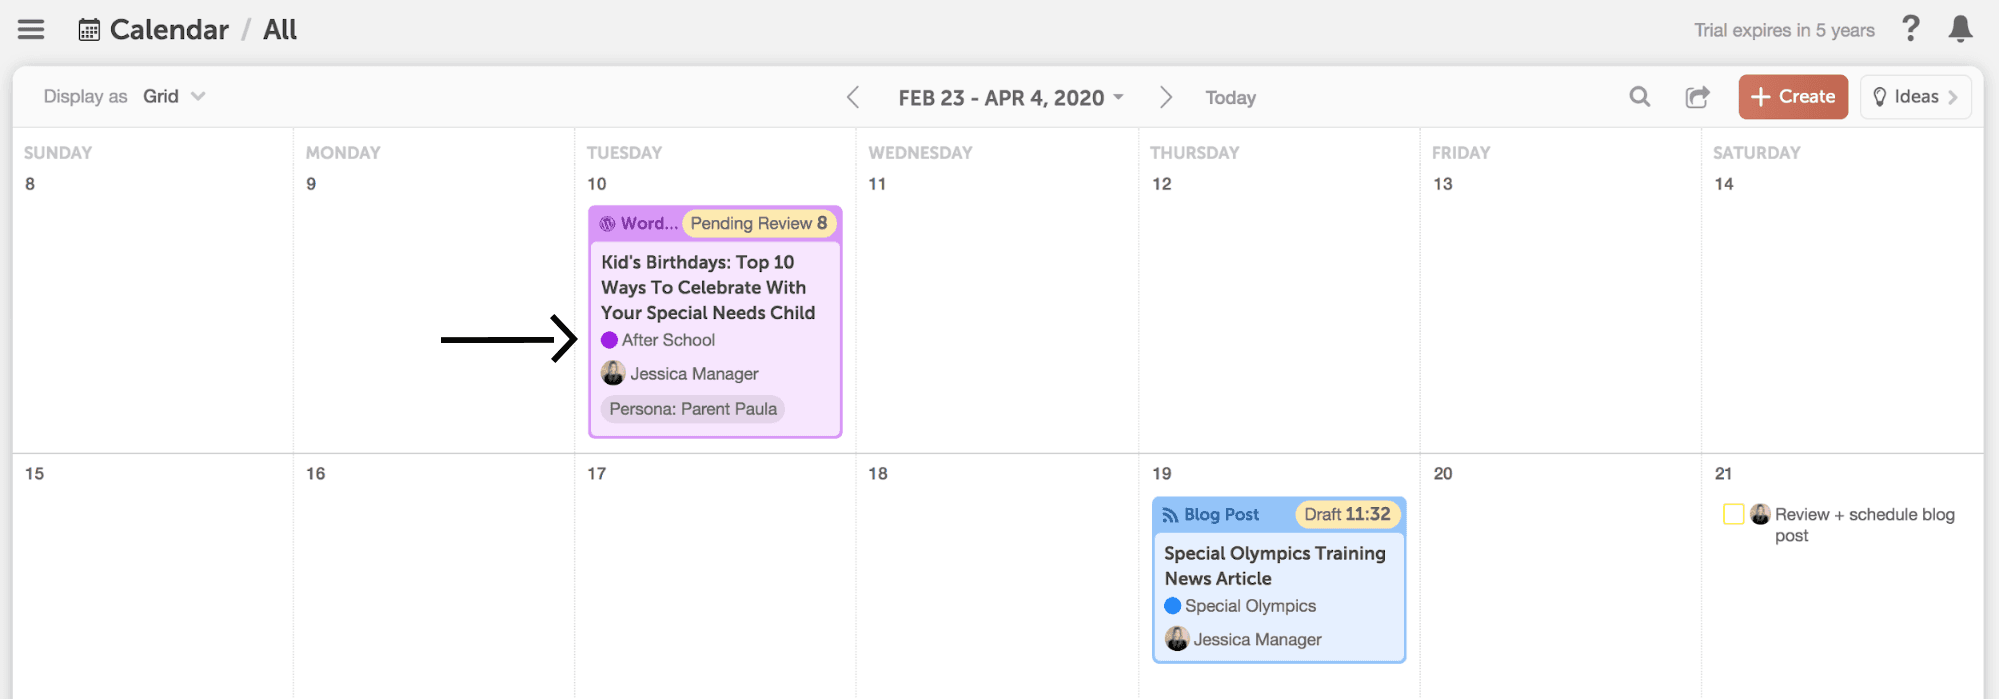
Bonus Step: Apply Additional Metadata to Your Projects
Aside from color labels, there are additional descriptors you can add to your projects for even better visibility.Descriptions
Project descriptions clarify more details about a project. This helps team members quickly understand how to create successful content that meets expectations.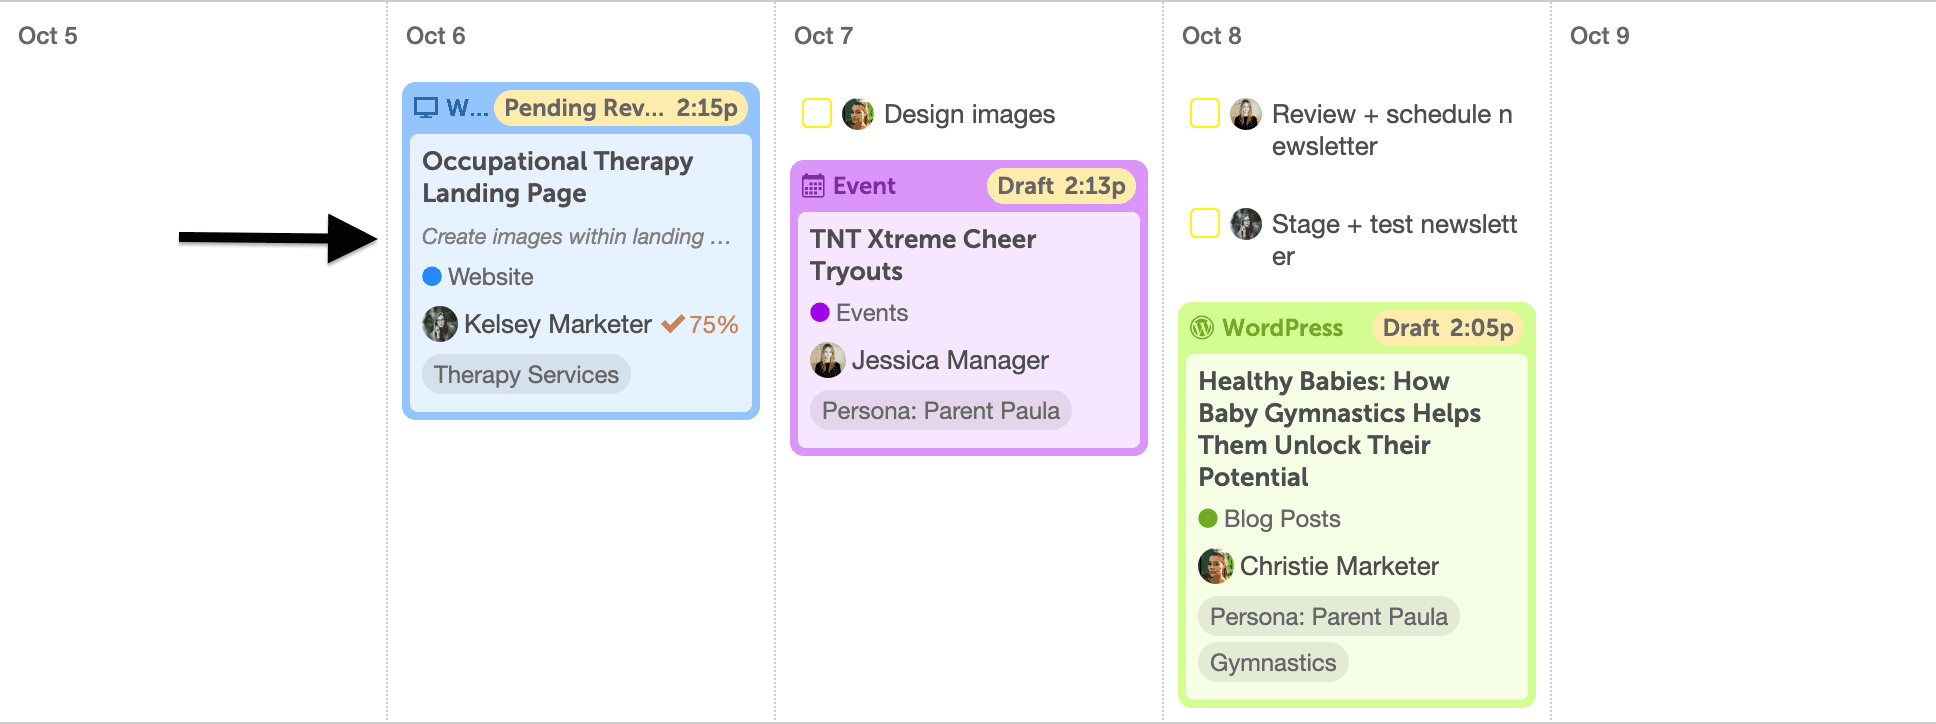 Descriptions can be added by clicking “More Options” when creating a new project.


