
Getting Started with Your CoSchedule Marketing Calendar
Implementation Chapter 5: Tips For Team Collaboration
CoSchedule Collaboration 101
Collaborating is important whether you have a few people on your team or it’s just you and your boss. CoSchedule makes it easy to be accountable for your work and keep others in-the-know. In this lesson, you’re going to learn a few tips to make collaboration seamless.
Step 1: Assign a Task
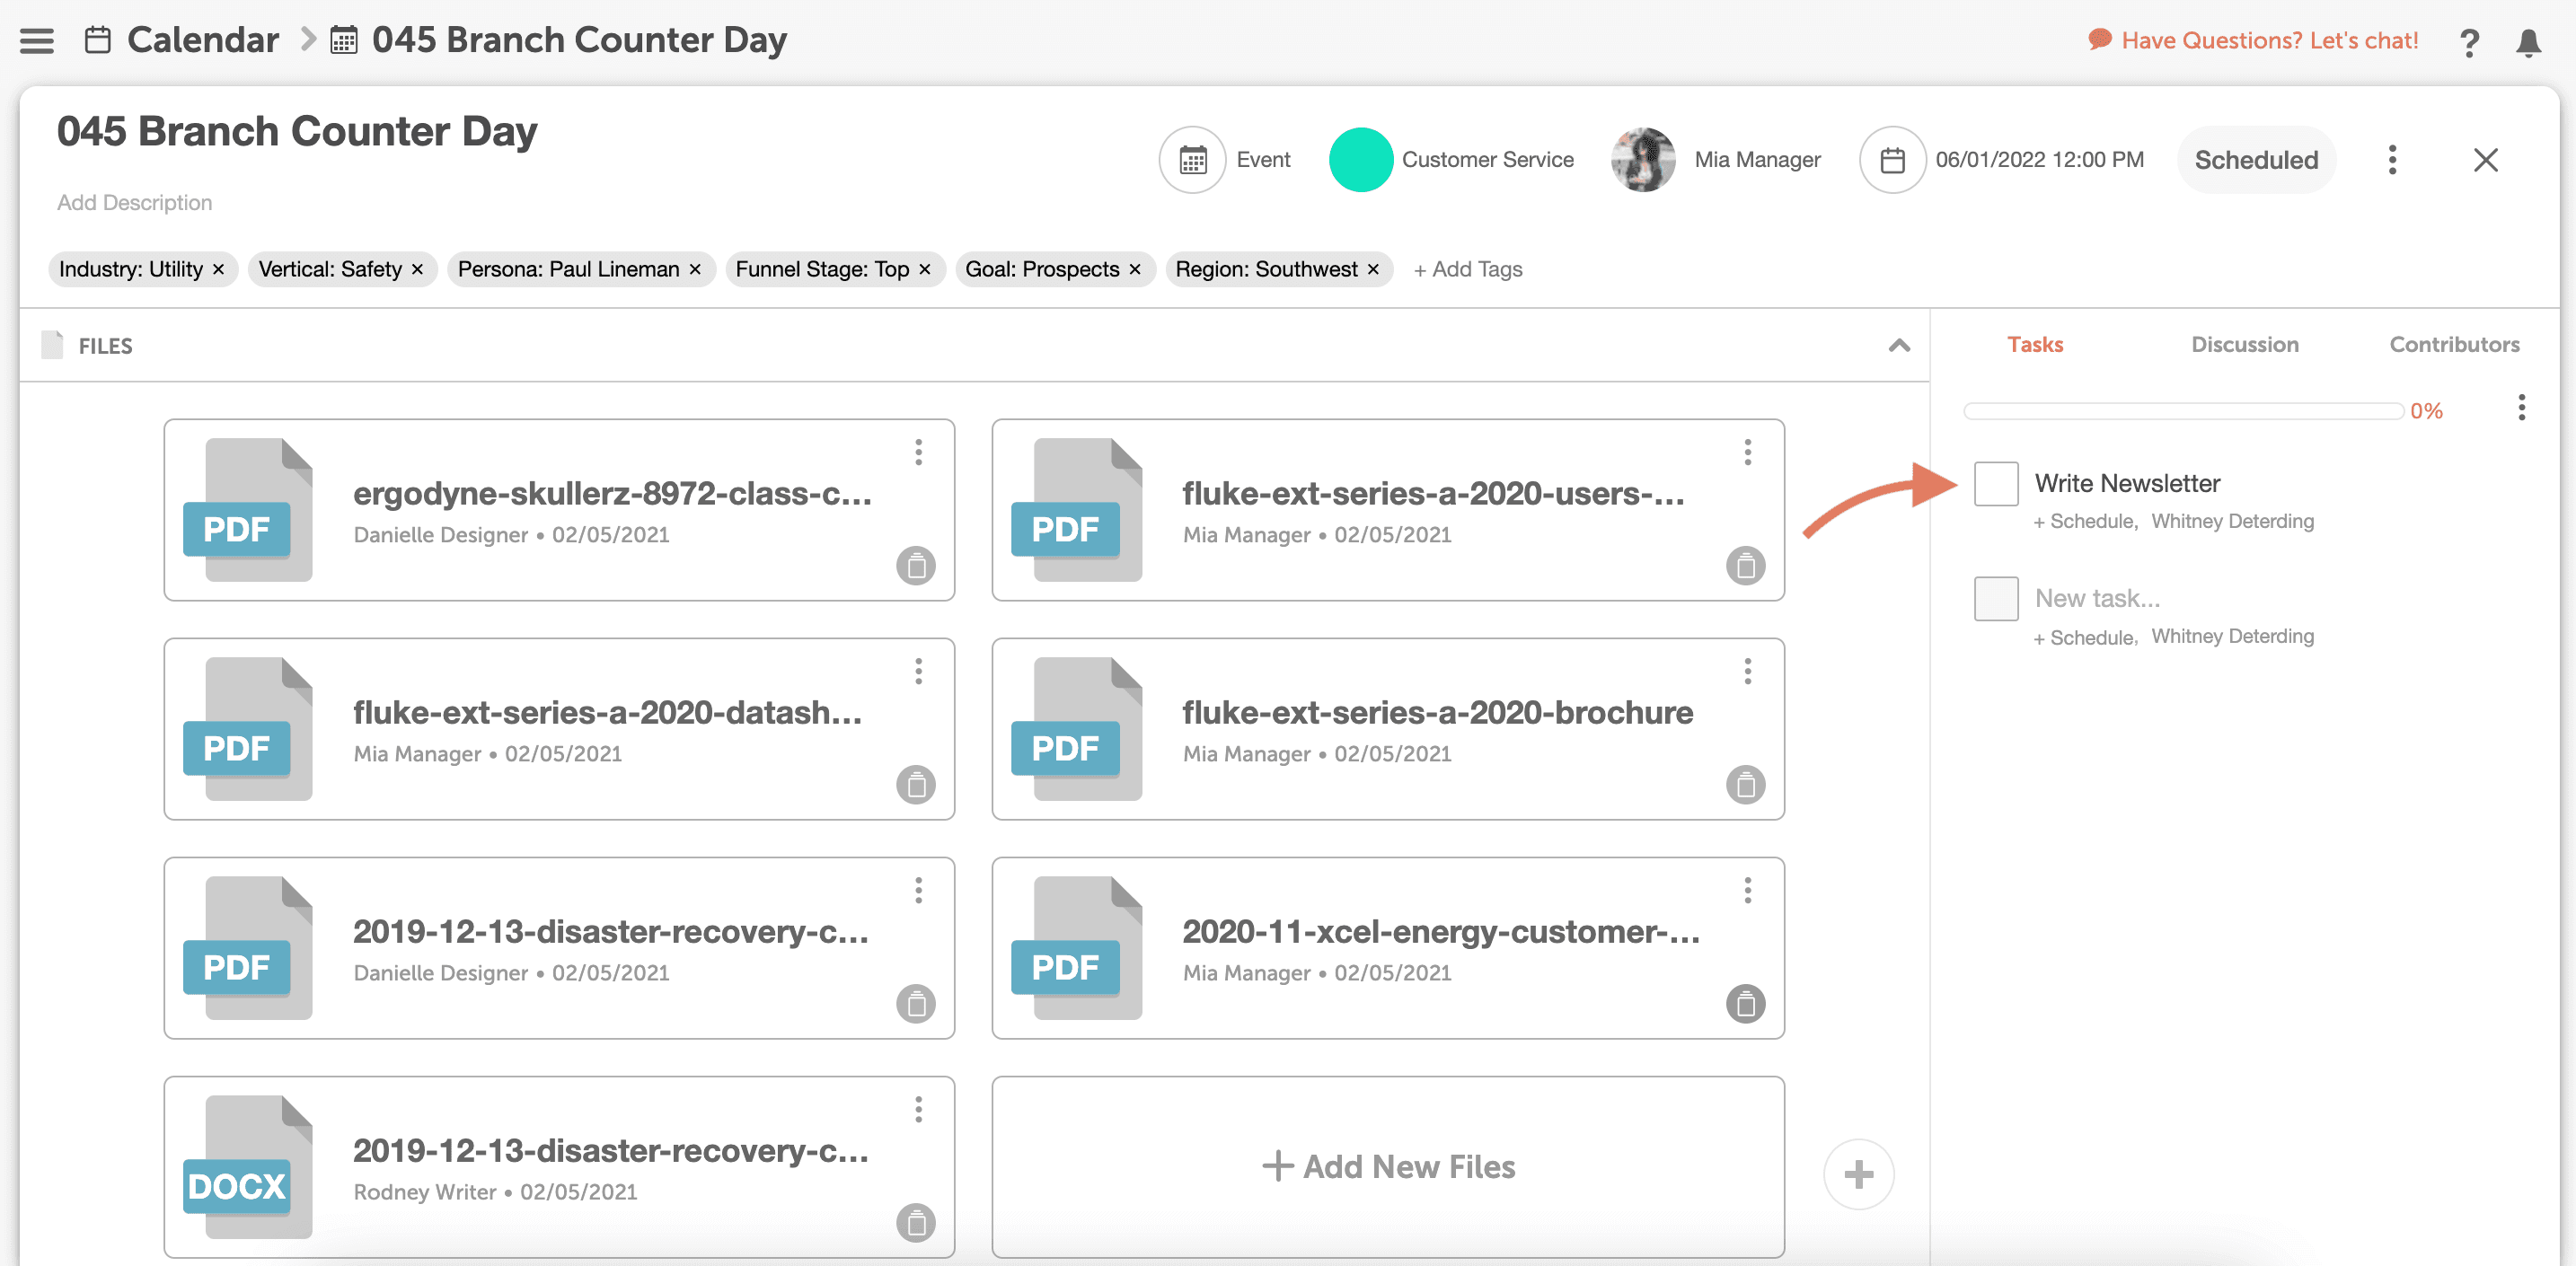
Tasks in CoSchedule are attached to Projects. If you have a small team, applying tasks is a good way to make sure that projects are completed on time and everyone knows who’s doing what. If you are a team of one, applying tasks helps you manage your daily workload with a simple checklist. To add a task to a project,
- Open a project on your calendar.
- Add tasks, due dates, and task owners on the right-hand side.
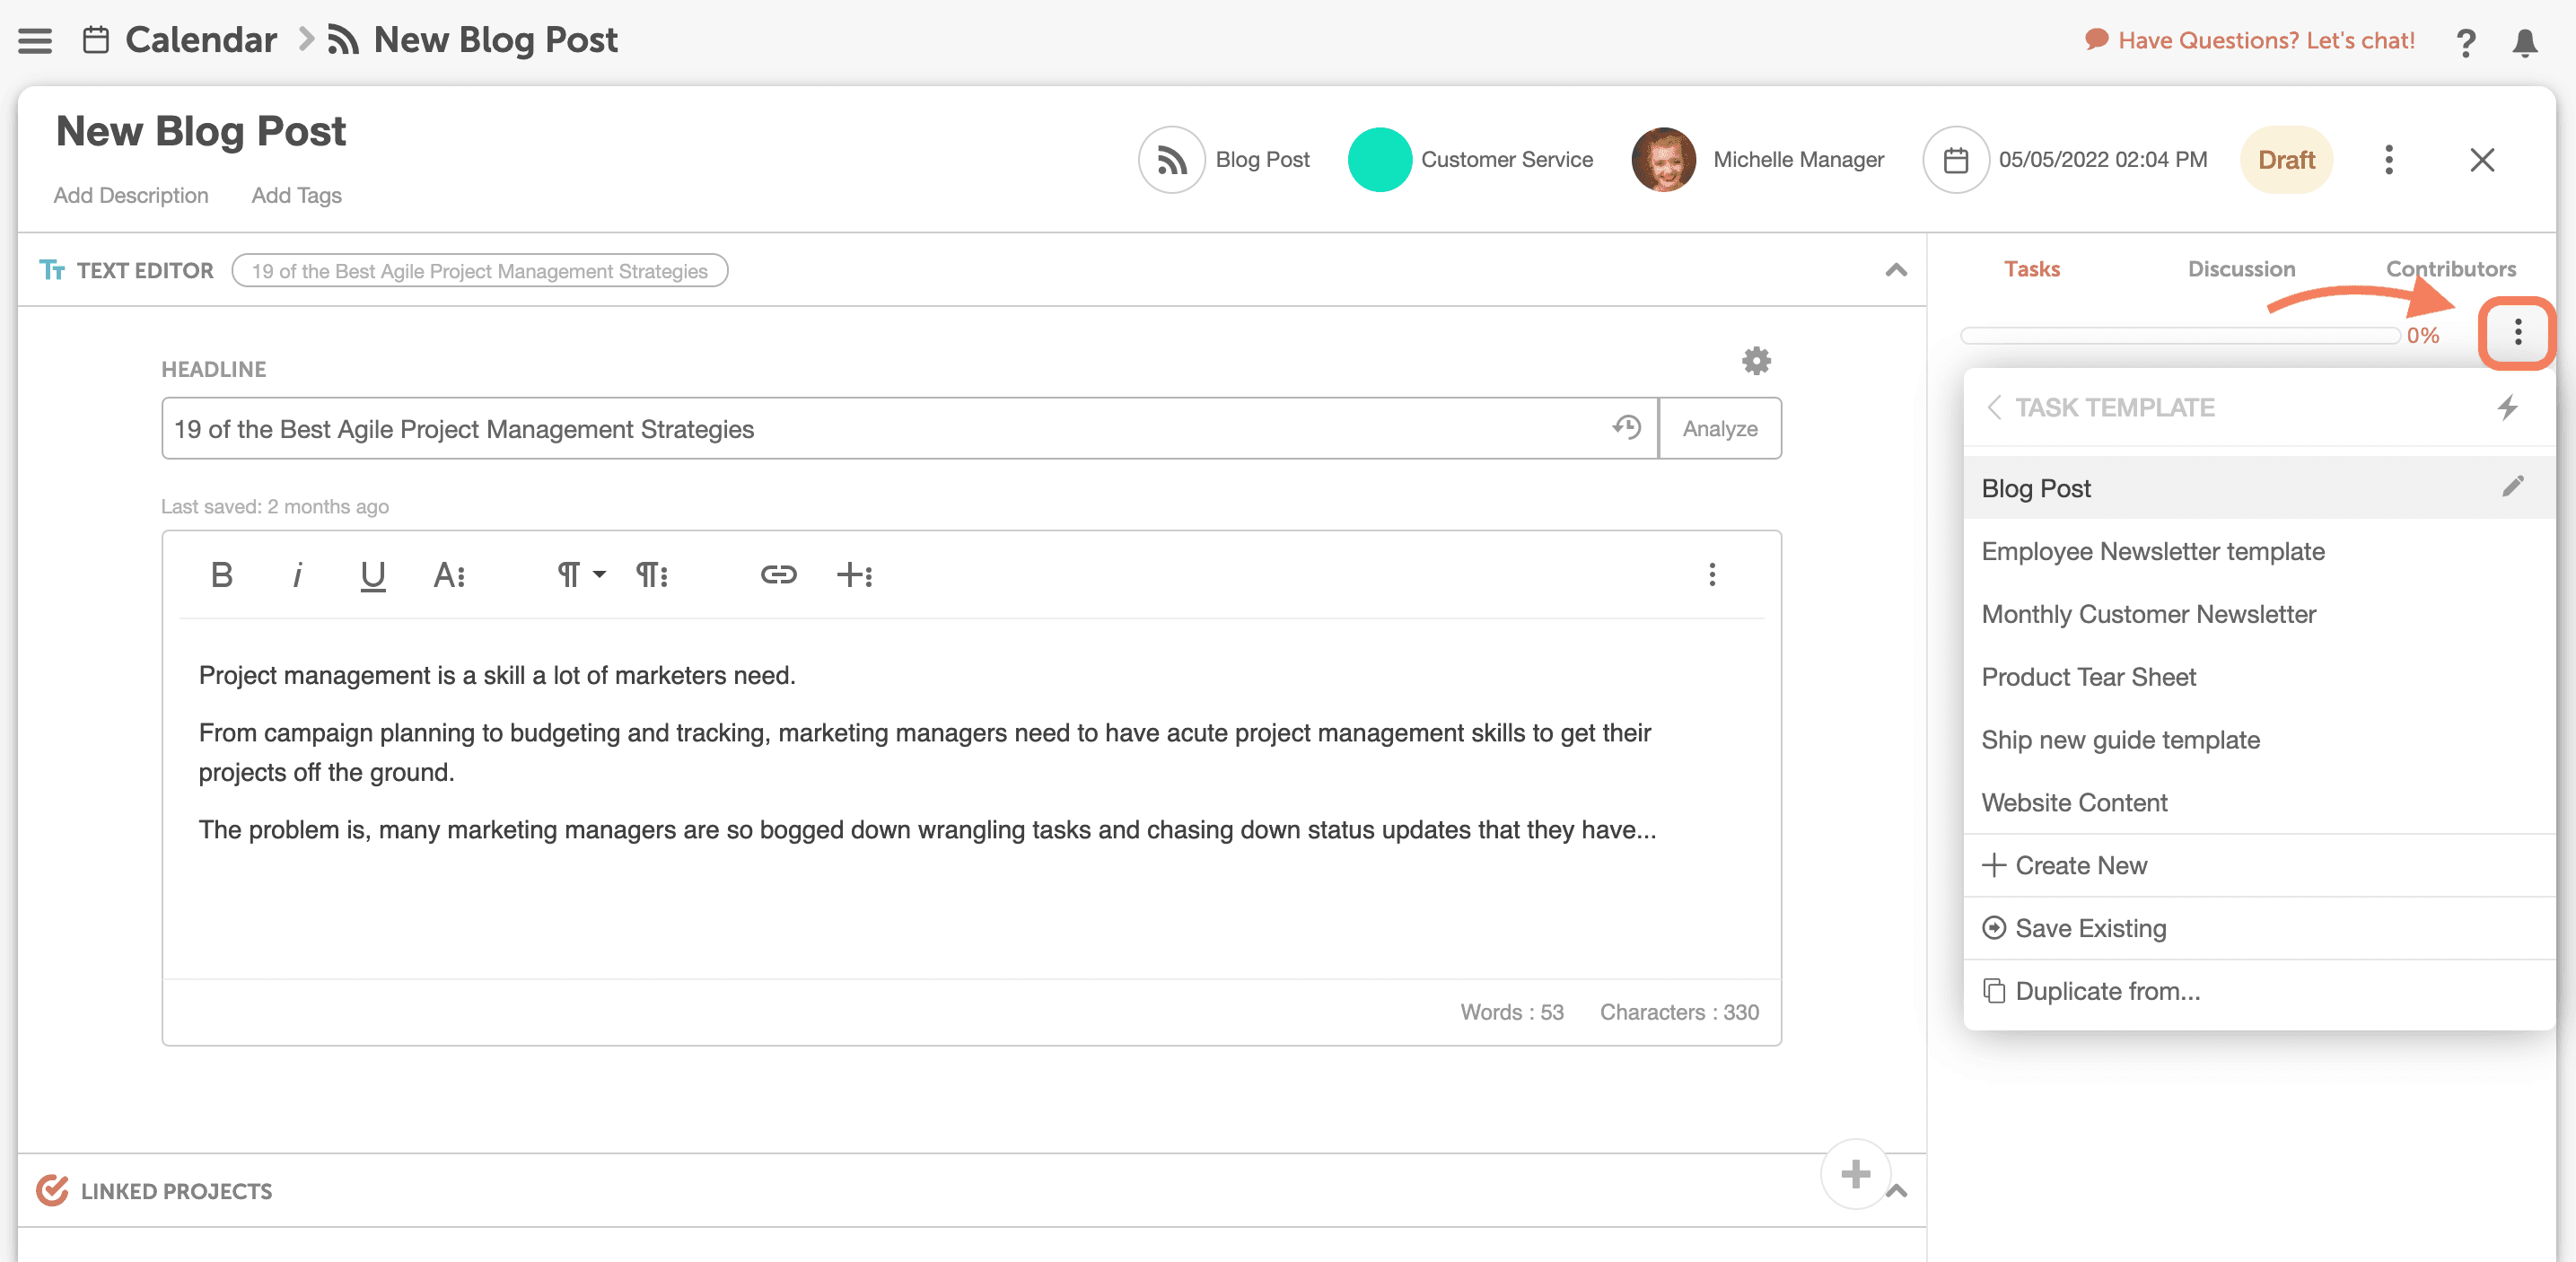
 You can also take advantage of CoSchedule’s built-in task templates. Your CoSchedule Calendar includes a pre-set list of task templates that contain tasks commonly needed for various project types.
Simply click the “Templates” icon and choose from a standardized checklist. Once applied, see the checklist magically apply to the project.
You can also take advantage of CoSchedule’s built-in task templates. Your CoSchedule Calendar includes a pre-set list of task templates that contain tasks commonly needed for various project types.
Simply click the “Templates” icon and choose from a standardized checklist. Once applied, see the checklist magically apply to the project.

Step 2: Add a Discussion
Discussions are a great way to collaborate with your team and keep everyone informed without lengthy email threads. If you @ mention someone, the person will receive a notification that a project needs their attention. You can also attach things directly in the comments section like images, new text changes, or any type of document that pertains to the project.
Step 3: Explore Your Home Dashboard
The Home Dashboard in CoSchedule contains a list of all your upcoming tasks. It’s a good place to check out first thing in the morning and understand what you need to get accomplished that day. You’ll also see…- Your notifications - things like comments that need your attention, when tasks have been completed by team members, etc.
- Your recent projects - this is a list of all the marketing projects you’ve recently been working in. This makes it easy to jump back into where you left off.
- Your favorite projects - if you need fast access to a project, add it to your favorites list to quickly find it from your Home Dashboard.

Step 4: Create a Personal Saved View
A personal saved view is a filtered view of your Marketing Calendar that only contains your projects and tasks. It clears out the clutter of the calendar so you can focus on the things that pertain to you. It’s a good idea to have all Coschedule users on your team to create a personal saved view for themselves. Here’s how to do it.- Click “All”.
- Choose “Create new view”.

- Name the saved view “(Your Name)’s View.”
- Click "Filter" to customize the filters for this view.
- Click “Team member” and find your name.
- Then click “Done”
 To find your personalized saved view, Click “All” from the breadcrumb menu and choose the view from the drop-down menu
All Team Collaboration Features are available in Marketing Calendar Pro.
To find your personalized saved view, Click “All” from the breadcrumb menu and choose the view from the drop-down menu
All Team Collaboration Features are available in Marketing Calendar Pro.

Step 5: Download the Mobile App
CoSchedule’s mobile app allows you to stay updated on all your projects even if you’re not at your computer. You can do things like:- Publish projects directly from your phone.
- See your tasks for the day.
- Assign tasks to team members when you’re on the go.

