
Color labels let you sort your calendar by color. You can add them to projects, standalone social messages, calendar events, notes and tasks. Available on Starter, Professional and Suite.
Each item has one color label. To sort items in more than one way, add tags too; an item can have several tags.
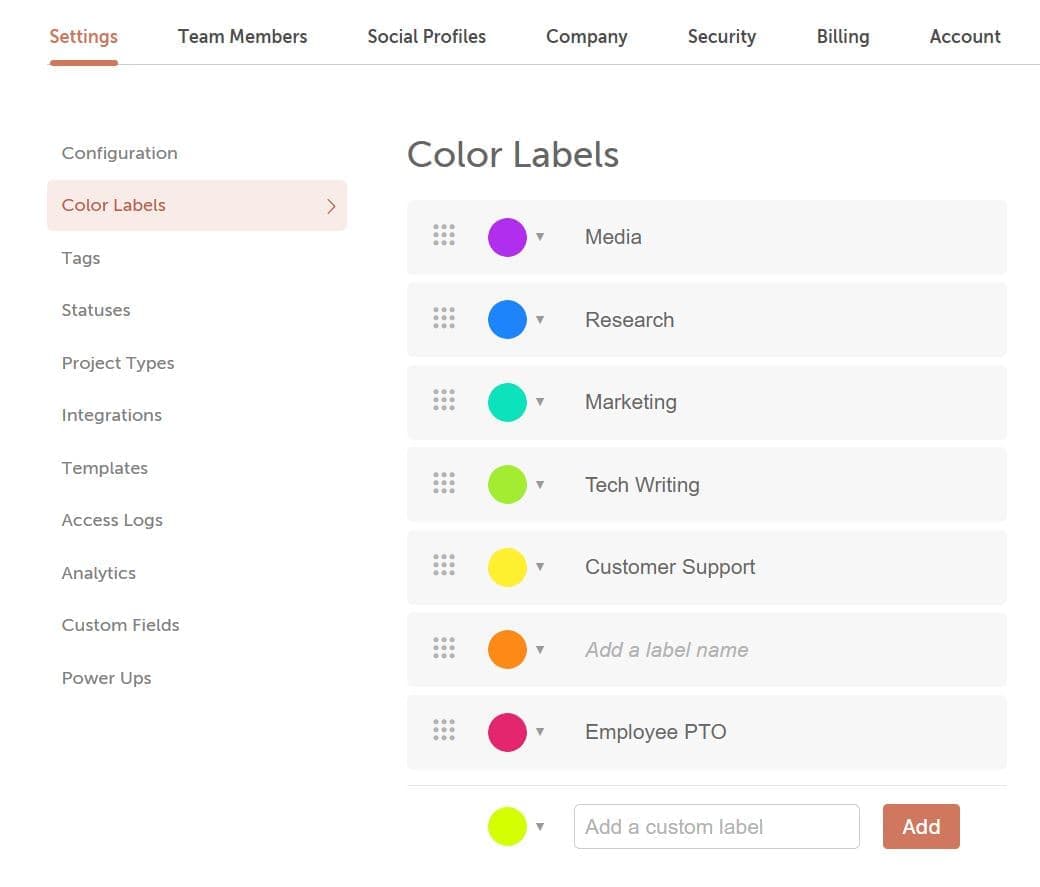
Create and manage color labels
- Open Settings.
- Select Color Labels. Depending on your plan, you may need to click Sub-Calendar Views or Client Calendars instead.
- Name, reorder, edit or delete a label.
- To add a new label, add a custom label at the bottom of the list.
Add a color label to a project
- Open the project.
- At the top, click Label.
- Choose the color label.
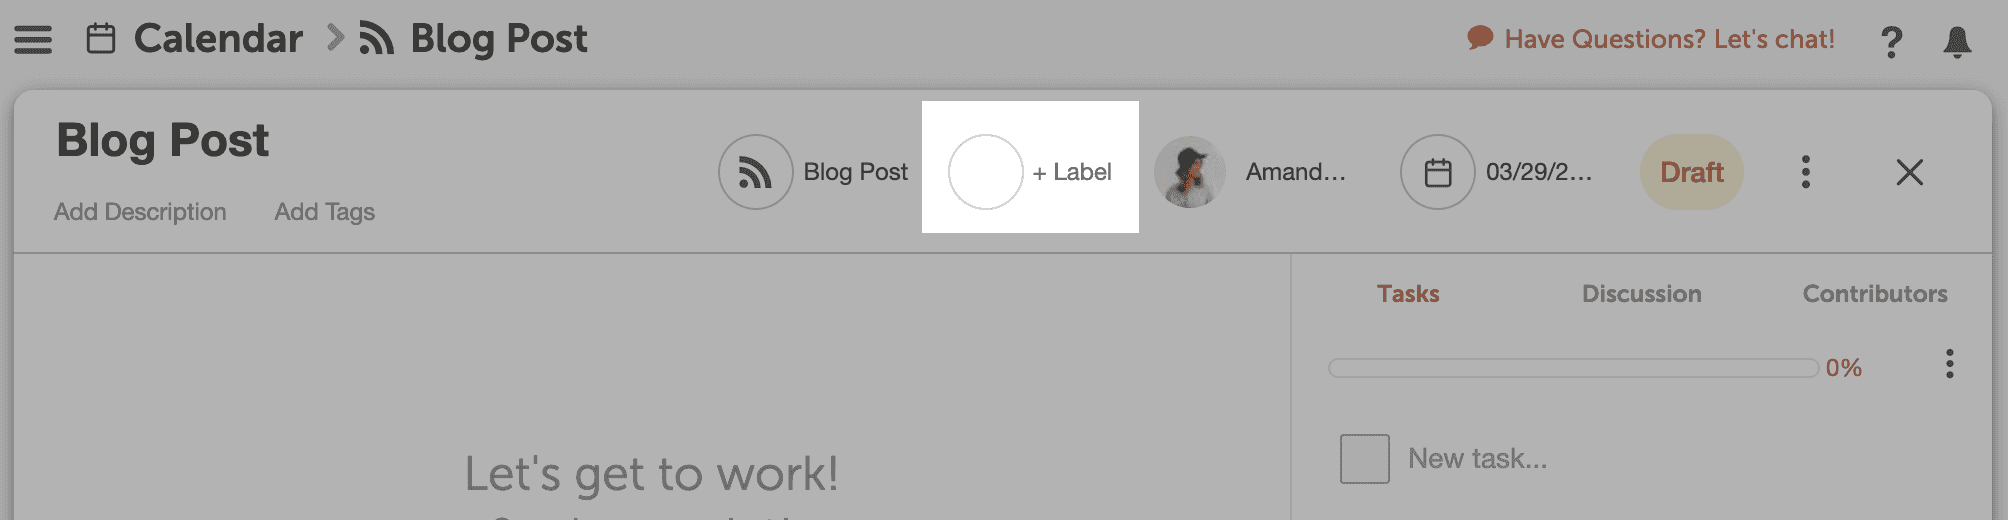
All social messages and tasks attached to the project share the project's color label.
Add a color label to other items
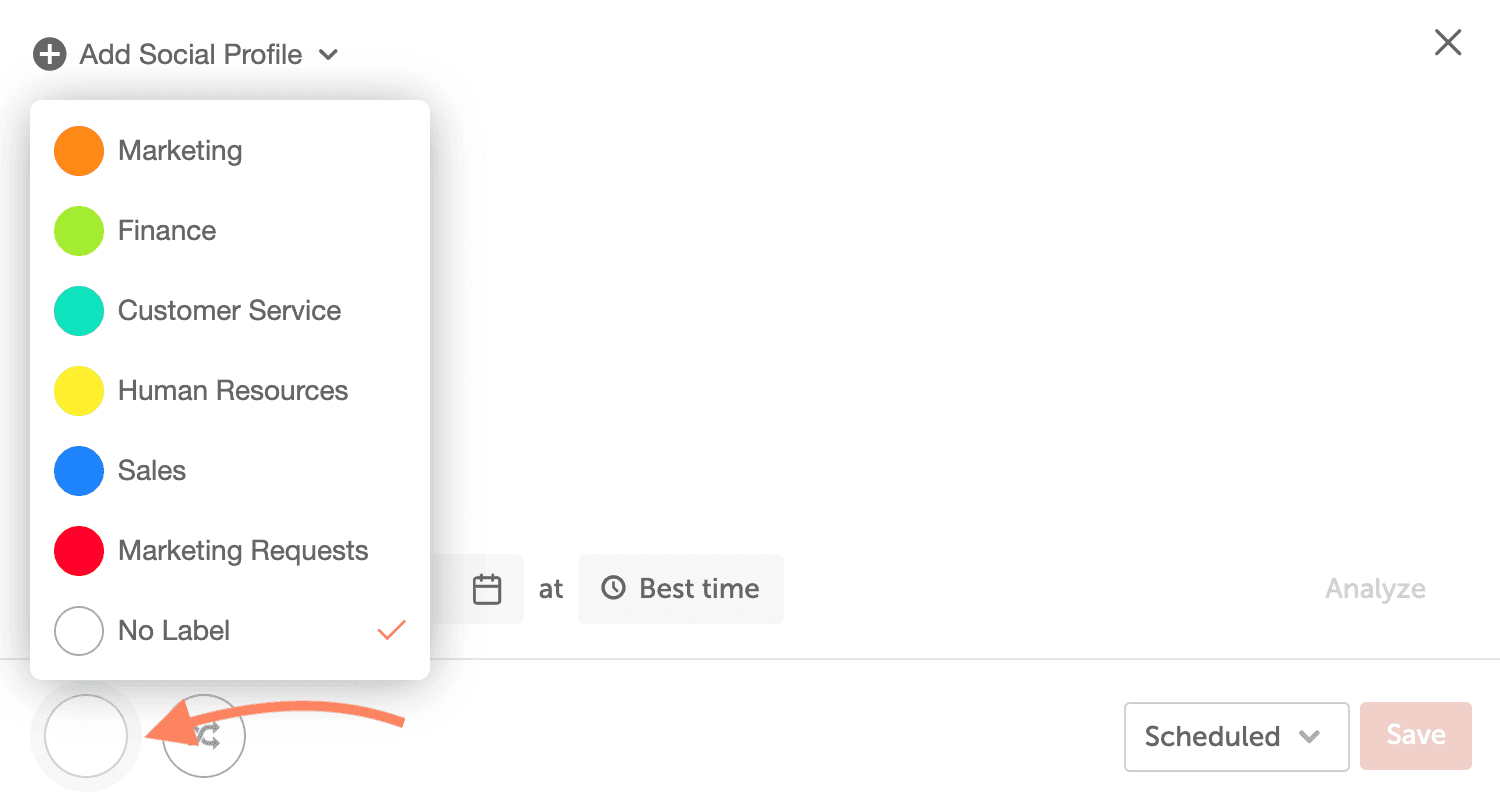
For standalone social messages, calendar events, notes and tasks, the label picker is at the bottom of the item's window.
Change a label on a published social message
You can still change the color label on a standalone social message after it's published. The change saves right away and only affects CoSchedule, not the post on the network. A message attached to a project takes the project's color label, so change the project's label instead.
Color labels and sub-calendars
On Professional and Suite, each color label also gets its own sub-calendar. An item shows in a sub-calendar only if it has that sub-calendar's color label. See Create sub-calendars.