
Client calendars give each of your clients or brands its own calendar, built from your color labels, while you still see every client's work on one master calendar. Available on Professional and Suite.
On Suite, the same feature is called Sub-Calendar Views. For the Suite steps, see Create sub-calendars.
Turn on client calendars
- From your calendar, click Settings.
- Click Power Ups.
- On the Client Calendars tile, click Enable Client Calendars.
Add or edit client calendars
CoSchedule creates a client calendar for each color label. An item appears in a client calendar only if it has that client's color label. Each item has one color label.
- Open Settings.
- Click Client Calendars.
- Click a color label or name to edit it, or add a new client calendar.
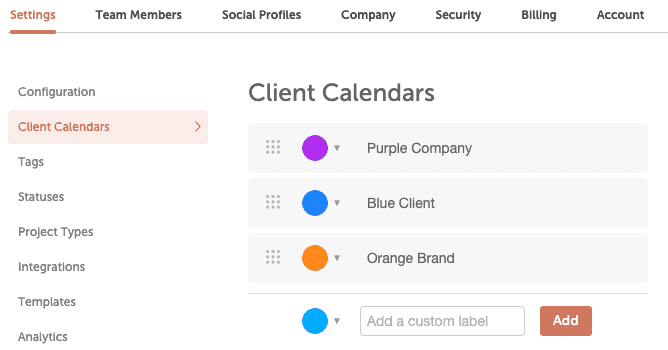
To add or change color labels, see Organize your calendar with color labels.
Choose social profiles and approvers for a client calendar
- In Settings > Client Calendars, click the down arrow to the right of a client calendar.
- Choose which social profiles are available when scheduling social messages in that client calendar.
- If you use social approvals, choose which approvers are available in that client calendar.
Only approvers assigned to a client calendar appear in its approver list. See Set up and use social approvals.
Choose which team members can open each client calendar
Owners, managers and admins control which client calendars each team member can access. Team members can see, edit and create items only in the client calendars they can access.
- Open Settings.
- Click Team Members.
- Find the team member and click Edit.
- Check the box next to each client calendar the team member should access.
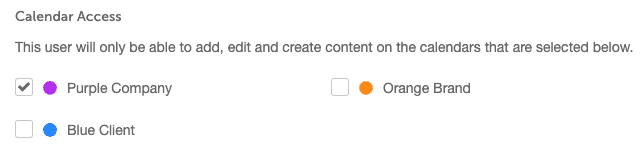
If a team member is assigned a task or project with the color label of a client calendar they can't access, they see it on their Home page. To open it, they need access to that client calendar.
Open a client calendar
Client calendars are in the main Calendar menu with your saved calendar views. When you create a project or social message from a client calendar, its color label is added automatically.
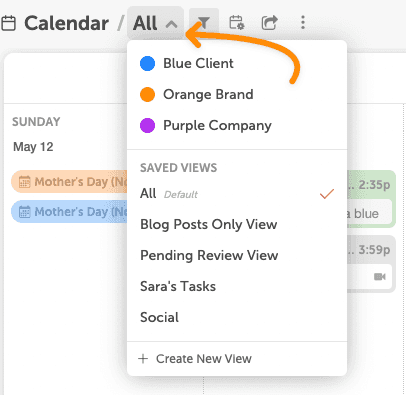
Share a client calendar with your client
Send your client a read-only link to a client calendar so they can see the plan and give feedback without a login. See Share a read-only view of your calendar.
To show your client's logo on what you share, see Add client branding to reports and read-only calendars.
Clients who need to approve social messages can be invited with the Approver role. See Team member roles.