
Your calendar's name, timezone and date format live in the calendar's Configuration settings and apply to everyone on the calendar. Available on Starter, Professional and Suite. The Owner, Managers and Admins can change them.
Open the Configuration settings
- From your calendar, click the Settings icon in the bottom section of the left-side panel.
- Click Configuration.
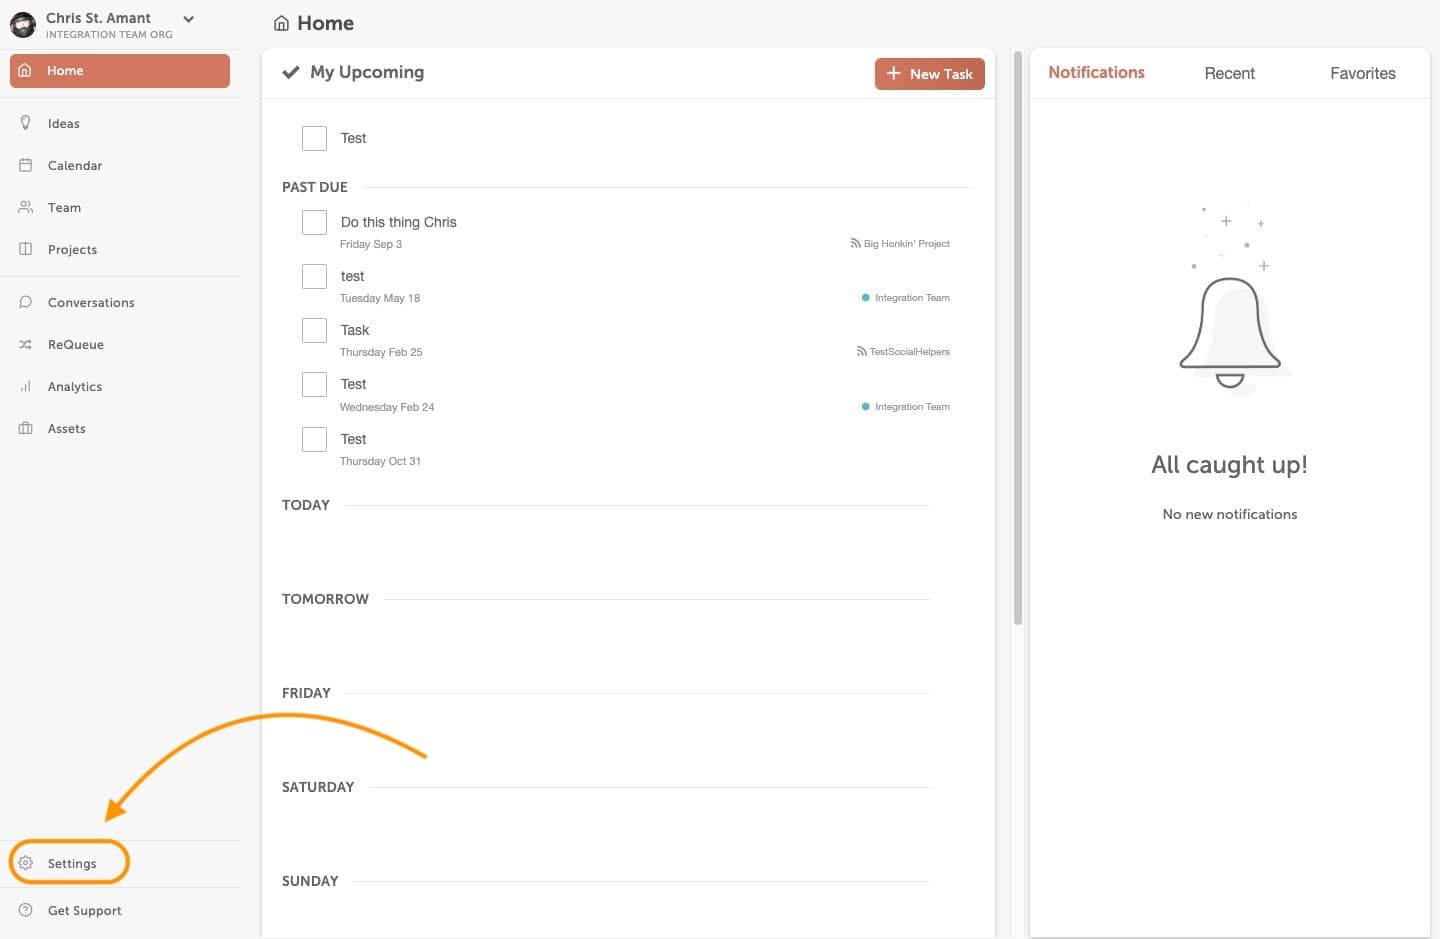
Change the calendar name
- In Configuration, edit the calendar name.
Change the timezone
The timezone belongs to the calendar, not to your profile, so it applies to everyone on the calendar.
- In Configuration, under Timezone, click Open Timezone Settings. If a timezone is already set, click the pencil icon instead.
- Select a city in your timezone.
Choose a city when you can. A city shifts with daylight saving time. Use a UTC option only if no city fits.
Changing the timezone doesn't reschedule anything. Scheduled projects and messages keep the same moment in time, so the time shown on them changes. For example, a message set for 9:00 AM with the calendar on Chicago time shows 10:00 AM after you switch the calendar to New York.
If you publish to WordPress, keep your WordPress timezone the same as your calendar's. See Fix WordPress timezone and timestamp problems.
Change the date format
- In Configuration, choose a date format: MM/DD/YYYY or DD/MM/YYYY.
Other Configuration settings
- Read-only view logo: upload a logo for read-only views of your calendar. On Professional and Suite. See Share a read-only view of your calendar.
- Pause social messages: stop every scheduled social message from publishing. While sending is paused, every team member gets a daily reminder until you resume. See Pause all scheduled social messages.
- Delete This Calendar: only the Owner and Managers can delete a calendar. You can't delete your last calendar while a paid plan is active on it. See Cancel your subscription.