
Tags label projects, social campaigns and individual social messages so you can find, filter and report on related work. Available on Starter, Professional and Suite.
An item has only one color label, but it can have as many tags as you like.
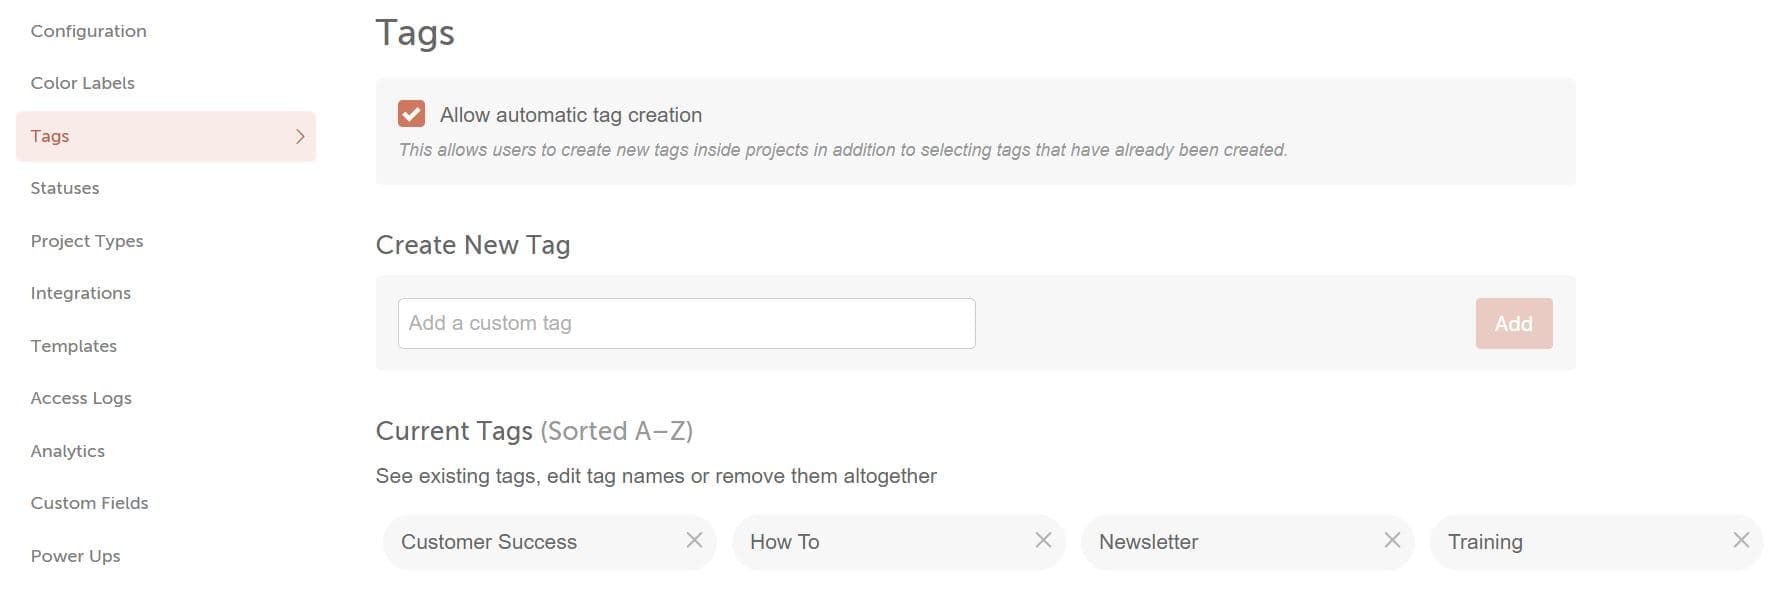
Every tag you create is added to your calendar's tag list, so you can pick it again quickly. Admins can choose in the calendar's settings whether team members can create new tags.
Add tags to a project or social campaign
- Open the project on the calendar.
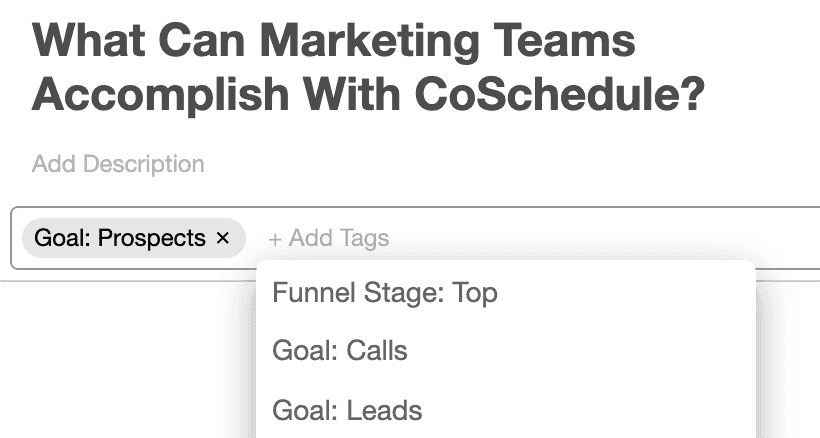
- Under the project's title, start typing a tag.
- Choose a tag from the list, or create a new one if you're allowed to.
- To add another tag, press Enter or type a comma.
- To remove a tag, click the X next to it.
Social campaign messages inside a project take the project's tags. You can't tag them one by one.
Add tags to a social message
This works for standalone social messages, not messages in a social campaign.
- Open the social message.
- Click the tag icon in the lower left corner.
- Add your tags.

You can still change the tags on a standalone social message after it's published. The change only affects CoSchedule, not the post on the network.
Rename or delete tags
- Go to Settings.
- Select Tags.
- To rename a tag, click it and edit the name.
- To delete a tag, click the X next to it.
Use your tags
- Filter a saved calendar view by tag. See Save and manage calendar views.
- Search your calendar by tag. See Search your calendar.
- Filter the Social Engagement Report by tag. See View the Social Engagement Report.