Manage Custom Statuses
Create custom statuses based on the way your team works. Add custom statuses that describe the unique stages of your team’s workflow. Apply these statuses to your projects and always know where any project is — in real-time.
Note: Custom Statuses are available in Content Calendar, Agency Pro, and Marketing Suite.
Create a New Custom Status
To manage your project statuses:- Go to Calendar Settings
- Select Statuses
- Click Add Custom Status
- This can be under Calendar or Ideas
- Add a name for the status
- Choose a status type
- Draft Status Type: Draft status types will not reach a Published state. They will stay in a Draft state and will have a yellow highlight on the calendar.
- Scheduled Status Type: Scheduled status types have an ending status. When the scheduled date is reached, it will be switched to a Published state.
- Published Status Type: Published status types are the ending status for Scheduled Status Types.

Edit Custom Statuses
On the Status page, view all project statuses available for your calendar and idea board.- To reorder the orientation of your statuses, drag and drop the items.
- To edit any status, select the pencil icon.
- To delete any status, select the trash icon.

Apply Custom Status to Project
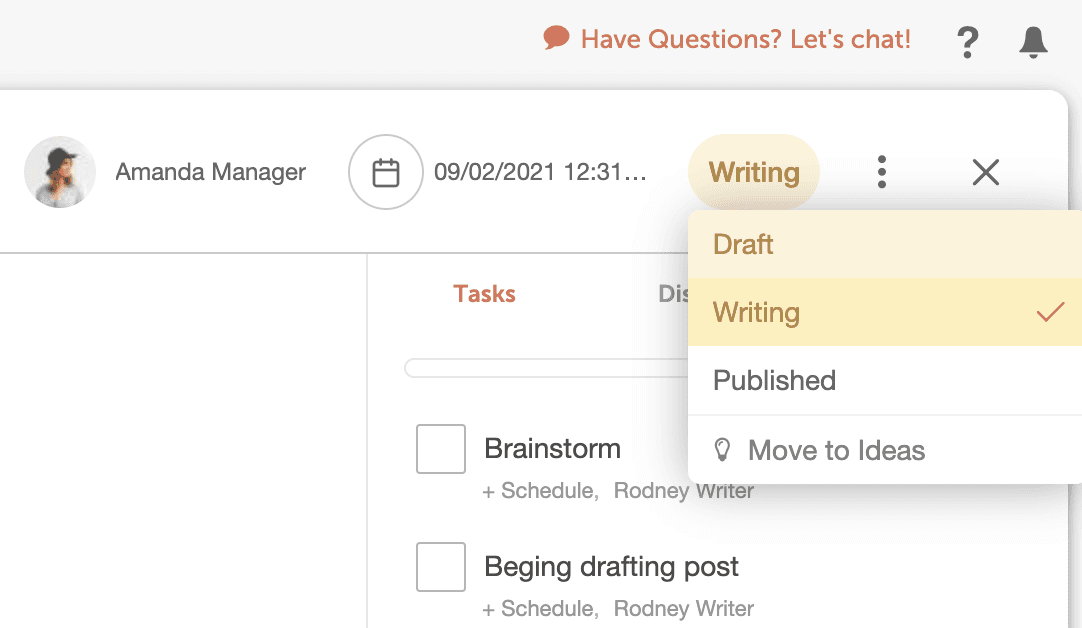
To apply a custom status to a project:- Open any project in your calendar.
- In the top left-hand corner of your project, click the status button
- Choose the status you want.
- If your project is scheduled for the future, you will only see Draft-type and Scheduled-type statuses.