
Connect your Campaign Monitor account to see your scheduled Campaign Monitor email campaigns on your CoSchedule calendar. You create and edit the campaigns in Campaign Monitor. Available on every plan, including the free plan.
Set up the connection
- From your calendar, open Settings.
- Click Integrations.
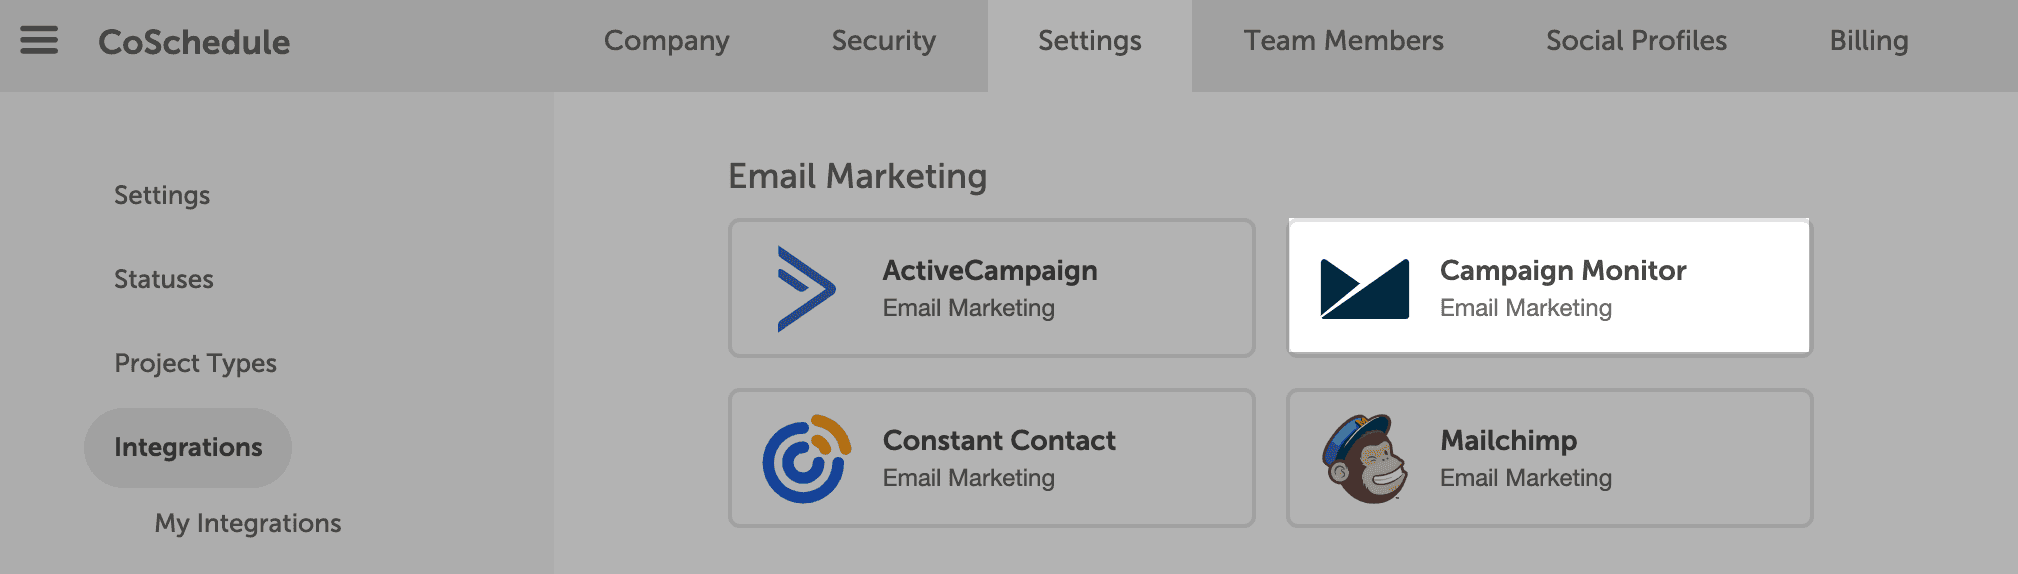
- Click Campaign Monitor.
- Click Enable.
- Follow the prompts to connect your Campaign Monitor account.
- Click Sync.
CoSchedule starts adding the email campaigns in your Campaign Monitor account to your calendar.
Settings > Integrations is open to the Owner, Managers and Admins by default. Other roles see an access-denied page, and custom roles can differ.
See Campaign Monitor emails on your calendar
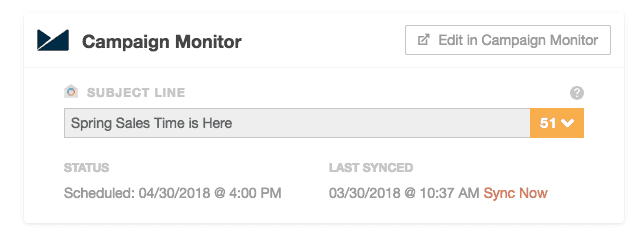
Create and schedule email campaigns in Campaign Monitor. Each scheduled campaign shows on your calendar as an Email Marketing project with these details from Campaign Monitor:
- Project Title: the campaign's name.
- Scheduled Date: the campaign's scheduled time.
- Subject Line: the campaign's subject line.
You can't edit these details in CoSchedule. To change a campaign, open its project and click Edit in Campaign Monitor.
Disconnect Campaign Monitor
If you disconnect a Campaign Monitor account all of your emails from that account will be removed from CoSchedule.
- From your calendar, open Settings.
- Click Integrations.
- Click Campaign Monitor.
- On the account you want to remove, click Disconnect.
To turn off the whole Campaign Monitor integration instead, click Disable Campaign Monitor on the same page.