
Once your site is connected, your WordPress posts show up on your calendar as WordPress projects. You can create posts in CoSchedule or in WordPress, and they stay in sync. This works on every plan, including the free plan.
Create a WordPress post in CoSchedule
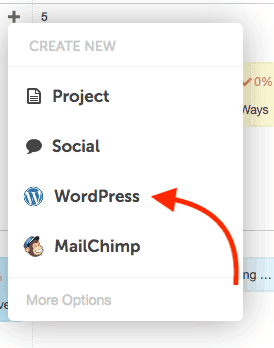
- On your calendar, click + on the date you want.
- Select WordPress.
- Enter a title and any other details, such as the owner.
- Click Create.
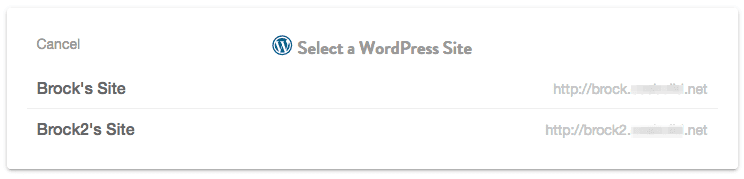
- If you've connected more than one site, choose the site for the post.
Posts you create in your WordPress admin show up on your calendar on their own.
What you can change in CoSchedule
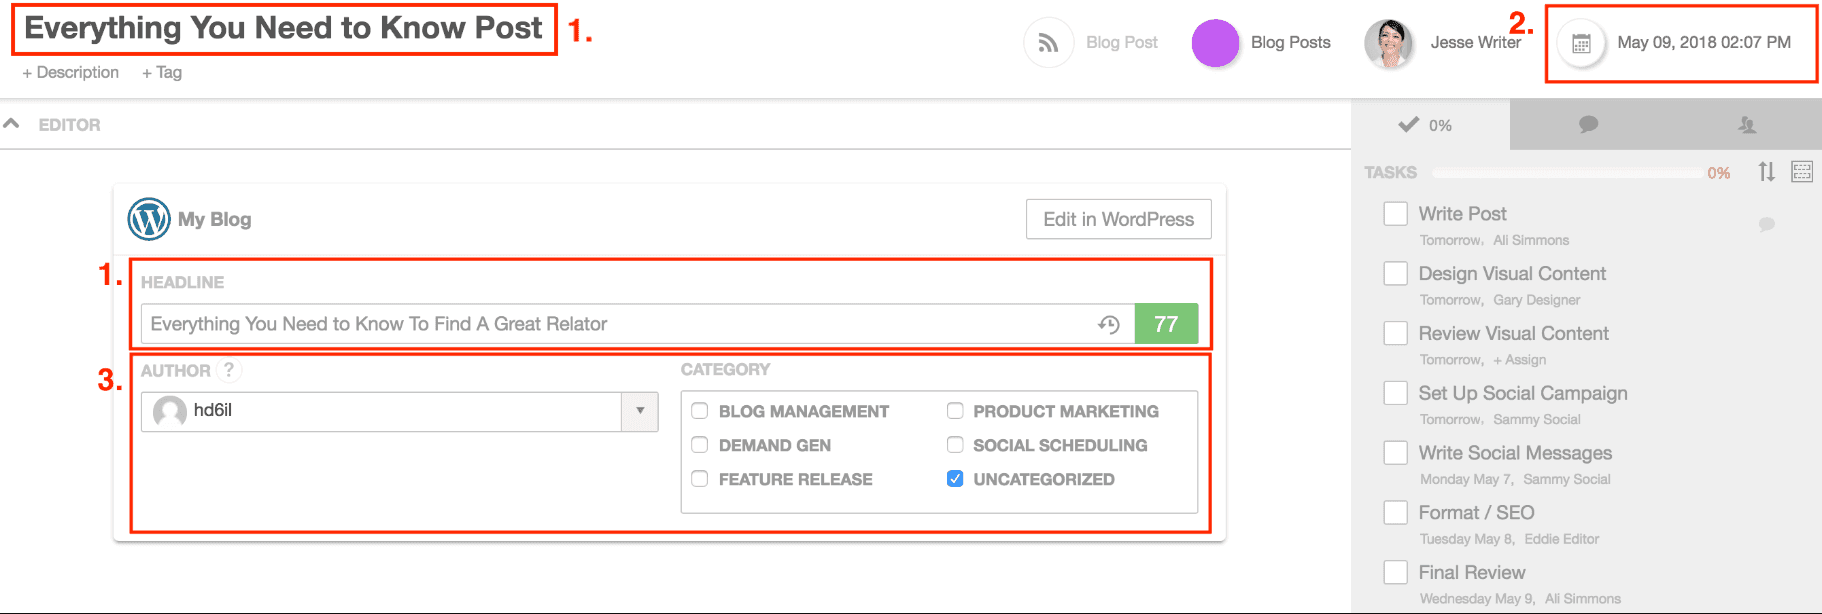
- Title and headline: the project title and the headline are kept the same, and they sync with the post title in WordPress.
- Date, time and status: the publish date and time and the status (Draft, Pending Review or Scheduled) sync with the post.
- Author and categories: choose them in the WordPress section of the project.
- Post content: you write the post itself in WordPress. Click Edit in WordPress to open it.
Convert a draft to a WordPress post
You can draft a post in a Text Editor or Google Doc attachment in any project, then send it to WordPress.
- Open the project and go to the Text Editor or Google Doc attachment.
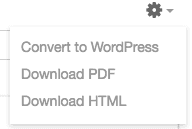
- Click the cog at the top of the attachment, then click Convert to WordPress.
- Select the categories and the author for the post, then click Convert.
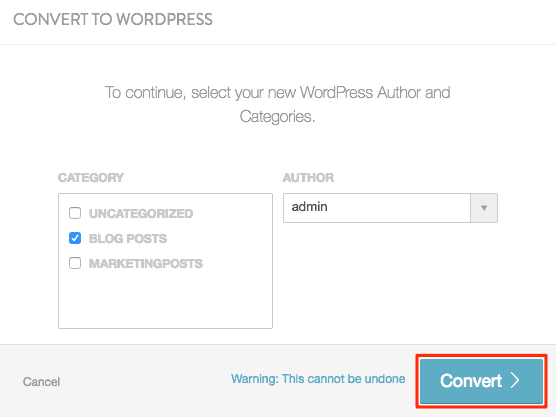
- When the conversion finishes, click Continue, then click Complete.
The project's type changes to WordPress.
A conversion can't be undone.
Keep each image in a Google Doc under about 6 MB before you convert it.
If you don't see Convert to WordPress, or the conversion doesn't finish, refresh your WordPress connection (see Connect WordPress to CoSchedule). If that doesn't help, deactivate and reactivate the CoSchedule plugin (see Update or reinstall the CoSchedule WordPress plugin). If Google Doc conversions keep failing, check Fix WordPress plugin conflicts.
Promote a post with social messages
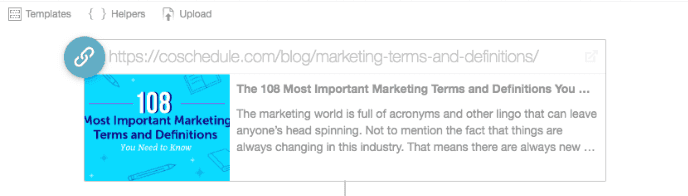
Every WordPress project has a social campaign for promoting the post, and CoSchedule adds the post's URL to it for you.
- Until the post is published, the campaign shows a placeholder URL that ends in the post's slug.

- Once the post is live, the campaign shows the full URL with the post's title, description and image.
- New messages start with the {title} and {permalink} text helpers, shown in orange, which fill in the post's title and link. You can delete them and write your own text.
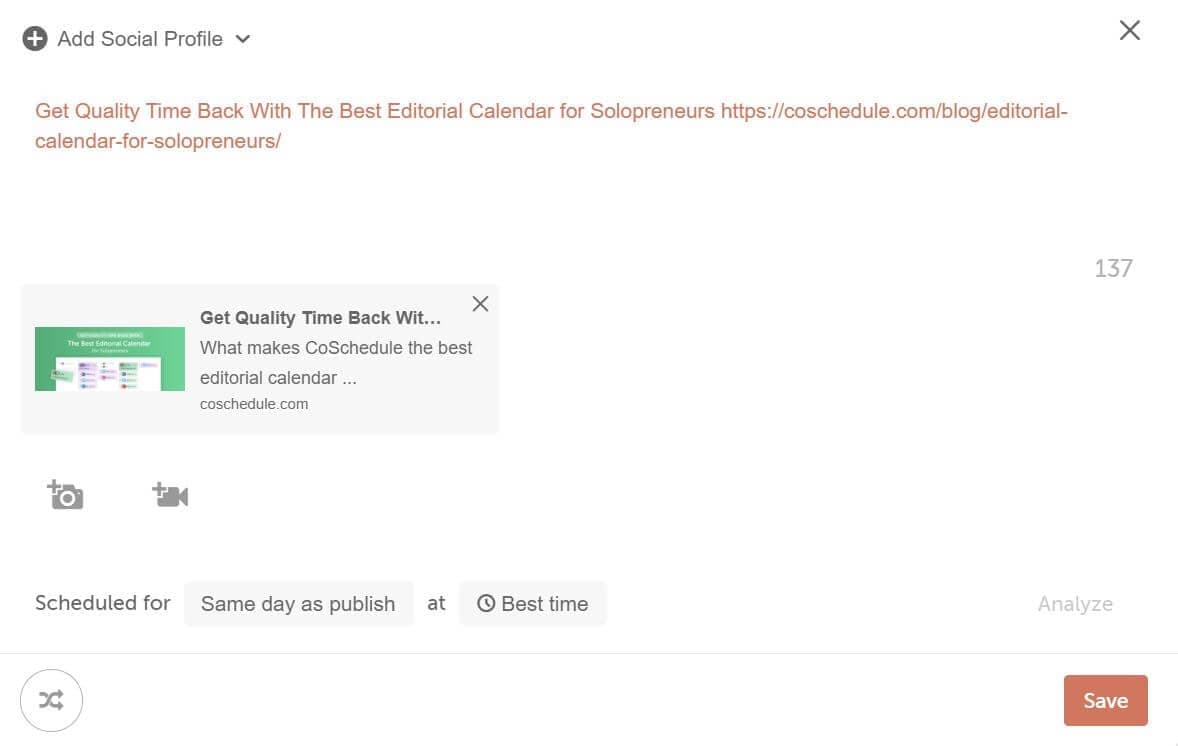
Social messages for a WordPress post don't publish until the post is published.
For more on campaigns, see Create a social campaign.
Promote an older post again
- Use the search at the top of your calendar to find the post.
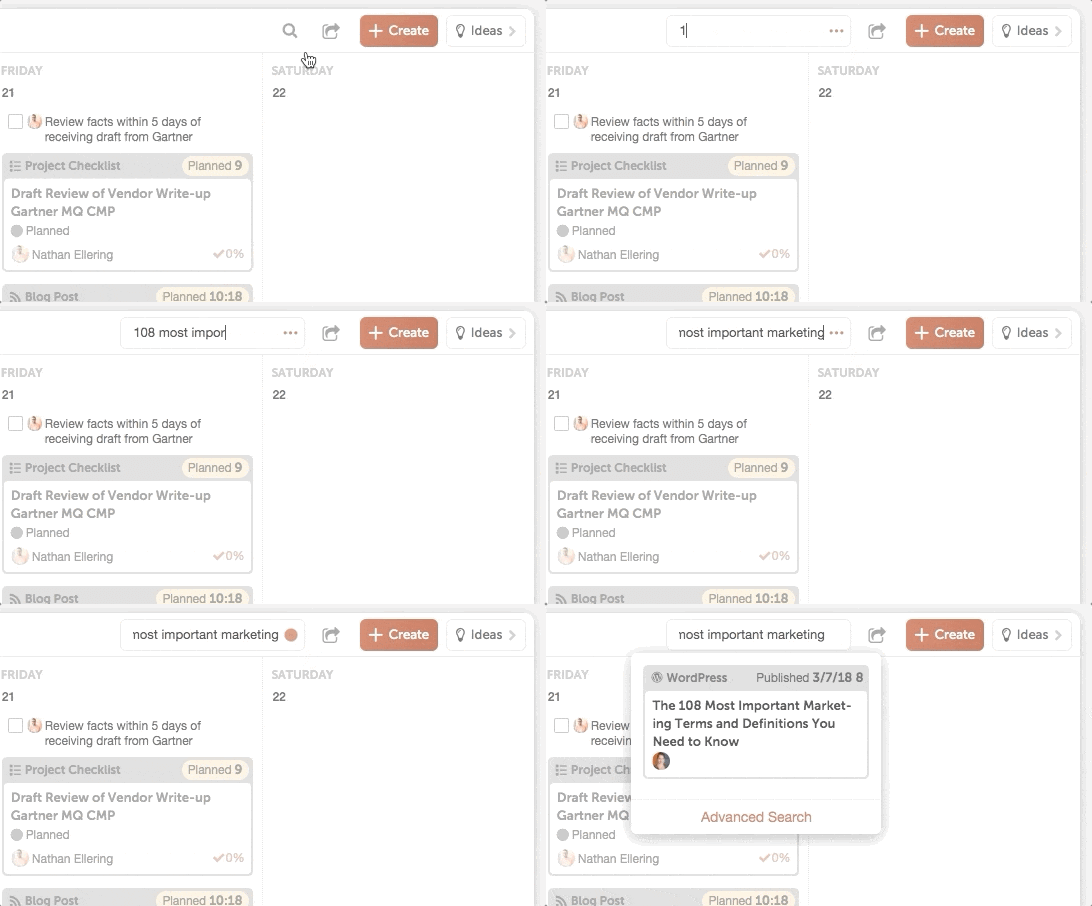
- Open the WordPress project and go to its social campaign.
- Click + next to the day you want, then write and save the message.
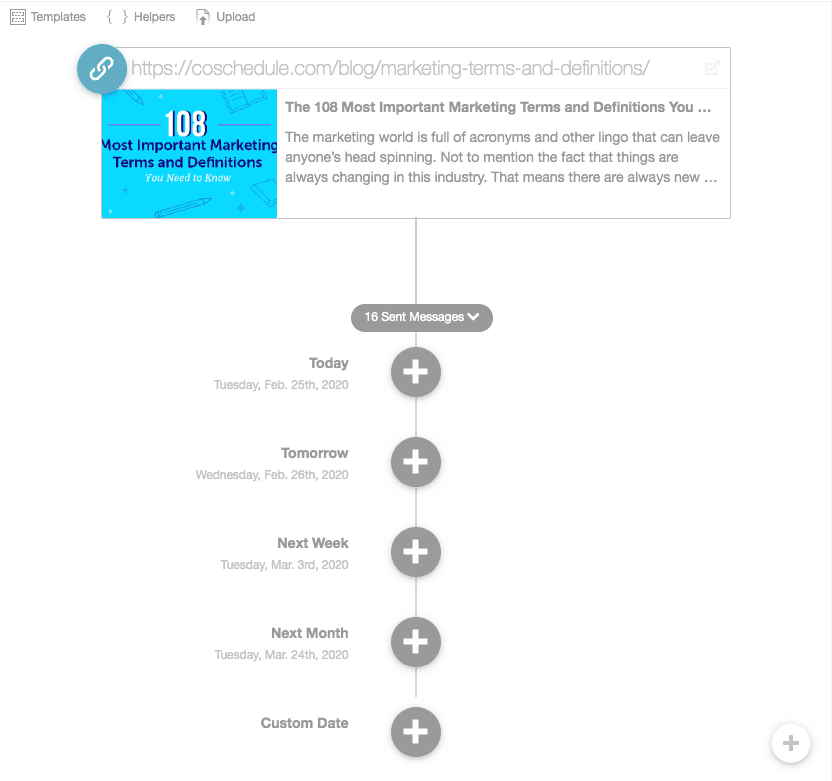
- Repeat for each message. Your new messages show in the campaign.
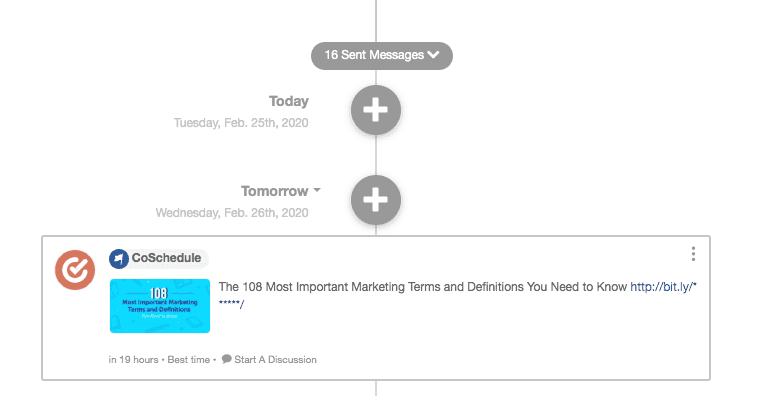
Click Sent Messages in the campaign to see the messages already published for the post. To keep resharing evergreen posts automatically, use ReQueue. See What ReQueue is and how it works.
Common questions
Why isn't a post on my calendar?
CoSchedule syncs the latest 500 drafts, 500 published posts and 500 scheduled posts on each site. To sync an older post, open it in your WordPress admin. If it's a custom post type, make sure that type is turned on. See Map WordPress authors, categories and custom post types.
Can I move a project to a different WordPress site?
No. Create a new WordPress project for the other site.
Why does a message show an old title, excerpt or image?
The link preview comes from the post's page. See Fix a wrong link image or missing link in a social message.