How to Change Your WordPress Timezone
It is important that you have your timezone correctly set up in WordPress so that posts will publish as expected. If your WordPress and CoSchedule calendar timezones are different, your scheduled messages will post according to the timezone of your CoSchedule calendar.
 4. If there is no city near you, you can manually calculate your timezone. WordPress provides the current Coordinated Universal Time (UTC) so you can calculate your time accordingly.
Changing Your WordPress Timezone
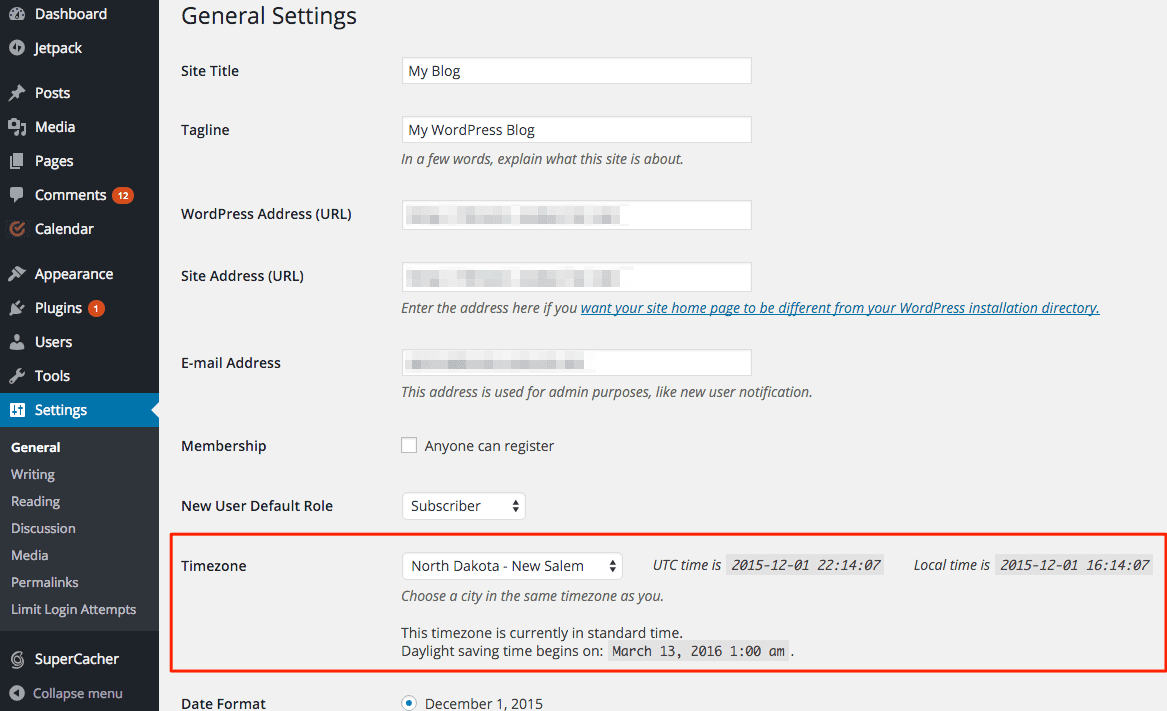
Steps and best practices:- Go to Settings in your WordPress account and select General.
- Locate the Timezone section.
- Select the city nearest to you with the same timezone (A city is preferred if one is available, rather than choosing UTC options, as it will shift with Daylight Savings Time).
4. If there is no city near you, you can manually calculate your timezone. WordPress provides the current Coordinated Universal Time (UTC) so you can calculate your time accordingly.
Note: If you manually select a UTC timezone, WordPress does not automatically account for Daylight Savings Time (DST). You will have to manually adjust the offset when DST changes. Select a city in your timezone is preferred so WordPress updates your time for DST.
5. Click save.
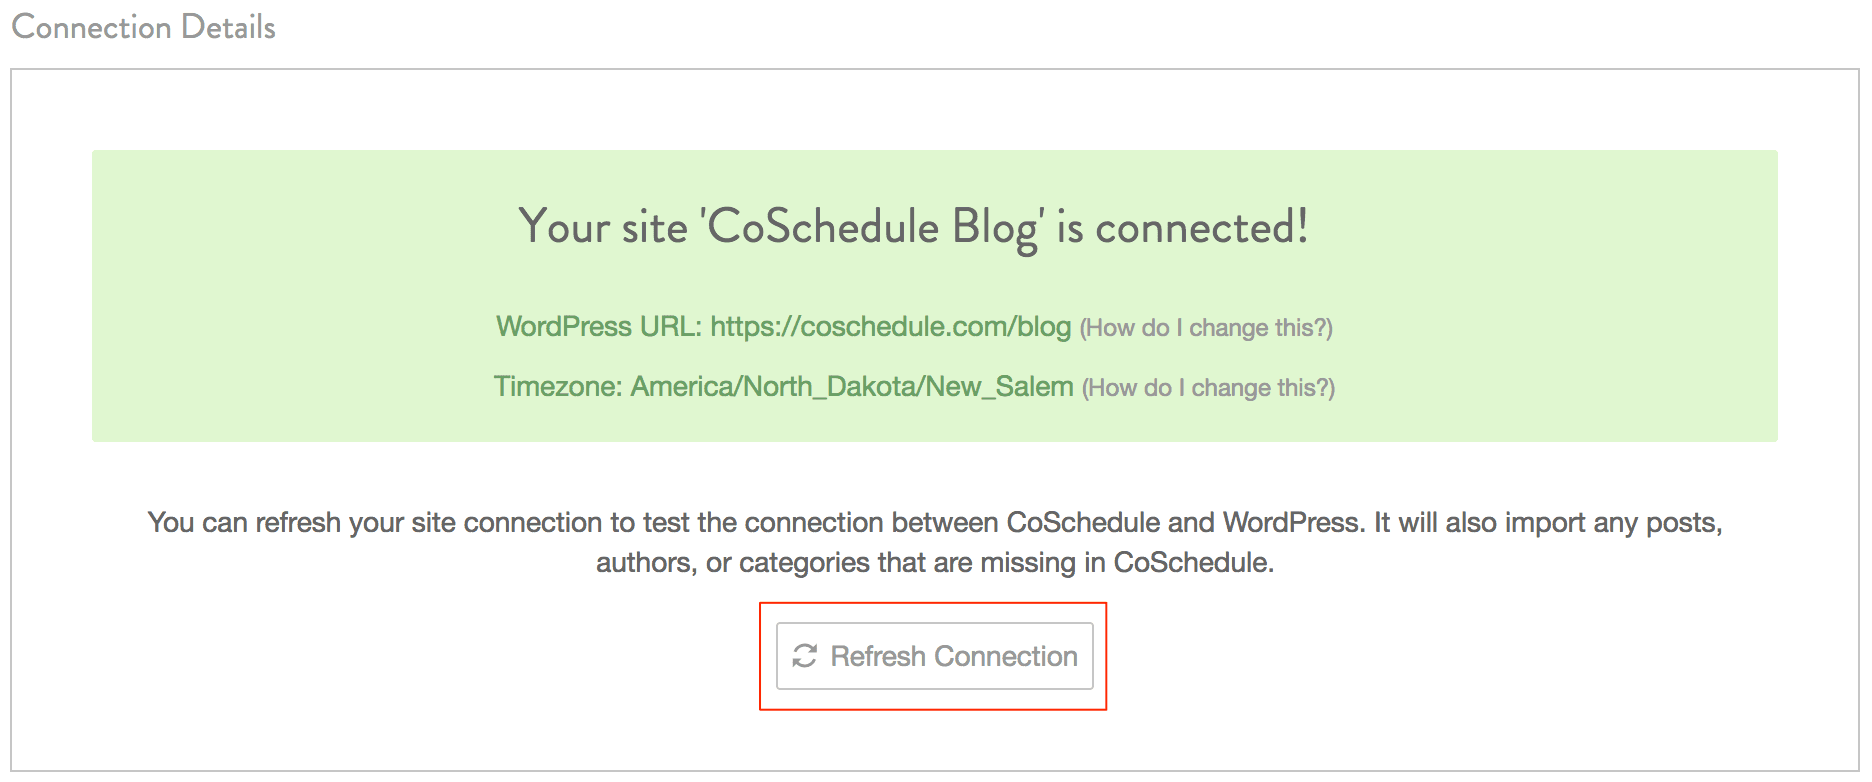
6. Sync your changes in your CoSchedule account.
-
- Go to Settings.
- Select Integrations.
- Navigate to Site Name.
- Under Connection Details click on Refresh Connection.