

Plan Your Content Alongside Your Social
In This Lesson
- 3.1 Add Your Content to the Calendar With Projects
- 3.2 Connect the Tools You Already Use
- 3.3 See Your Whole Marketing Plan in One View
Your social posts usually promote something: a blog post, a video, an email. Put that work on the same calendar, so you can see everything going out and promote each piece right where you plan it.
3.1 Add Your Content to the Calendar With Projects
Projects are CoSchedule's content planning cards. Each one holds a blog post, video, email or event, with its date and the social posts that promote it.
When to use them: any time you're making something your social posts will point to.
- On your calendar, click + Create, then Project.
- Add a title and date, and click Create.
- To promote it, add a Social Campaign to the project, and add your posts there (see 2.2).
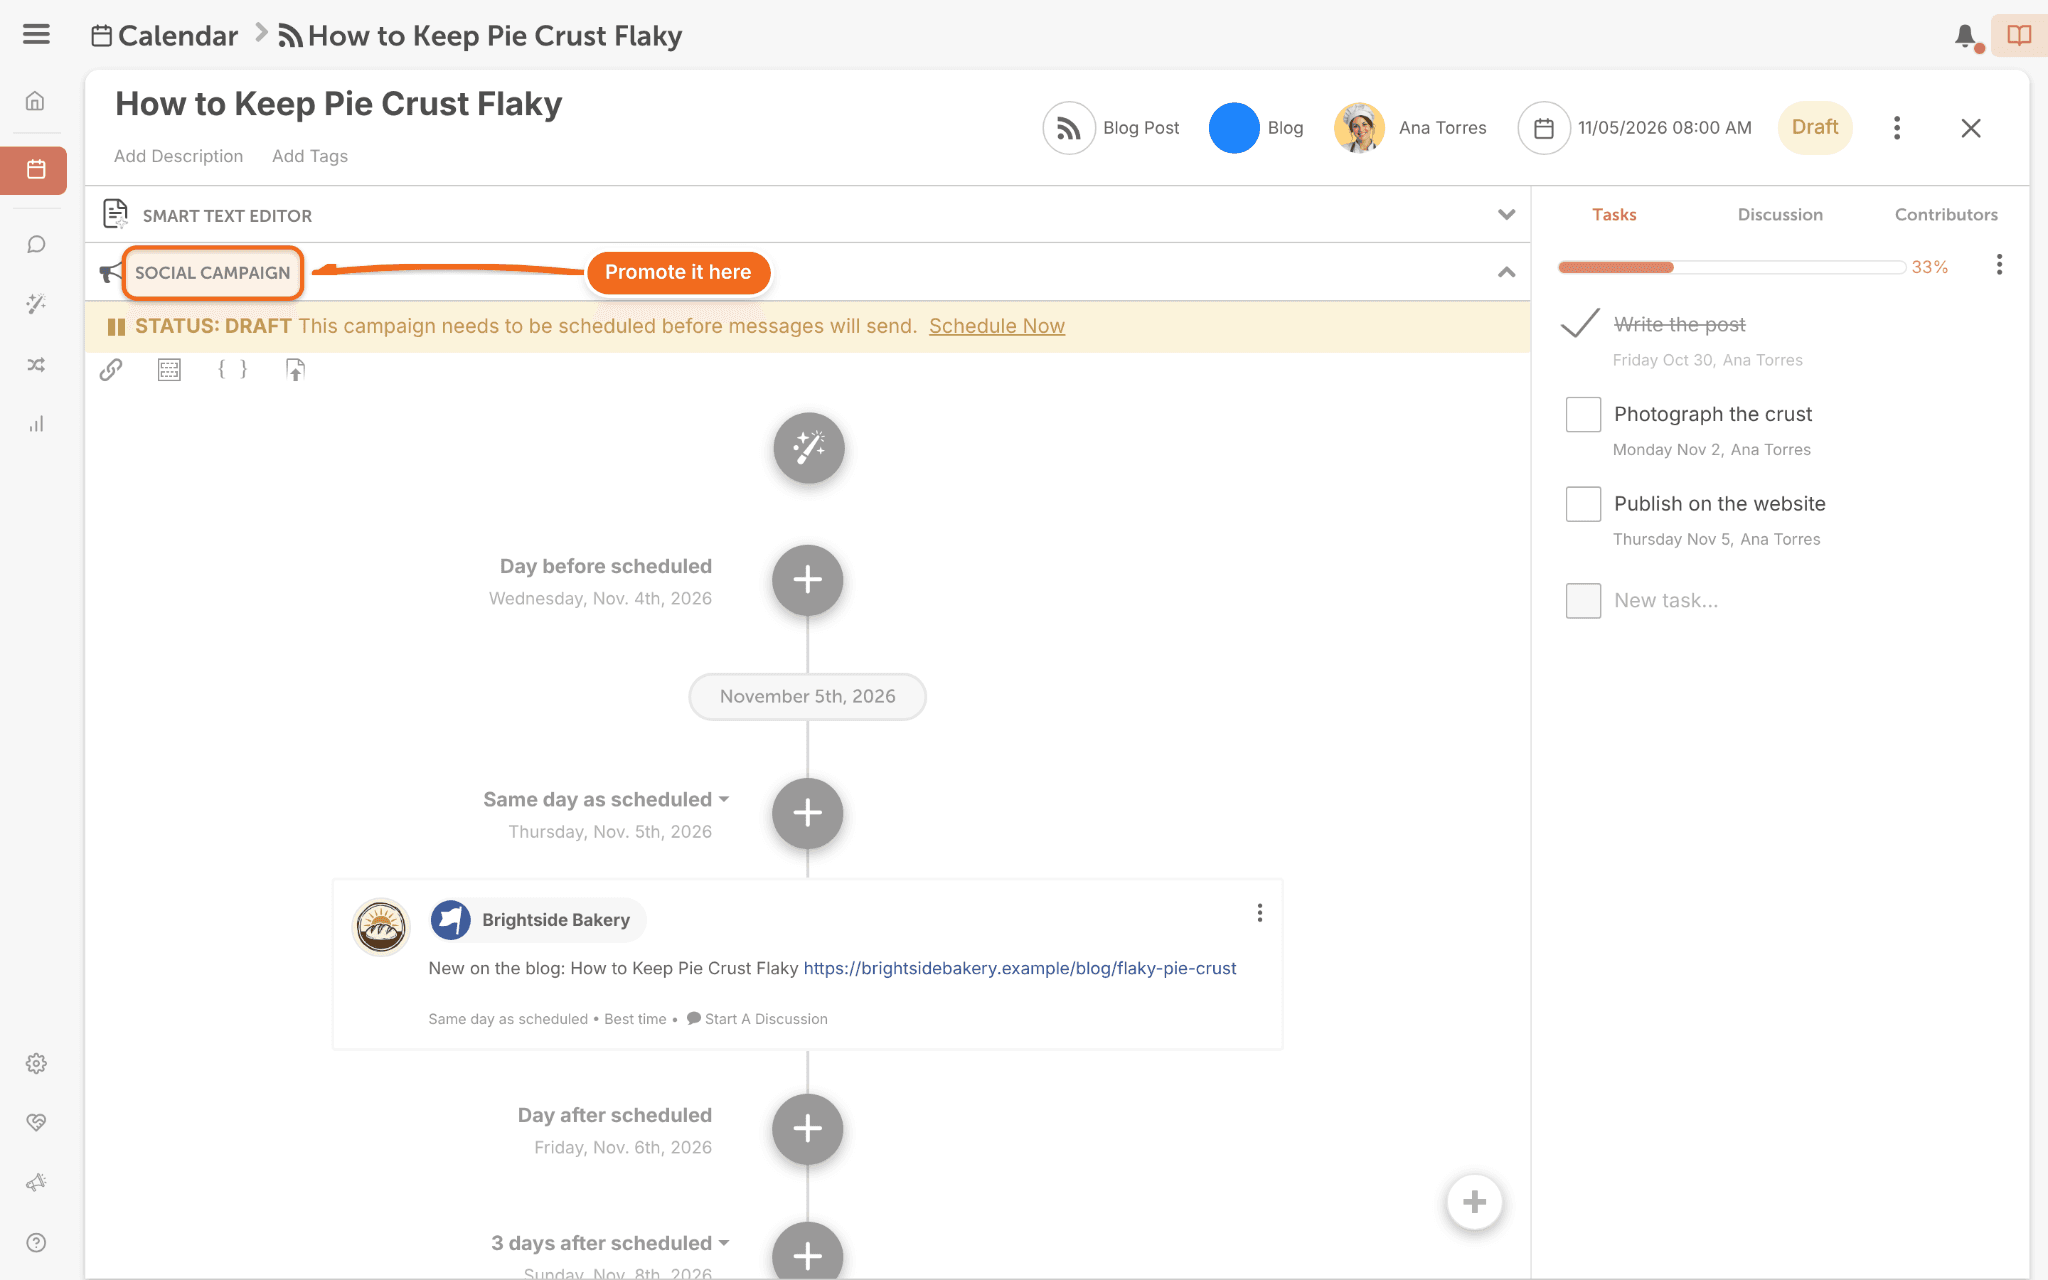
For the full steps, see How to Create Projects.
You're all set when one upcoming piece of content is on your calendar, with a campaign attached.
3.2 Connect the Tools You Already Use
Integrations connect CoSchedule to the tools where your content lives, so it shows up on your calendar without retyping it. Turn each one on in Settings > Integrations.
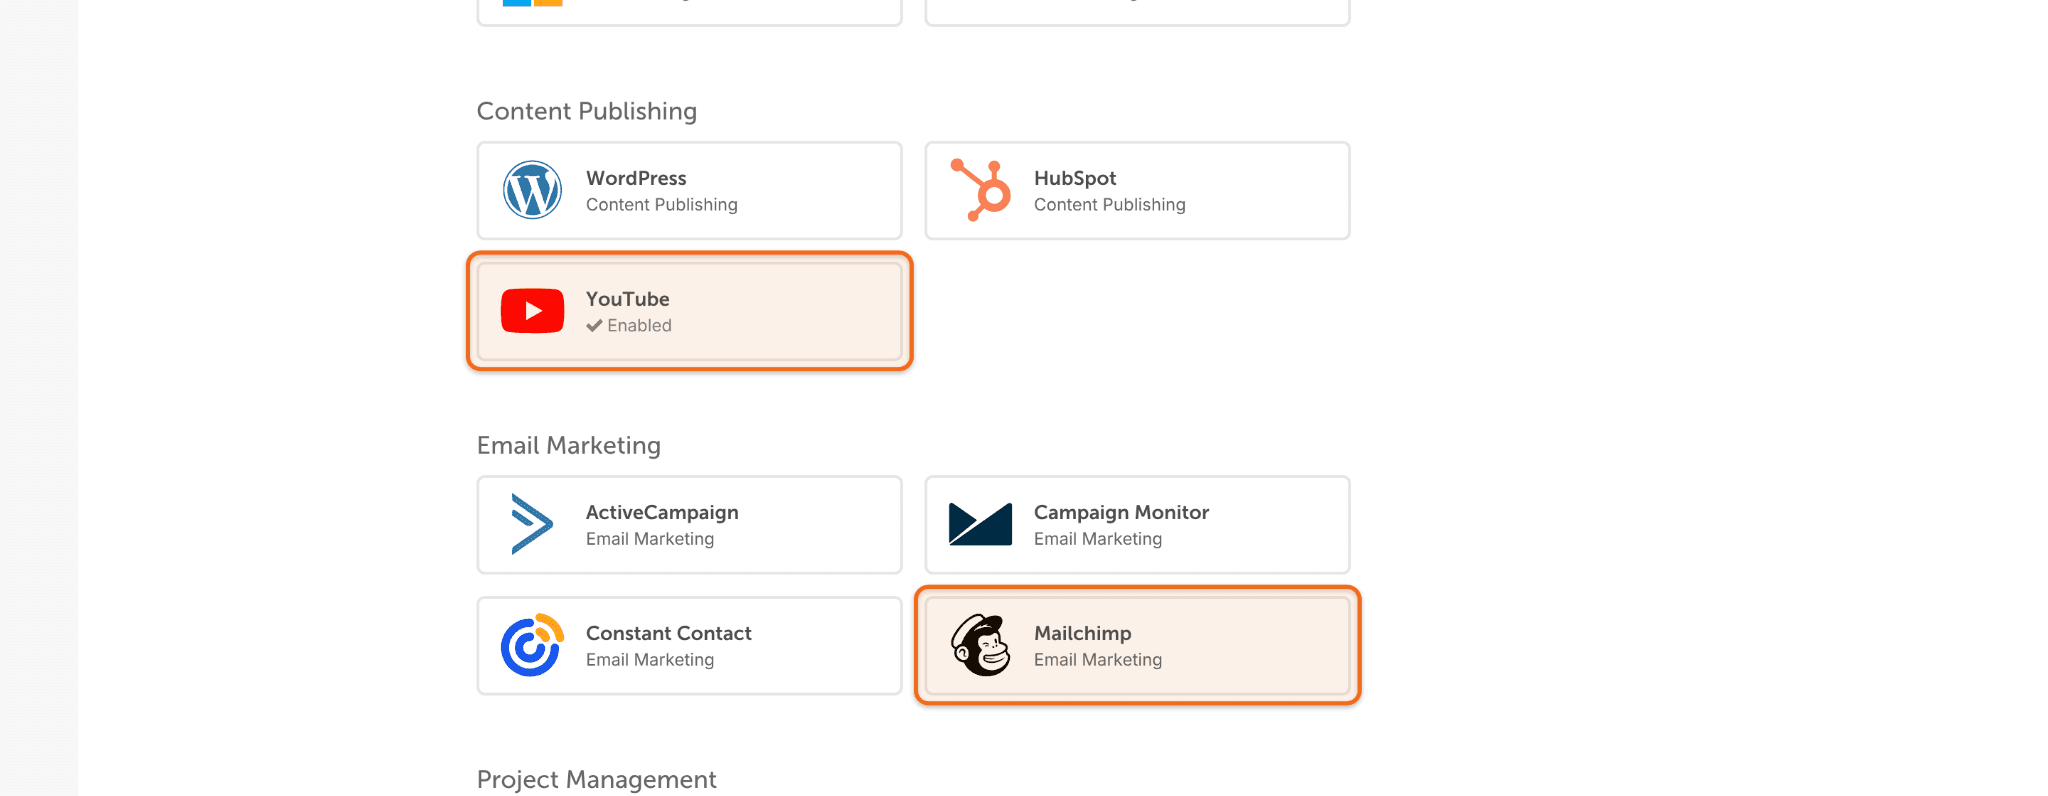
YouTube: plan and publish full-length videos from your calendar. Add a Social Campaign to promote each one, and those posts go out once the video goes public. See YouTube with CoSchedule.
Mailchimp: once it's connected, your Mailchimp emails appear on the calendar next to your social posts. Finish and send them to Mailchimp. See Mailchimp with CoSchedule.
Other tools: HubSpot and other email tools connect the same way. See Email Marketing Services You Can Connect to CoSchedule.
You're all set when at least one integration is on, and its content shows on your calendar.
3.3 See Your Whole Marketing Plan in One View
Now your calendar shows more than social. Your posts, videos, emails and blog content sit side by side, so it becomes the calendar you run all your marketing from.
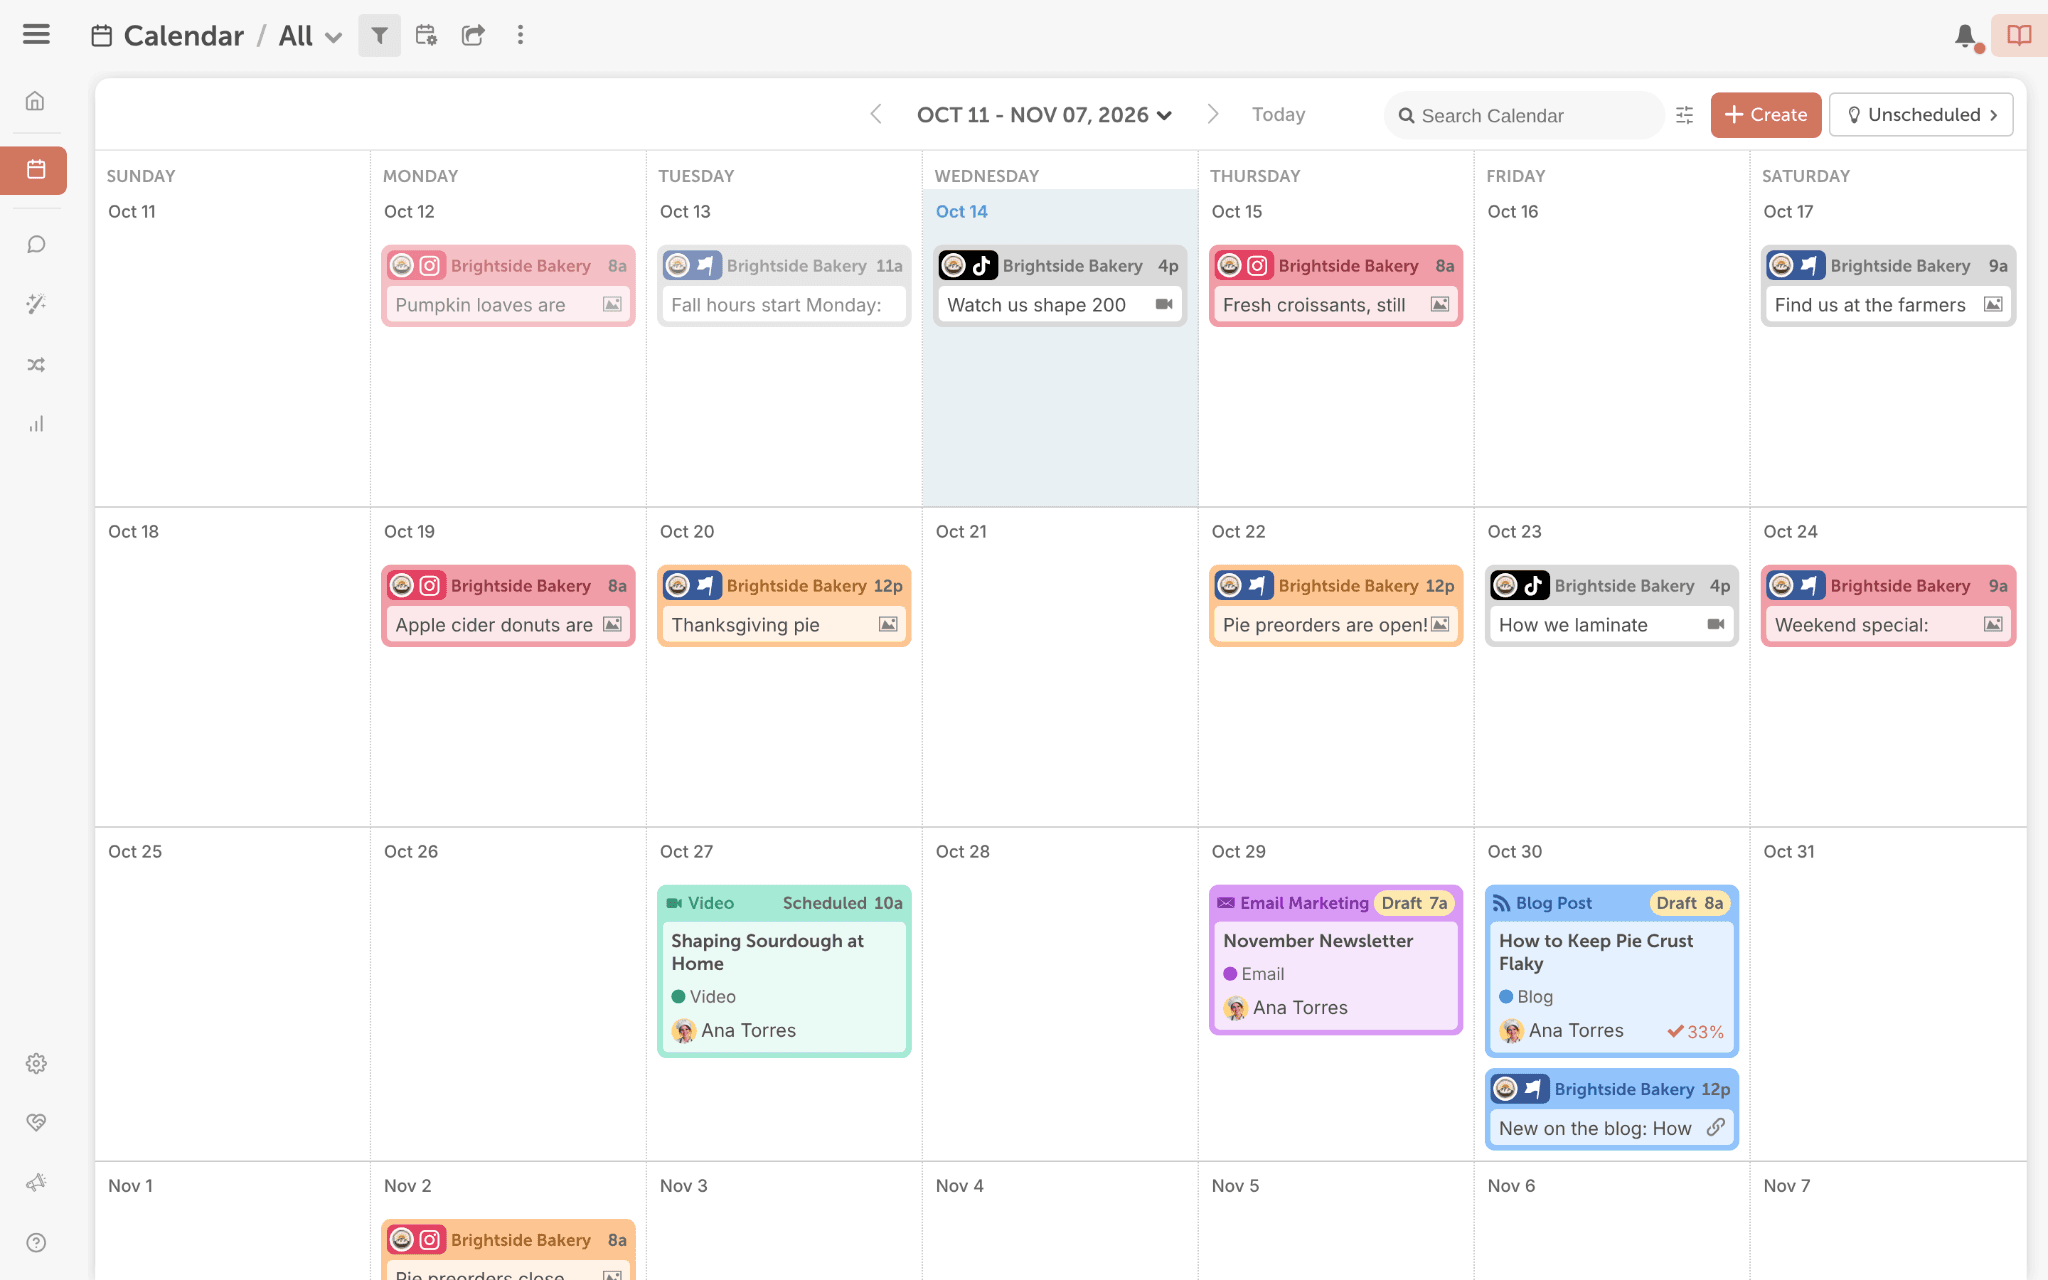
Color-code it. Use color labels to tell work apart at a glance, for example by product or channel. See Use Color Labels to Organize Your Calendar.
Save a view. When you want to focus, save a calendar view that shows only social or only email. See Manage Calendar Views.
See one profile at a time. Social Profile Calendars, CoSchedule's per-profile calendar views, give every social profile you connect its own calendar, with nothing to set up. Open the view menu at the top of your calendar (it shows All by default) and choose your profile from that menu to see only that profile's posts. Create a social message from there, and that profile is already selected for you. Choose All to see everything together again.
Check your month. Does every launch have a promotion around it?
You're all set when a month of content and its promotion is on your calendar, color-coded.
Next step: once all of this is publishing, keep up with the replies in Chapter 4.