
Turn on ReQueue, create groups for your evergreen messages, then add messages to them. Available on Starter, Professional and Suite. Starter includes 5 ReQueue groups and Professional includes 10. On Suite, the limit depends on your Suite plan.
Turn on ReQueue
- Go to Settings.
- Select Power Ups.
- On the ReQueue tile, click Enable ReQueue.
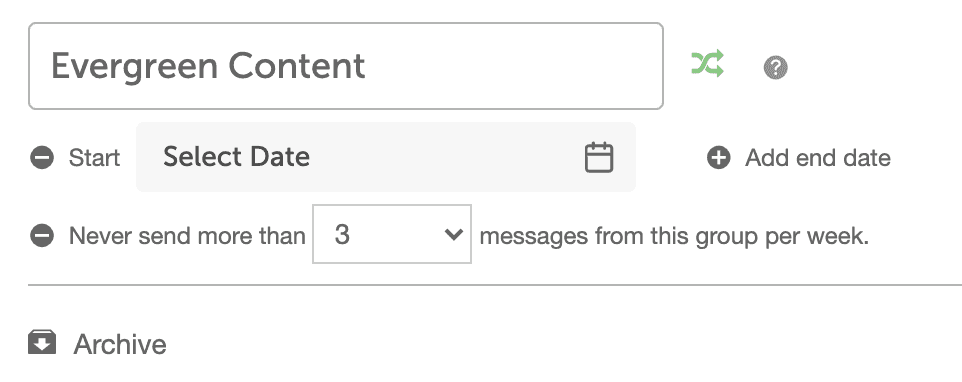
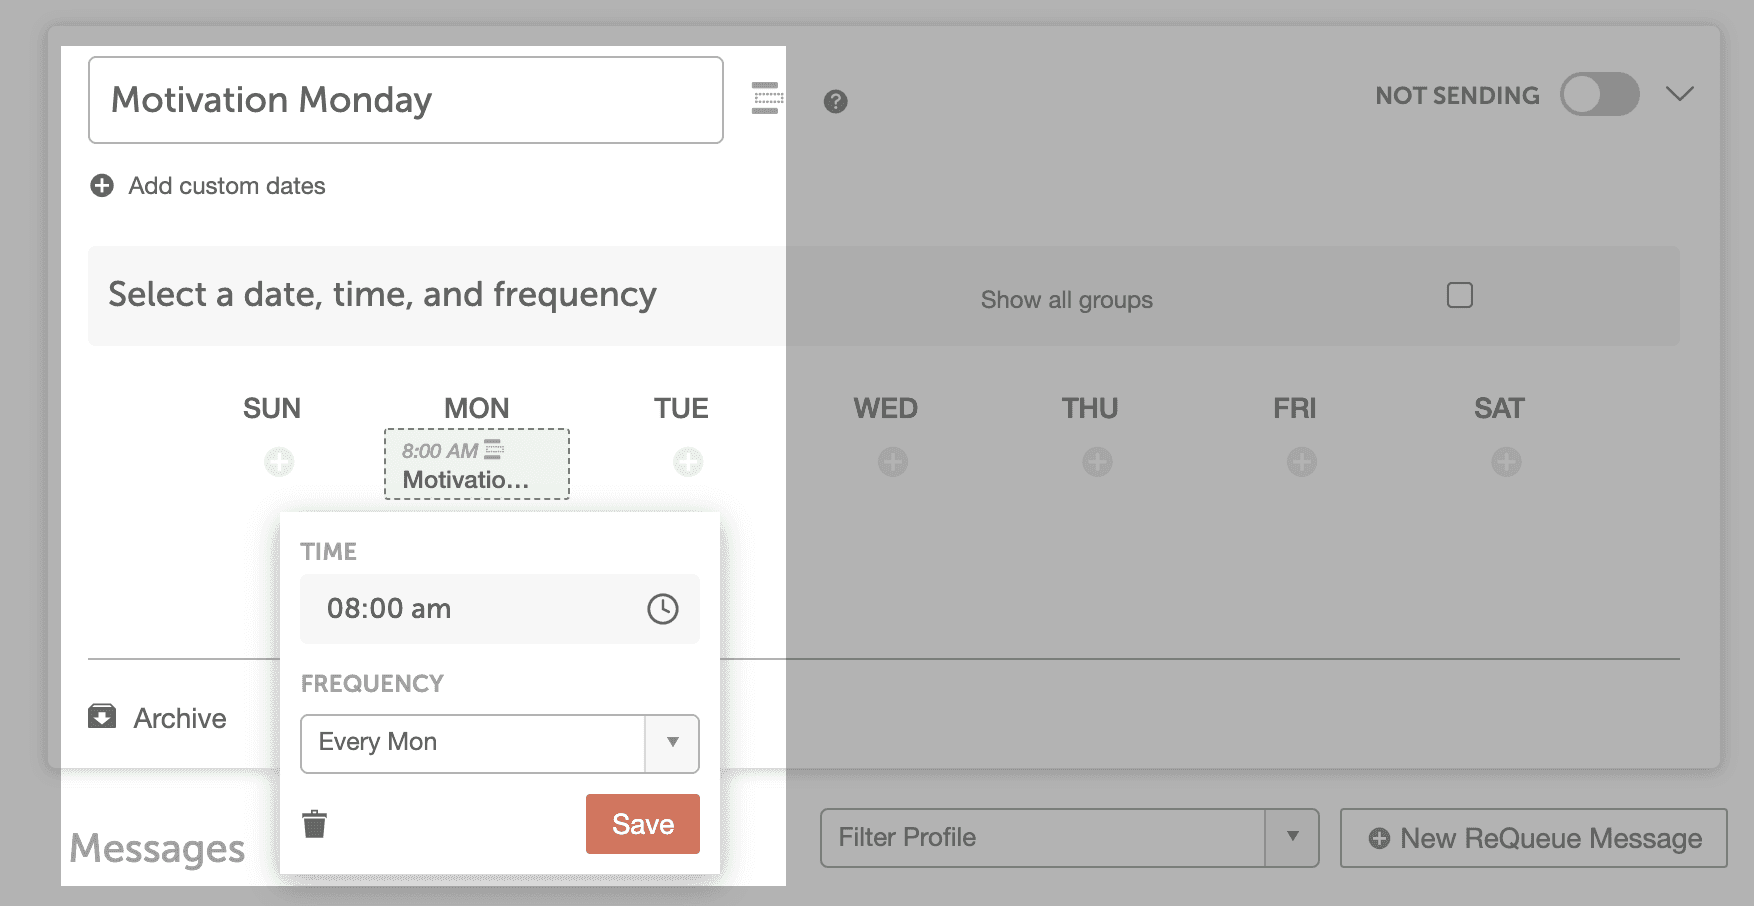
ReQueue starts you off with two groups: Motivation Monday, a Placeholder group, and Evergreen Content, an Intelligent group. You can use them or create your own.
Create a ReQueue group
An Intelligent group fills gaps in your schedule. A Placeholder group sends on the days and at the times you set. See What ReQueue is and how it works.
- Go to ReQueue.
- Click New Group.
- Choose a group type.
- Click Next.
- Type a name for the group.
- For an Intelligent group, set a start and end date and a weekly message limit if you want them.
- For a Placeholder group, choose the days and times to publish from the group. You can also set a start and end date.
- Click Create Group.
If you're at your plan's group limit, CoSchedule shows "You can not create any more Requeue Groups in your current billing plan." Archived groups and groups whose end date has passed don't count toward the limit.
Add messages to a group
You can add a message to a ReQueue group while you create it, from a message on your calendar, or directly in the group.
Add a message as you create it
- Write your social message. See Create a social message.
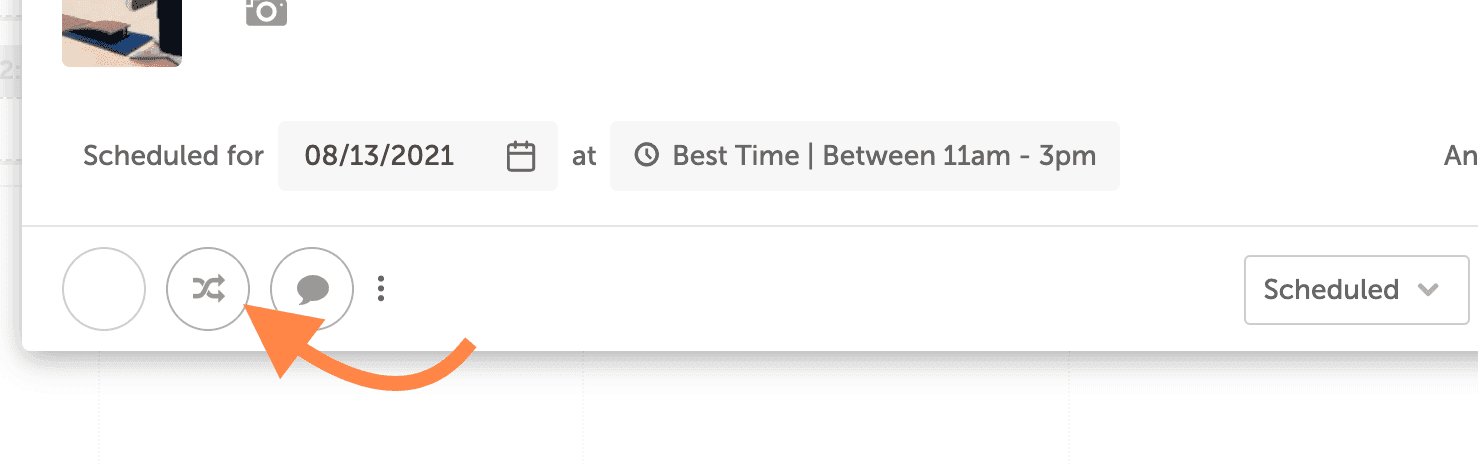
- Click the ReQueue icon.
- Select the ReQueue group.
- Choose when the message expires: never, or after a number of sends.
- Click Save.
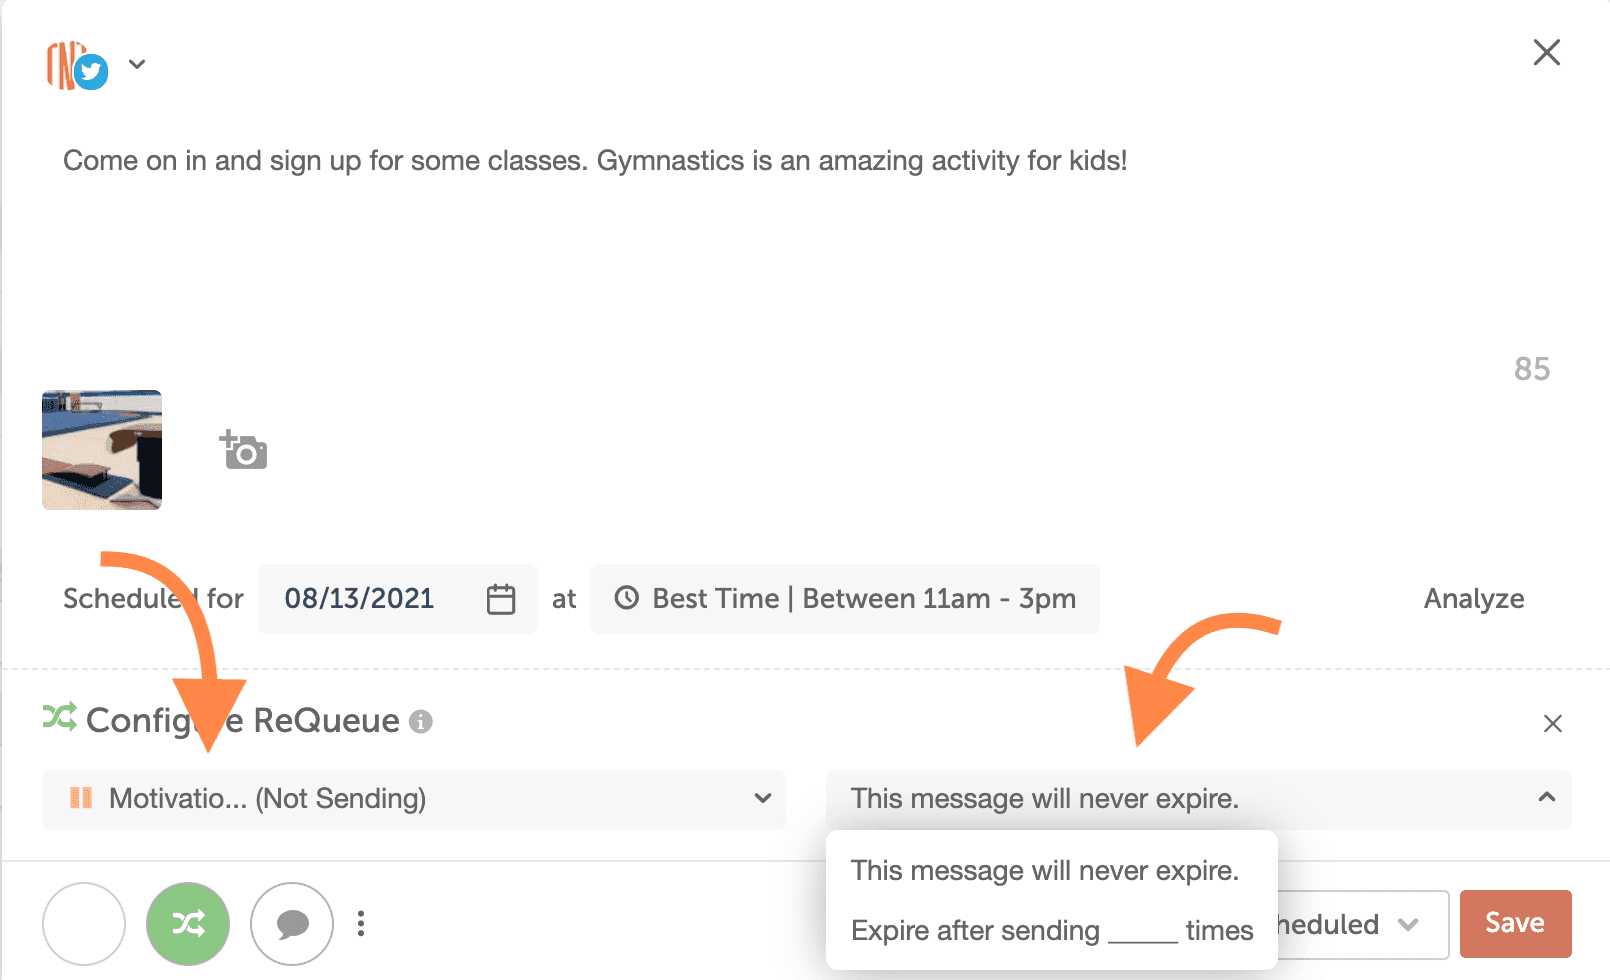
A message you add this way isn't sent from ReQueue until the original message on your calendar has published.
Add a message from your calendar
- On the calendar, open the social message. It can be one that has already published.
- Click the ReQueue icon in the lower left of the message.
- Select the ReQueue group.
- Choose when the message expires: never, or after a number of sends.
- Click Close + Save.
Create a message in a group
- Go to ReQueue.
- Select the group.
- Click New ReQueue Message.

- Write the message and set its options.
- Click Save.
Messages imported with Social Sync can go in ReQueue groups too, except imported video posts and posts that imported without a preview. See Import past posts with Social Sync.