
Some ReQueue settings apply to all your groups and live in Settings; each group also has its own settings. Available on Starter, Professional and Suite. Starter includes 5 ReQueue groups and Professional includes 10. On Suite, the limit depends on your Suite plan.
Limit how often a message is sent
- Go to Settings.
- Select Power Ups.
- Choose ReQueue.
- Make sure you're on Global Settings.
- Scroll to Individual Message Sending Limits.
- Select the most times one message can be sent each month.
Set how often Intelligent groups publish
ReQueue counts the messages you schedule yourself as well as its own when it fills your calendar.
- Go to Settings.
- Select Power Ups.
- Choose ReQueue.
- Select Intelligent Automation Settings.
- Scroll to Configure Your Sending Goals.
- Use the slider to choose light, medium or heavy publishing.
Choose the days and times Intelligent groups publish
- Go to Settings.
- Select Power Ups.
- Choose ReQueue.
- Select Intelligent Automation Settings.
- On the calendar, select the days and times when messages from Intelligent groups can publish.
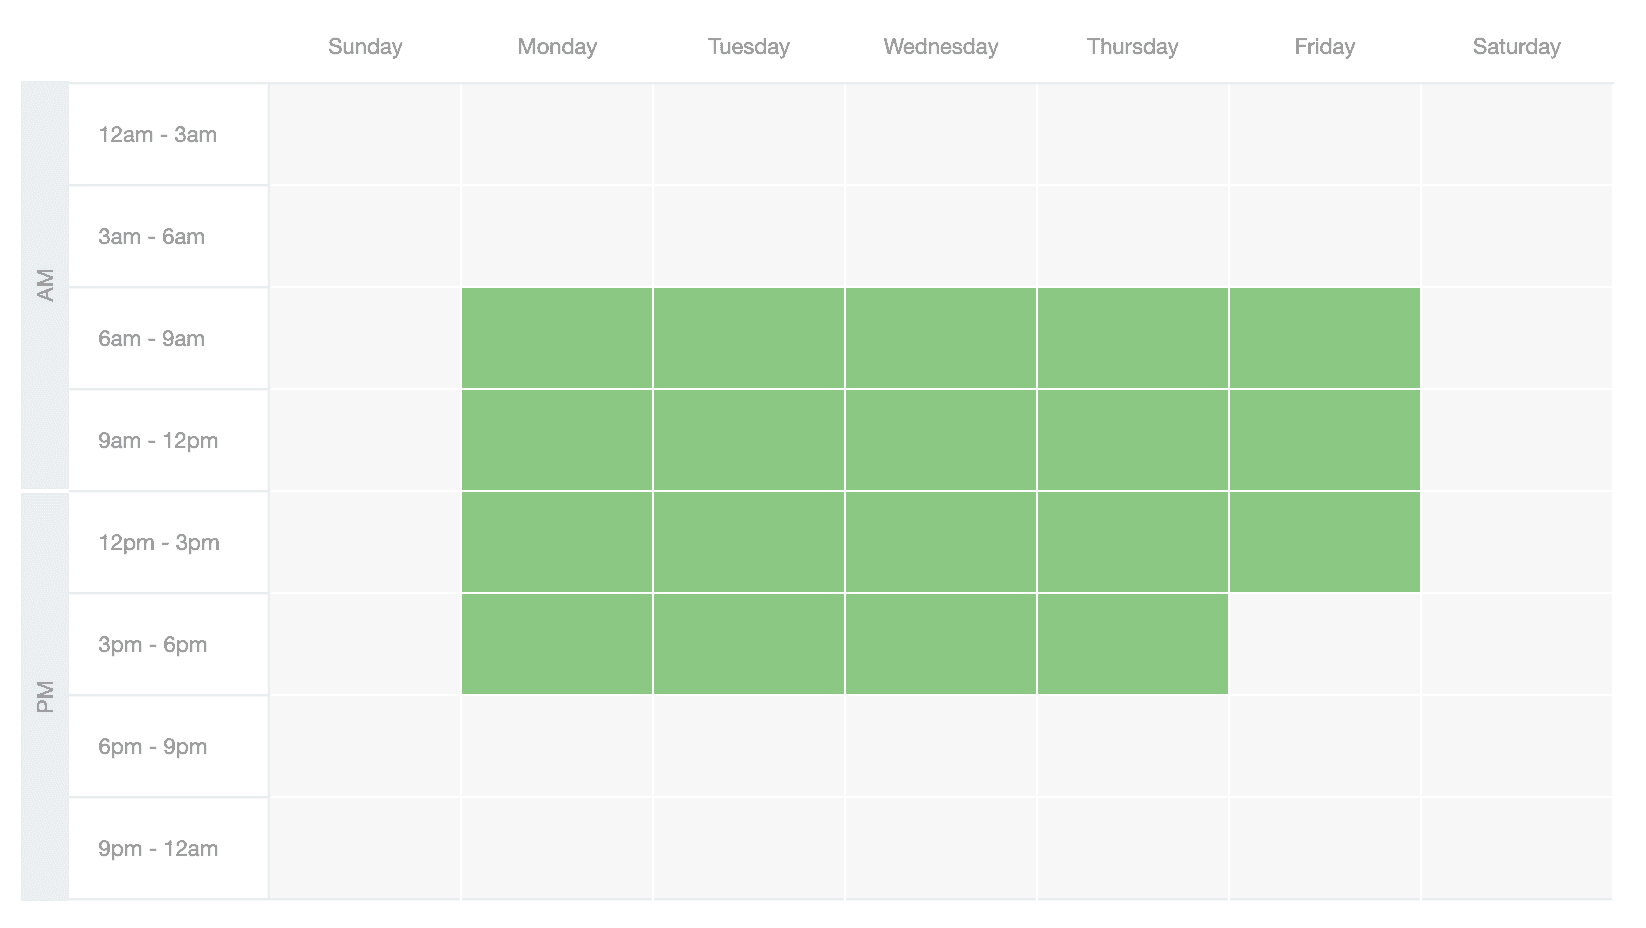
These days and times apply to all your Intelligent groups.
Change one group's settings
- Go to ReQueue.
- Open the group.
- Click the arrow next to the Sending toggle to open the group's settings.
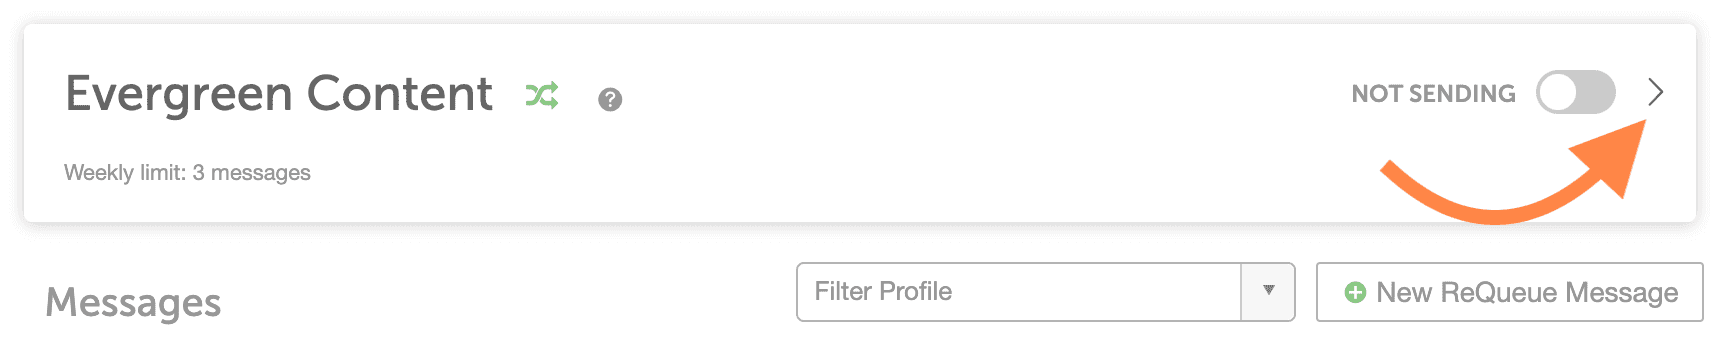
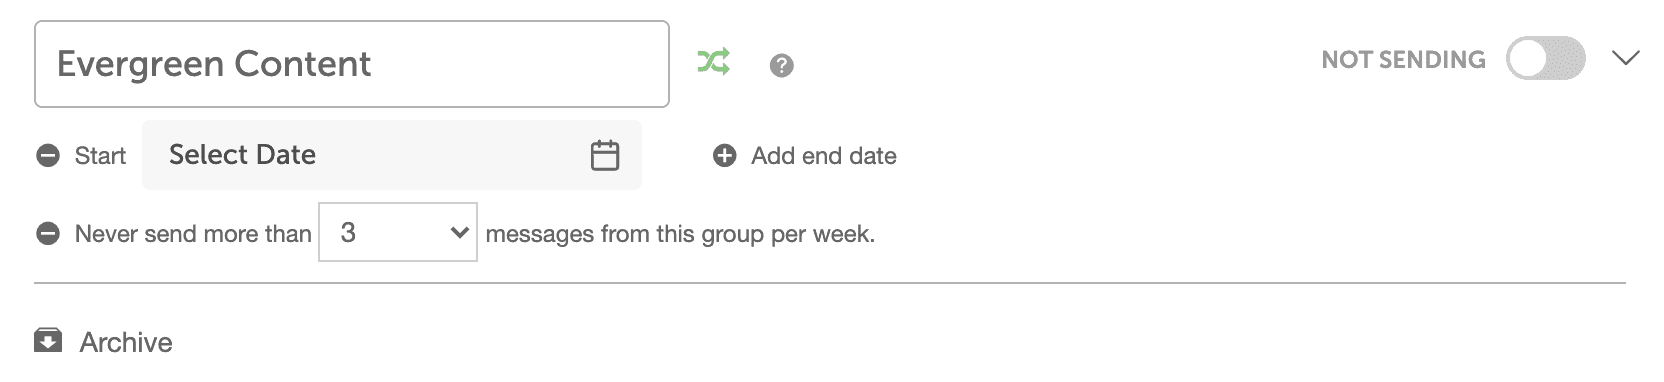
- For an Intelligent group, edit the start and end dates and the message limits.
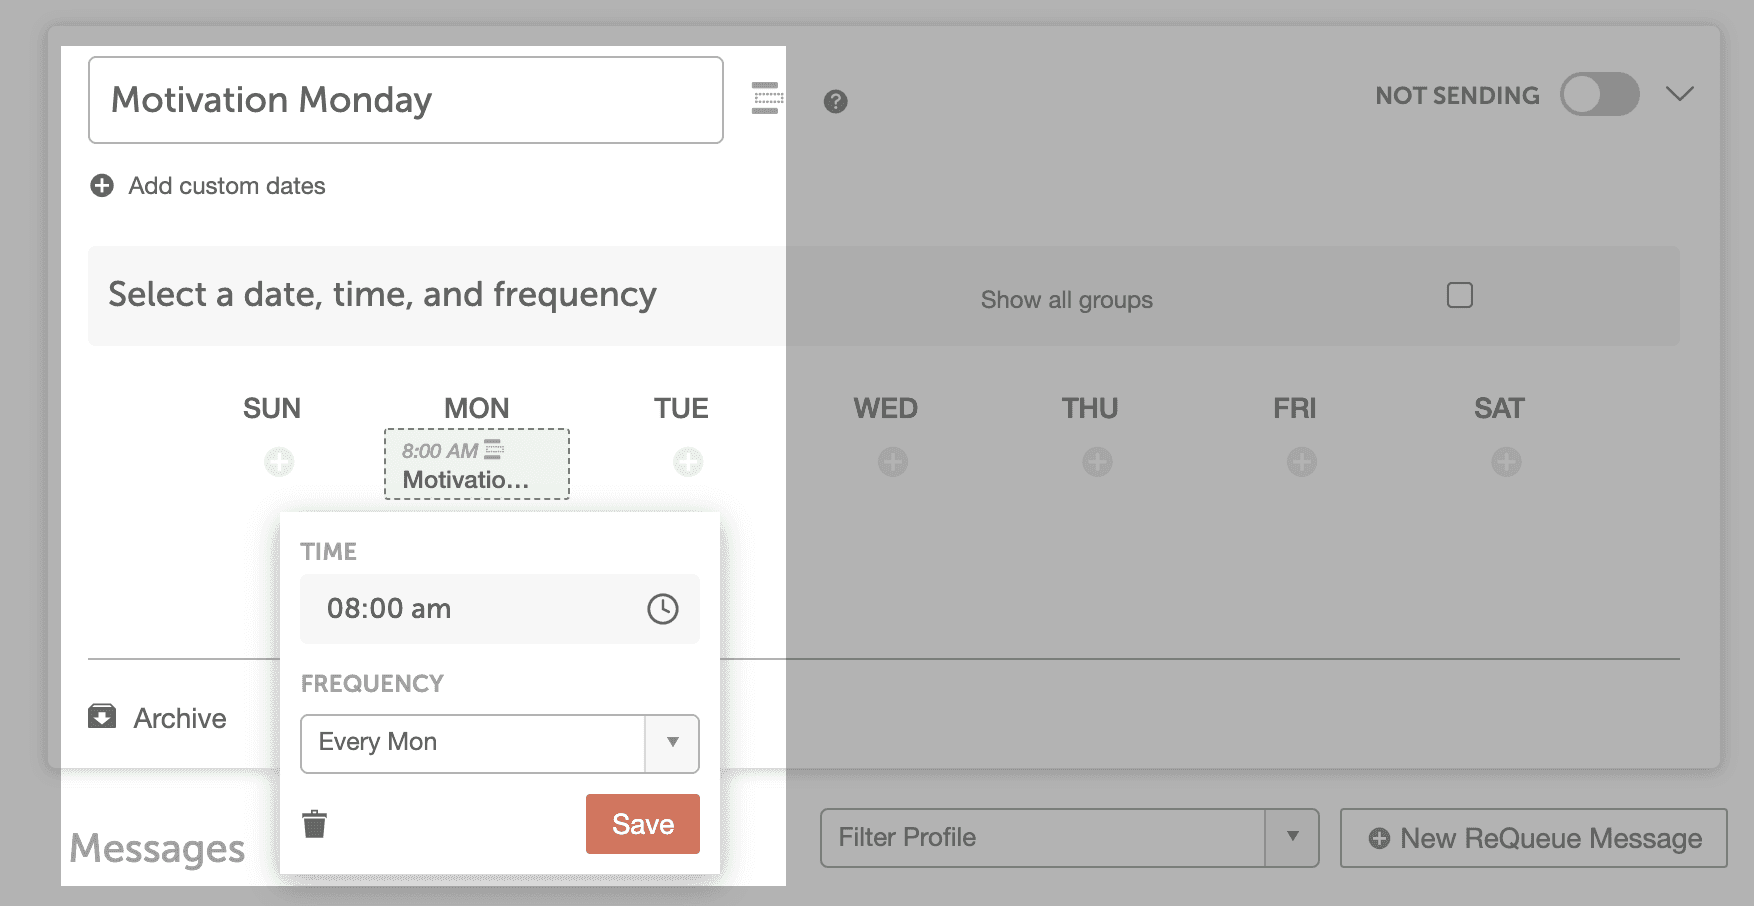
- For a Placeholder group, edit the days and times it publishes.
Limit a group to a date range
For a seasonal group, or to hold messages back for a few months, give the group custom dates. ReQueue sends from the group only inside that date range. You can't set dates on a single message; add it to a group that has the dates you want.
- Open the group in ReQueue.
- Click the arrow next to the Sending toggle.
- Click Add custom dates.
- Choose the start and end dates.
Stop a group from sending
- Open the group in ReQueue.
- Switch the Sending toggle to Not Sending.
The group's messages already on your calendar are cleared after a short delay. To remove them sooner, delete them from the calendar yourself.
Skip a message once
To keep a message from an Intelligent group from sending at the time ReQueue chose, click the message on your calendar and choose to skip it for two weeks. For more control over timing, use a Placeholder group.
Pause ReQueue
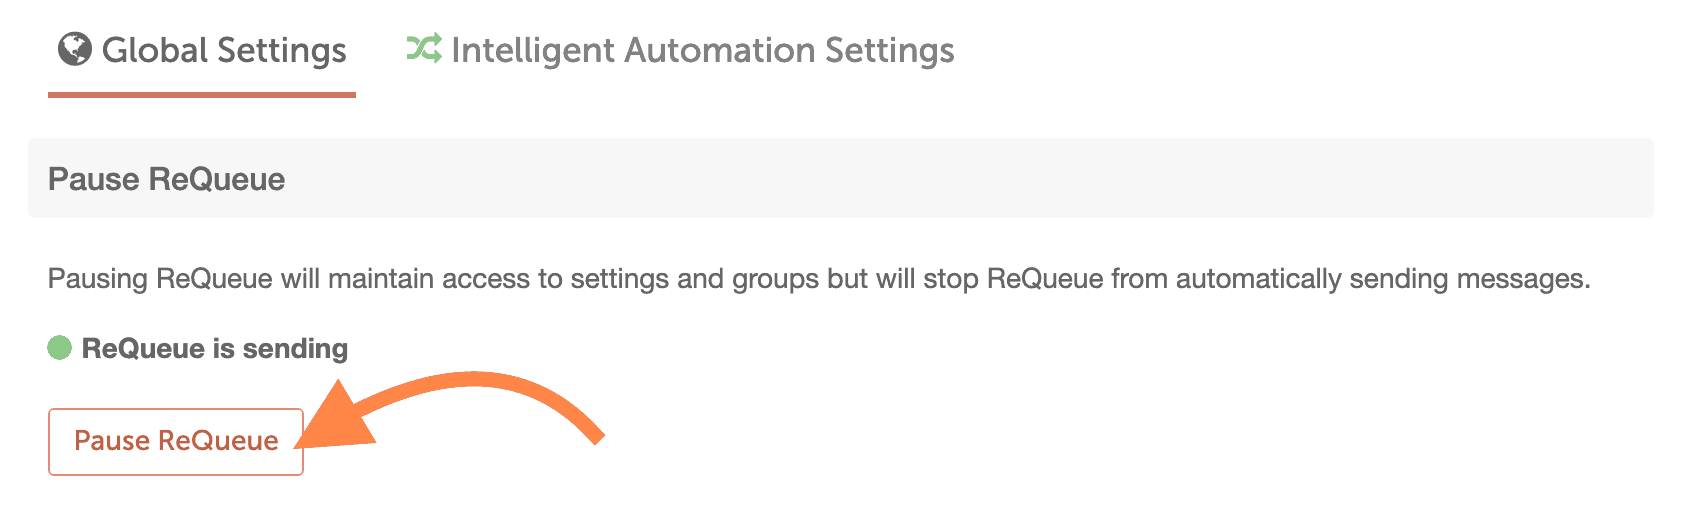
Pausing stops all ReQueue messages and keeps your settings.
- Go to Settings.
- Select Power Ups.
- Choose ReQueue.
- Click the Global Settings tab.
- In the Pause ReQueue section, under "ReQueue is sending", click Pause ReQueue.
- Click Yes to confirm.
Turn ReQueue back on
While ReQueue is paused, the Pause ReQueue section shows "ReQueue is paused".
- Go to Settings.
- Select Power Ups.
- Choose ReQueue.
- Click the Global Settings tab.
- Under "ReQueue is paused", click Resume ReQueue.
Pause ReQueue for one social profile
- Go to Settings.
- Select Power Ups.
- Choose ReQueue.
- Select Intelligent Automation Settings.
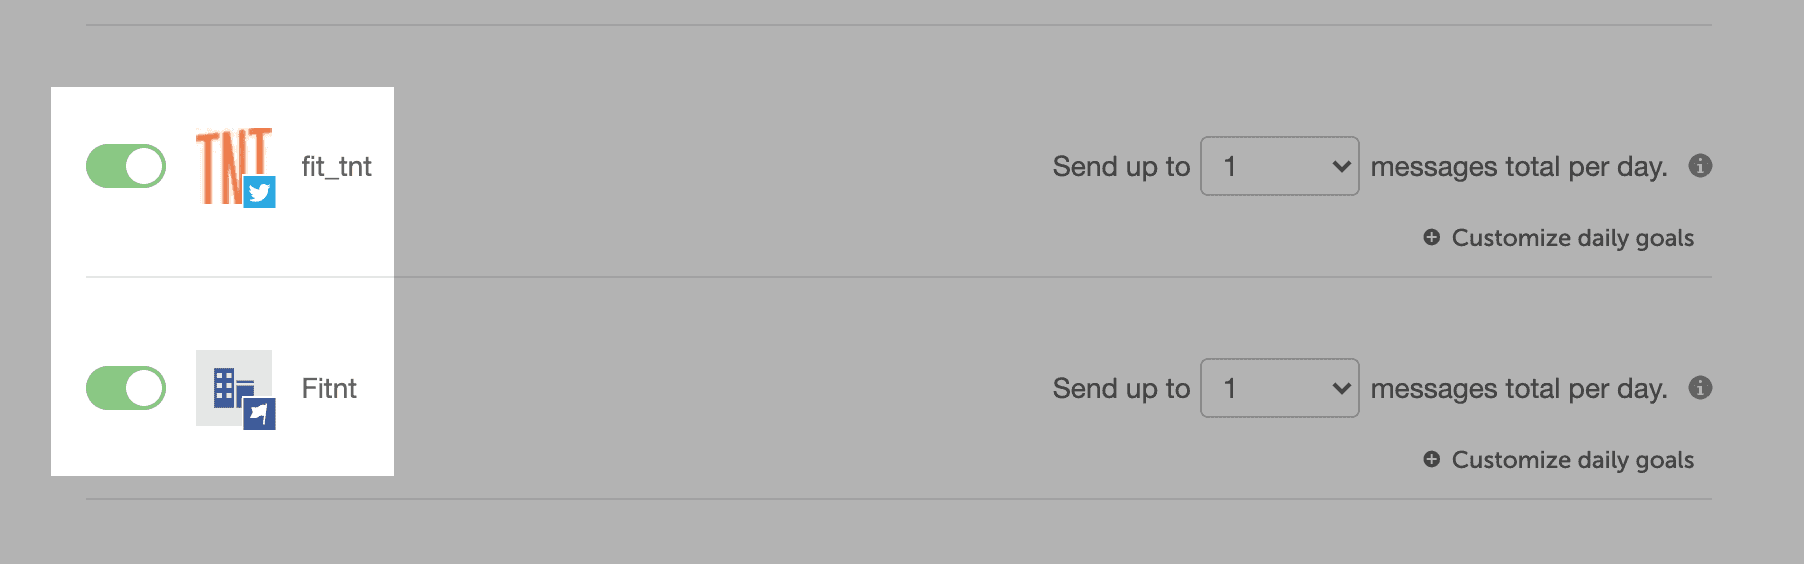
- Scroll to Configure Your Sending Goals.
- Use the toggle next to the profile to turn ReQueue sending on or off.
Pausing all social messages stops ReQueue messages too. See Pause all scheduled social messages.
Fill or hide ReQueue gaps
A ReQueue gap shows on your calendar where ReQueue would send a message but the group doesn't have enough messages.
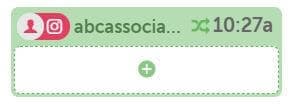
To fill a gap, add more messages to the group, create a new message, or change your ReQueue settings. To hide gaps from your calendar instead:
- Go to Display Settings.
- Under Hide, select ReQueue Gaps.
Archive a group or a message
Archiving takes a group out of your active groups and moves it to the Archived Groups list, where you can un-archive it.
Archived groups are never deleted on their own, and they don't count toward your plan's ReQueue group limit. Neither do groups whose end date has passed. Only active groups count: groups that aren't archived and haven't ended.
At your limit, creating a group shows "You can not create any more Requeue Groups in your current billing plan." and un-archiving one shows "You have reached your Active Requeue Group limit." The limit dialog shows how many you've used: "You have used X of Y available active ReQueue groups.", with your numbers in place of X and Y. Archive a group you no longer need to make room.
- Open the group in ReQueue.
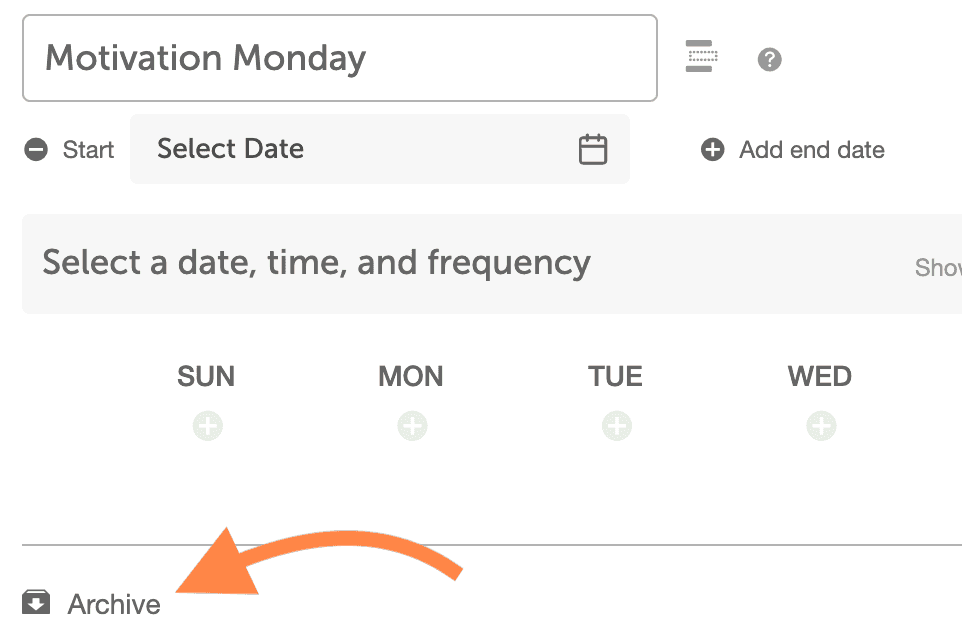
- Click the arrow to open the group's settings.

- Click Archive.
Archive one message
- Open the ReQueue group.
- Click the message you want to archive.
- Click the three vertical dots.
- Select Archive.
See how often a message has been sent
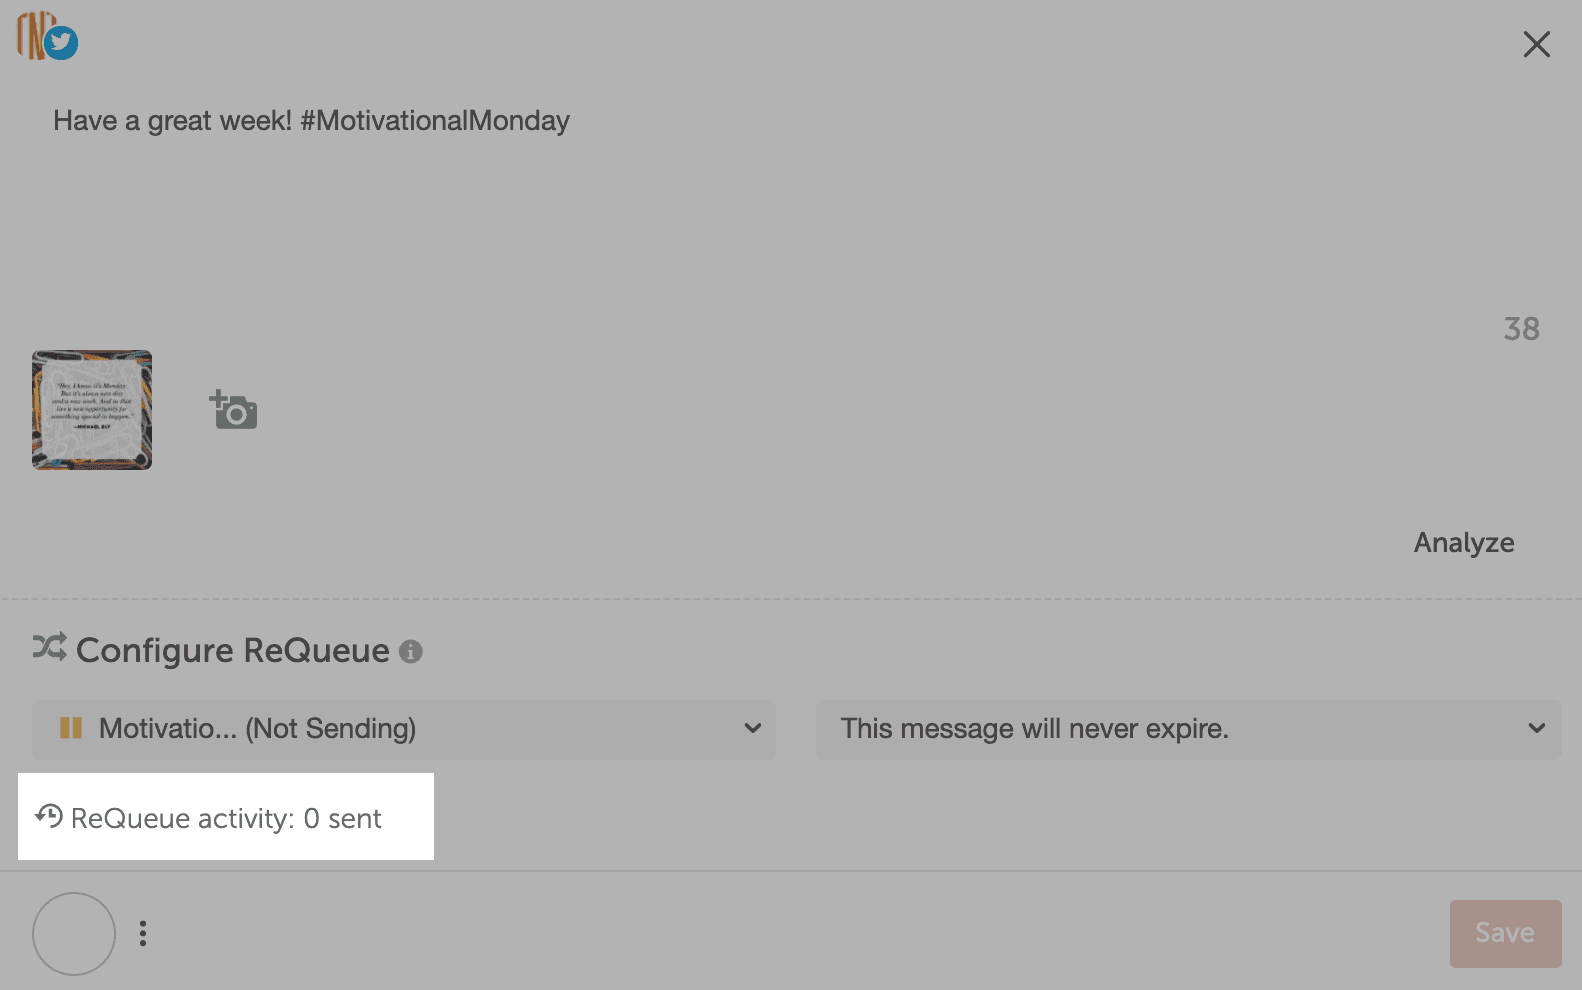
Each ReQueue message shows how many times it has been sent. Hover over ReQueue Activity on the message to see each date it went out.
Common questions
Can I control which message ReQueue sends, and when?
Not exactly. See What ReQueue is and how it works.
Does each slot send a message to every profile?
No. Each slot sends one message to one profile. To give each network its own messages, keep a separate group for each network.