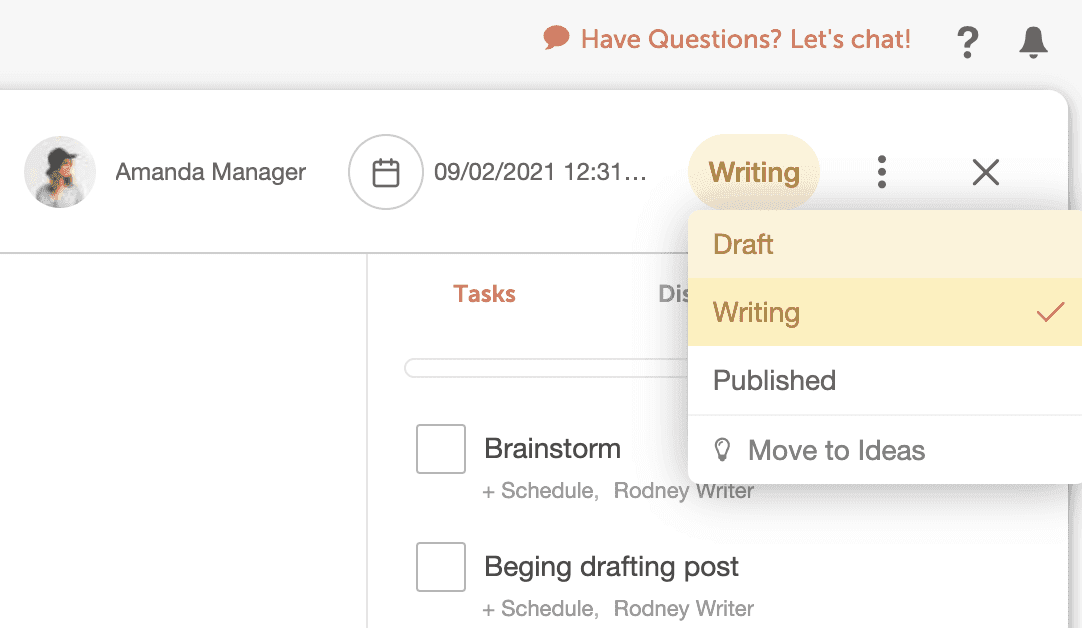
Custom statuses name the stages of your team's workflow, so you can see where every project stands. Available on Suite. Statuses appears in Settings only on Suite, and only the Owner, Managers and Admins can open it.
Add a custom status
- From your calendar, open Settings.
- Select Statuses.
- Click Add Custom Status under Calendar or Ideas.
- Enter a name for the status.
- Choose a status type.

Status types
Each custom status works like one of three status types:
Status type | How it works |
|---|---|
Draft | Never publishes. Items stay in a draft state and show a yellow highlight on the calendar. |
Scheduled | Switches to a Published state when the scheduled date is reached. |
Published | The ending status for Scheduled-type statuses. |
Pending Review, one of the default statuses, is a Draft-type status. Your calendar may have renamed it on the Statuses page. Approving a social message doesn't change its status.
Edit, reorder or delete statuses
The Statuses page lists every status for your calendar and for Ideas.
- To reorder statuses, drag and drop them.
- To edit a status, click its pencil icon.
- To delete a status, click its trash icon.

Apply a custom status to a project
- Open a project on your calendar.
- Click the status button in the top left corner of the project.
- Choose the status.
If the project is scheduled for the future, you see only Draft-type and Scheduled-type statuses. Draft-type statuses are highlighted in yellow, and Scheduled-type statuses in grey.