
Add files to Assets, organize them in folders, copy or move them, and keep every version of a file in one place. Available on Suite.
Upload files
- Click Assets in the left sidebar.
- Open a folder or a project folder.
- Click Upload.
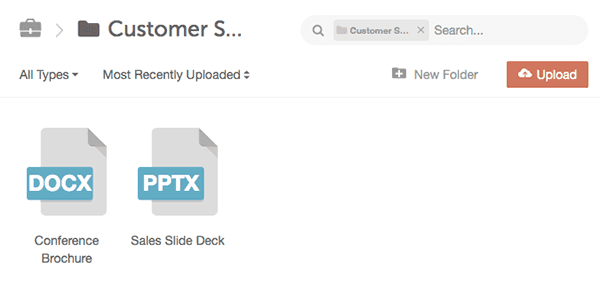
- Select the files you want to upload. To select more than one, hold Command (Mac) or Control (Windows) while you click each file.
- Confirm your selection in your computer's file window. The files upload to the folder.
Files someone adds through a request form with a File Attachments field also go into Assets. See Set up request forms.
Create a folder
Folders hold files and images you want to share with your team.
- Open Assets.
- Click New Folder.
Copy a file or folder
- Select the file or folder.
- Click the three dots to open the file options menu.
- Click Copy.
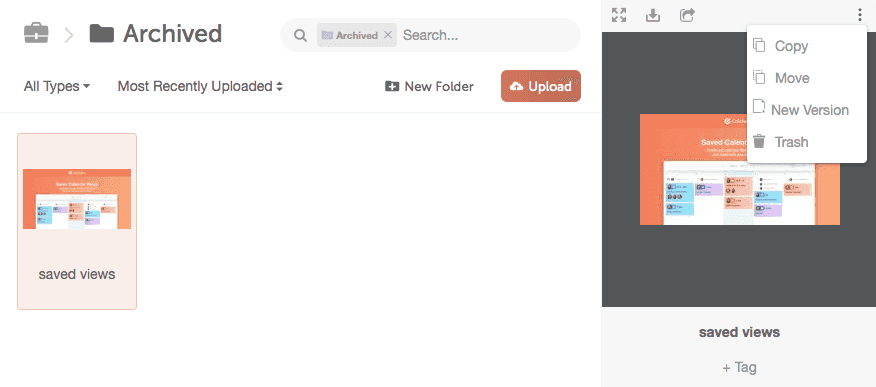
Project folders can't be copied.
Move a file or folder
- Select the file or folder.
- Click the three dots to open the file options menu.
- Click Move.
- Choose the folder you want to move it to, then click Move.
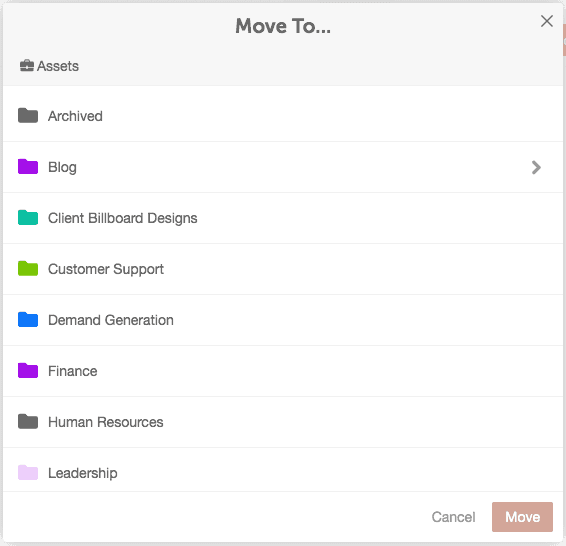
You can't move files or folders into a project folder, and you can't move a project folder's files to another folder.
Upload a new version of a file
Assets keeps each version of a file, so you can still view or download earlier versions after you upload a new one.
- Select the file.
- Click the three dots to open the file options menu.
- Click New Version.
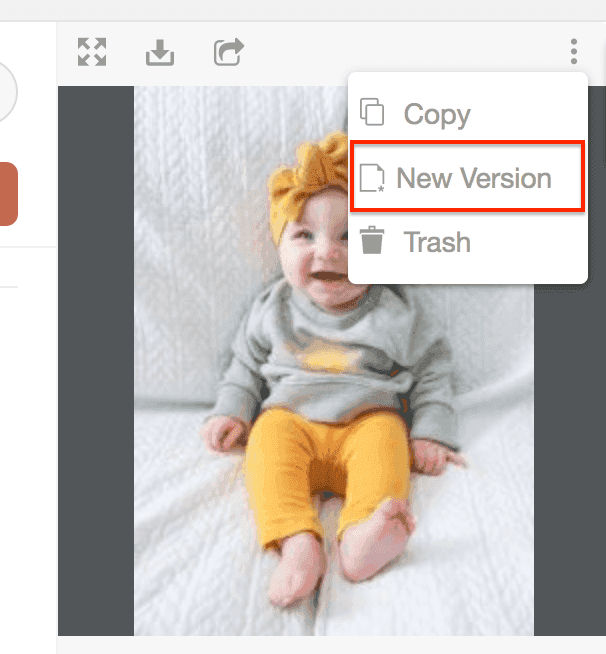
- Select the new file.
- Confirm your selection in your computer's file window.
The file's details list its versions in the Modified section.
If the file is from Dropbox or OneDrive, a new version you add in Assets also updates the file there. See Use Dropbox with CoSchedule and Use OneDrive and Microsoft 365 with CoSchedule.
View earlier versions
- In the file's details, click Versions.
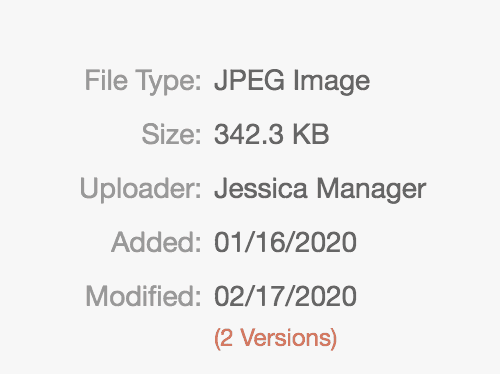
- The file preview opens with the file's history on the right. View or download any version.