
Upload images, videos and documents to a project or social message, and reuse them anywhere on your calendar. Available on Starter, Professional and Suite.
Upload a file to a project
- Open the project.
- Click Add Attachment, then select Files.
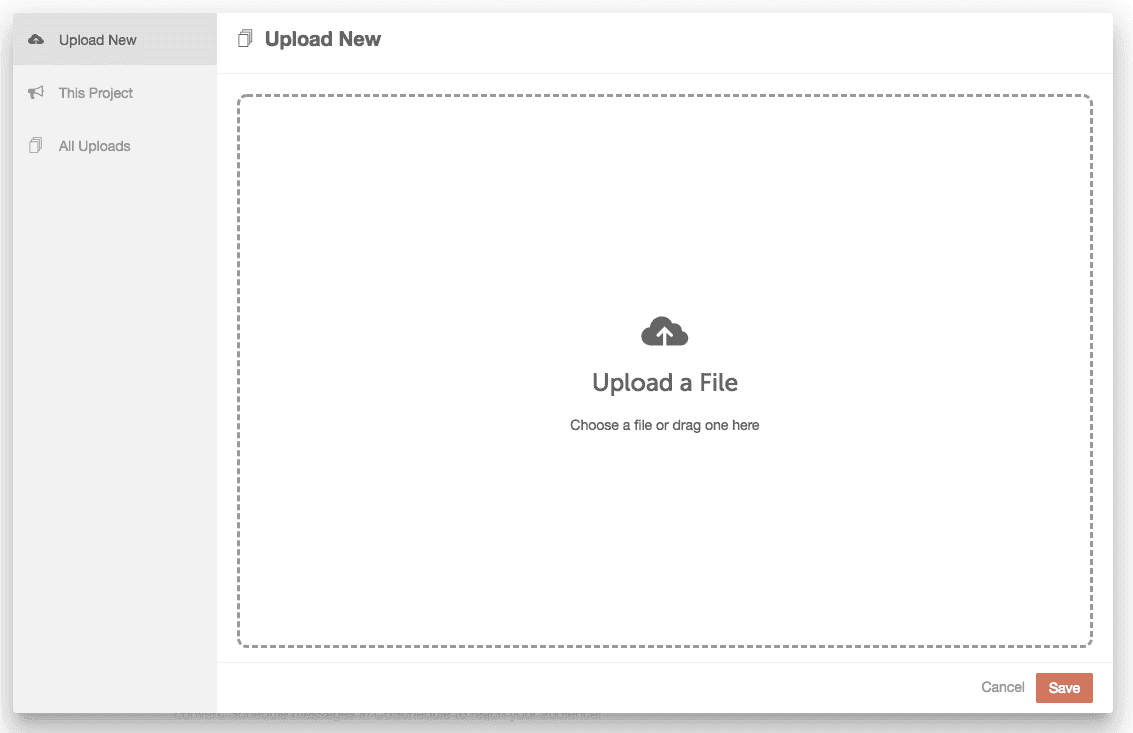
- Upload your file. It appears on the This Project tab.
- Select the file.
- Click Save.
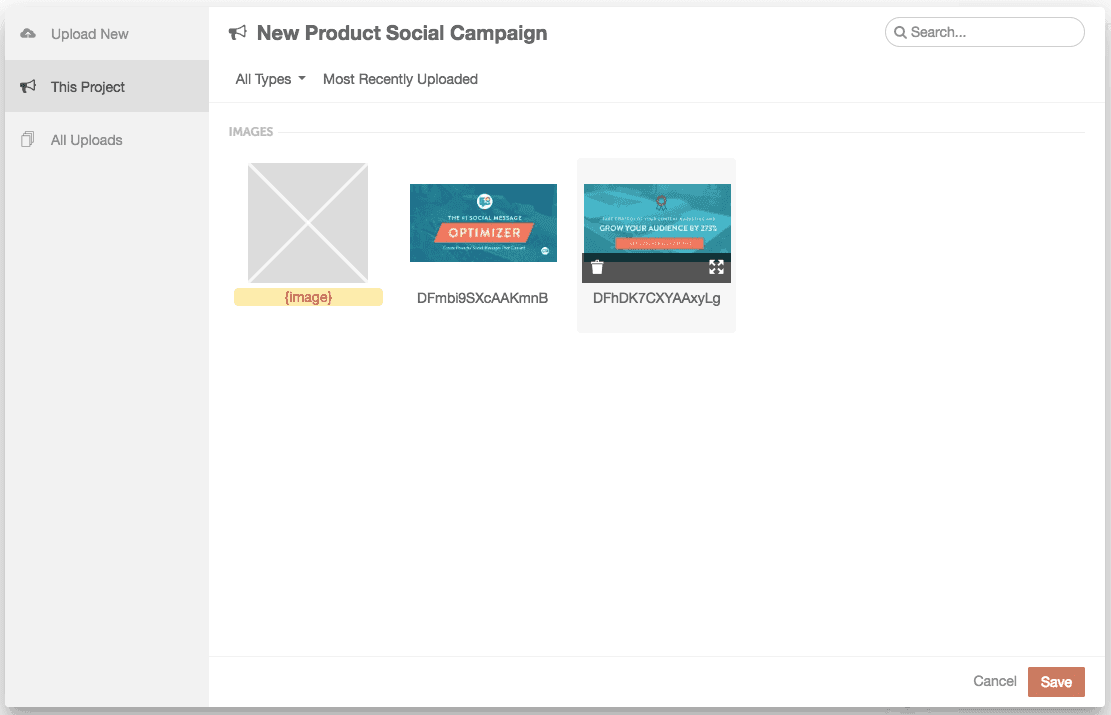
After you add a file, you can preview it, download it or upload a new version. CoSchedule keeps track of each version.
To add images or videos to a social message, click the image icon (Add media to message) in the message. See Create a social message.
Reuse files you've already uploaded
Every file you upload to a project or social message is saved to your uploads, so you can use it again in any project or message. When you open the media library from a project:
- The This Project tab shows the files in the current project.
- The Uploads tab shows every file you've uploaded across projects and social messages. Scroll down the tab to load older files.
File size limits
Your plan has no limit on total storage. Each file has a size limit that depends on where you upload it:
Where you upload | Largest file |
|---|---|
Project file attachment | 100 MB |
Discussion attachment | 100 MB |
LinkedIn document | 100 MB |
Request form (Suite) | 2 GB |
CoSchedule mobile app | 2 GB |
Social networks set their own limits for images and videos. See Image, video and GIF sizes for social messages.
Supported file types
CoSchedule sorts files into four types:
- Image: for example JPG, PNG, GIF and JFIF. HEIC images aren't supported.
- Video: for example MP4, MPG and MOV.
- Document: for example DOC, DOCX, PDF and TXT.
- Other: any file that isn't an image, video or document.
In the mobile app, to add a video that's already on your phone, use Upload, not the camera option.
Fix the Invalid File Type error
When you replace a file with Upload New, the new file must be the same type as the original. If it isn't, you see this error: "When uploading a file, it must be the same type of file as the original file uploaded."
You can change the format within a type, such as replacing a JPG with a PNG. You can't switch to another type, such as replacing a JPG with an MP4. To use a file of a different type, add a new file attachment to the project instead.
If an upload fails or times out
- Try the upload again on a different network.
- If you're on a company network or VPN, ask your IT team to make sure it doesn't block uploads to CoSchedule.
- If it still fails, contact support.