
A project holds everything for one piece of work, such as a blog post or an email: its copy, files, social messages, tasks and discussions. Available on Starter, Professional and Suite.
Create a project on your calendar
- From the calendar, click +Create, or click the + on the date you want to schedule the project.
- Select Project.
- Enter a title.
- Add labels.
- Choose an owner.
- Set the date. You can change the title, labels, owner and date later.
- Click Create. The project opens.
The project types you can choose from depend on your plan. On Suite, you can also create your own project types.
To make a project for an integration, such as a WordPress post, choose that project type when you create the project. Integration projects can't be added to an existing project as an attachment later.
Add attachments
Attachments hold the work inside a project. In the project, click Add Attachment, then choose what to add.
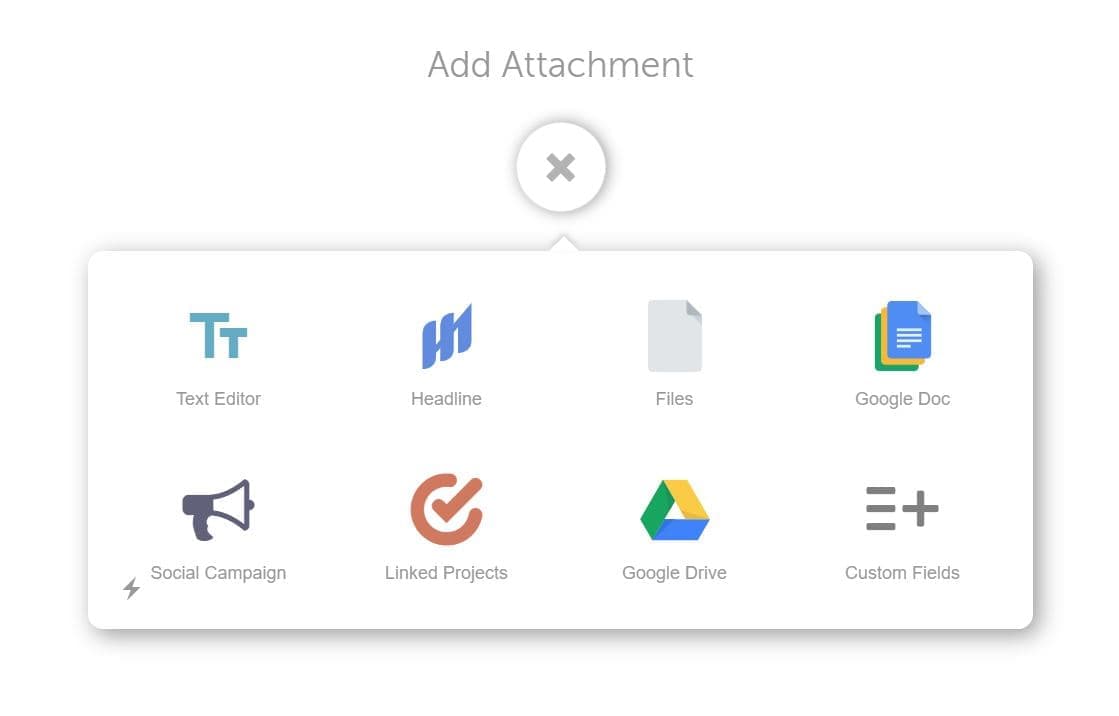
- Text Editor: write formatted copy and add images and videos. You can convert the copy to a WordPress post. See Work with WordPress posts.
- Smart Editor: write and edit documents with AI help. See Write and edit in Smart Editor.
- Files: upload a file, then preview it, download it or upload a new version. See Upload and manage files in a project.
- Google Doc: attach a Google Doc, Sheet or Slides file and open it in the project or in Google Drive. See Use Google Drive, Docs, Sheets and Slides with CoSchedule.
- Social Campaign: plan a series of social messages for the project. A project can hold one social campaign. See Create a social campaign.
- Marketing Assistant: add AI Project Assistant to write first-draft copy and generate ideas with AI. See Draft content with AI Project Assistant.
- Linked Projects: link related projects so you can jump between them. See Link related projects.
- Custom Fields: add details with dropdowns, dates, text fields and more. Custom fields are on Suite. See Create custom fields.
Rearrange or remove attachments
To change the order of attachments:
- Click the up arrow on the right side of an attachment to minimize it.
- Drag the minimized attachments into the order you want.
- Click the up arrow again to expand an attachment.
To remove an attachment:
- Hover over the attachment's name bar.
- Click the X.
Before you delete a project
Deleting a project can't be undone. It permanently removes the project's attachments, tasks and social messages.