
Connect a Facebook Page to your calendar so you can schedule and publish to it from CoSchedule. Available on Starter, Professional and Suite.
CoSchedule connects to Facebook Pages only. Facebook doesn't let tools like CoSchedule publish to personal profiles, and publishing to Facebook Groups ended in April 2024.
Before you start
You connect a Page by logging in with your personal Facebook profile. That profile needs the admin role with full control of the Page. Connecting doesn't change your personal profile, and CoSchedule publishes only to the Pages you choose.
Not sure what access you have? Facebook explains how to see your Page role or access and what each kind of Page access allows.
If other Facebook Pages or Instagram accounts are already connected to your calendar, check CoSchedule's Business Integrations settings first (see "Page not listed?" below).
Connect the Page from Settings
- On a desktop or laptop, open a private or incognito browser window.
- Log in to your calendar.
- Open Settings.
- Click the Social Profiles tab, then click Connect Social Profile.
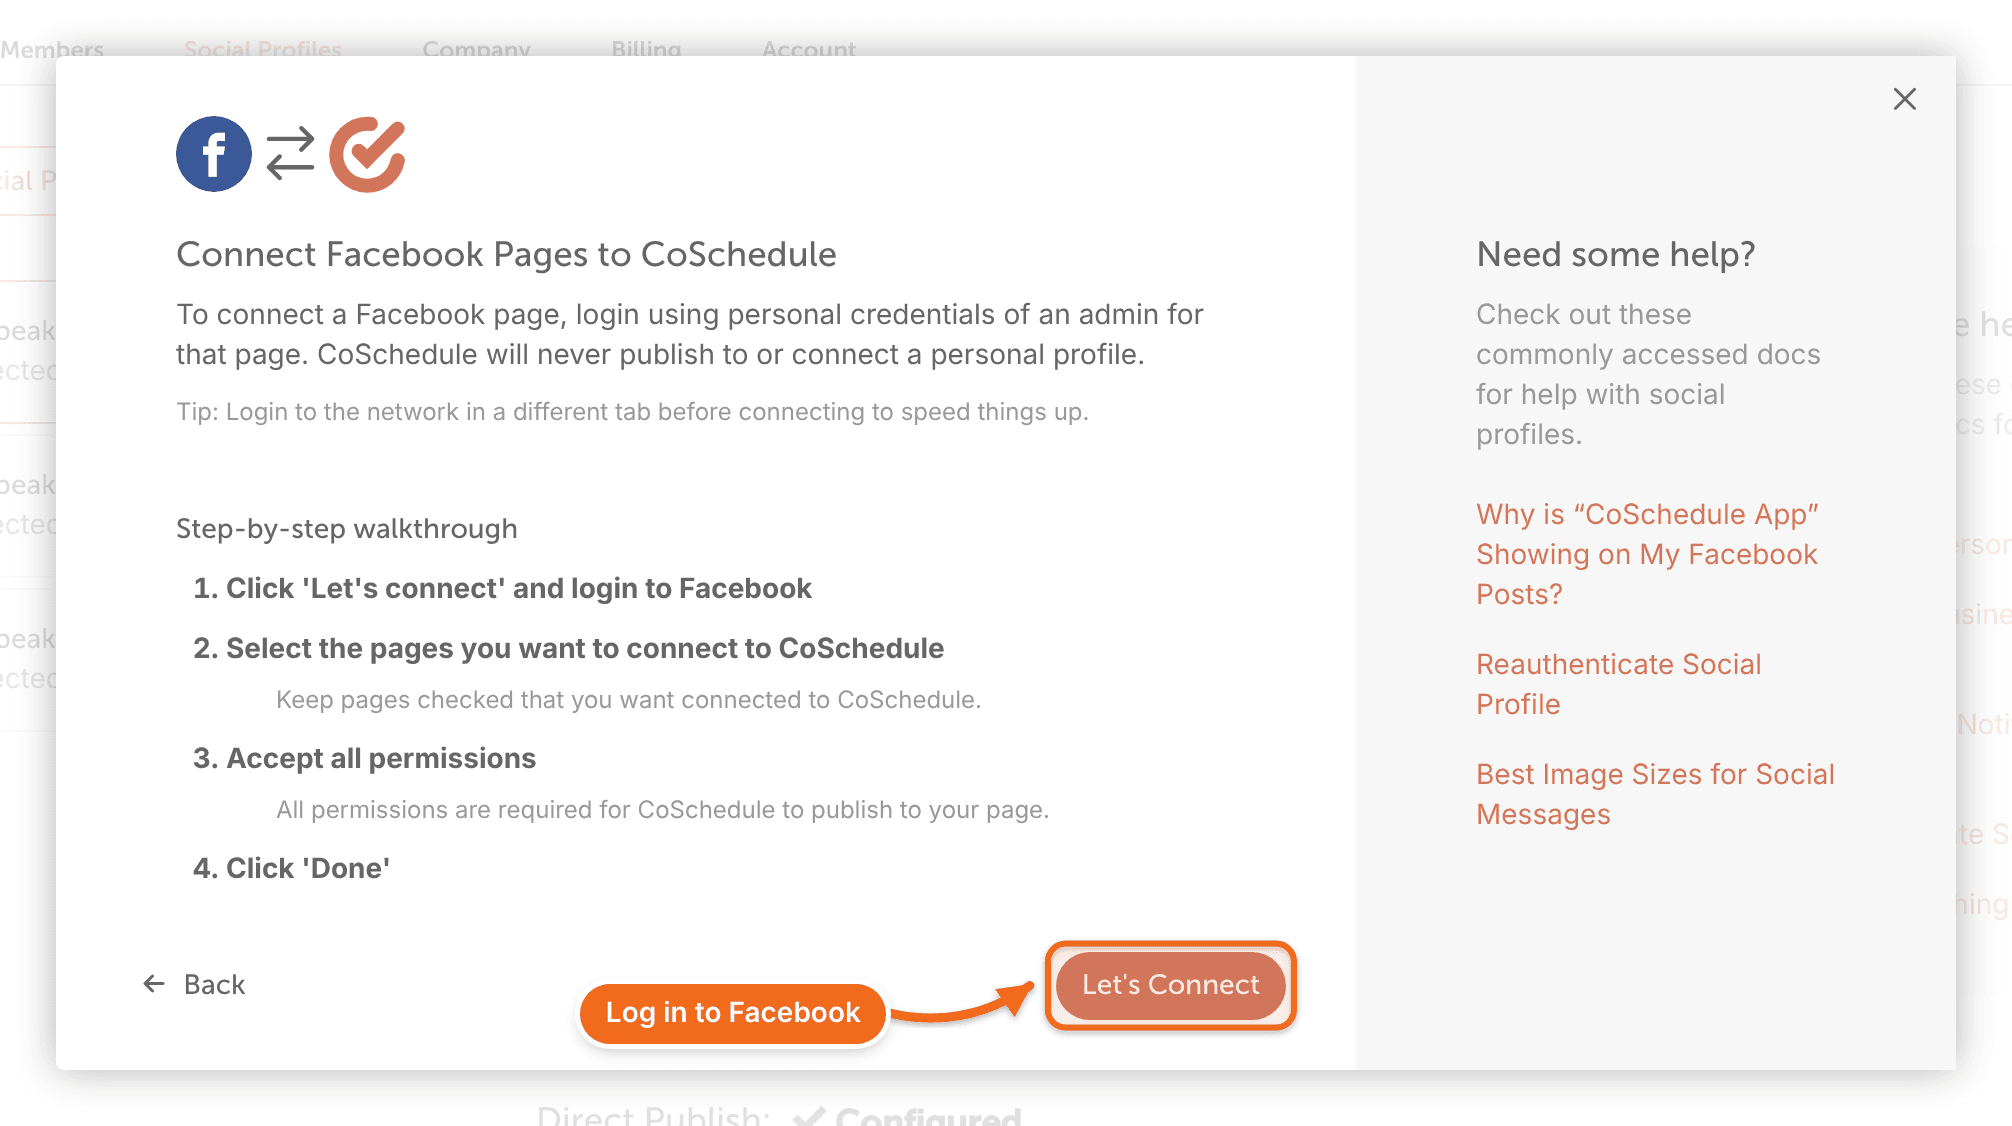
- Select Facebook, then click Let's Connect.
- Log in with the personal Facebook profile that has full control of the Page.
- When Facebook asks which Pages CoSchedule can use, select the Page you're connecting and every other Page already connected to your calendar.
- Turn on every permission CoSchedule asks for, and follow the prompts until the Page is connected.
Page not listed?
If the Page you want doesn't appear when you connect, check these causes in order.
Your access to the Page
Your personal Facebook profile needs full control of the Page. If you don't have it, ask someone who does to give you access to the Page, then connect again.
CoSchedule's Business Integrations settings
In your personal Facebook profile's Business Integrations settings (not the Page's), make sure CoSchedule is active, every Page you use in CoSchedule is selected and every permission is turned on. Facebook explains where to find these settings. Then connect again.
Another Facebook profile is logged in
Connect from a private window that is logged in to only the Facebook profile that manages the Page.
If the Page still doesn't appear, check the Facebook Help Center.
Connected, but messages fail with a permission error
If the Page connected but its messages fail with a permission error, the profile that connected it doesn't have full control of the Page, or CoSchedule is missing a permission in Business Integrations. Fix the access or permissions as described above, then reconnect the Page. For the error about Page admins, see Facebook denied CoSchedule's request to send this message for this user.
Reconnect a Facebook Page
Reconnect from a desktop or laptop browser, logged in to Facebook as someone with full control of the Page. Only the calendar Owner, a Manager or an Admin can reconnect a profile.
- Open a private or incognito browser window.
- Log in to your calendar.
- Open Settings, then click the Social Profiles tab.
- Click the Facebook Page.
- Click Reconnect Account and follow the prompts. When Facebook asks which Pages CoSchedule can use, select every Page connected to your calendar.
Messages that failed while the Page was disconnected don't resend on their own. Reschedule them after you reconnect.
Why you can't connect a personal profile
Facebook doesn't let tools like CoSchedule publish to personal Facebook profiles, so only Pages can be connected. If you don't have a Page yet, create a Facebook Page, then connect it using the steps above.
Remove a Facebook Page
Removing a profile deletes its scheduled, sent and ReQueue messages and its social template messages in CoSchedule, on every calendar. Posts already published stay on the network.
- Log in to your calendar.
- Open Settings, then click the Social Profiles tab.
- In the left-side menu, click the Facebook Page you want to remove.
- Scroll to the bottom of the page and click Delete Profile from Organization.
- When asked "Are you sure you want to remove this profile?", type DELETE PROFILE to confirm.