

How do your marketing projects and campaigns progress from start to finish right now? If you’re like most marketing teams, you may have some informal or partially-documented processes that work okay (if they work at all). However, considering the fast-paced nature of marketing, a lack of management workflows can foster chaotic working conditions.
Using agile workflow management can help marketing teams overcome that chaos without sacrificing speed. It even makes it possible to get even more done in less time than before and without nearly as many headaches. In this chapter, you’ll learn exactly how to implement them and make your day-to-day work more productive and enjoyable.
Download: Agile Workflow Template
This basic Excel template includes fields for listing team members, project names, and the status of each item being worked on. This is a simple means of visualizing workflows and statuses across your team (if your team is not currently using CoSchedule or another platform). Here is what it looks like:

You can get your copy below:
First Off, What Does the Word “Workflow” Mean?
For the purposes of this guide, a workflow is a defined set of steps required to complete a project. They can be visualized as a series of phases that move from left to right or top to bottom.
Here is a simple diagram of an agile workflow:

Why Should Workflows Be Defined?
Agile workflows allow marketing teams to work with greater efficiency by taking large projects and breaking them down into smaller, more manageable chunks. They make it possible to tackle even large-scale projects within reasonable amounts of time while missing fewer deadlines.
They achieve this by giving teams structure and removing ambiguity around how work gets done and who is responsible for what at each stage. They turn chaos into order, and order into productivity.
Building Status-Based Workflows for Every Project
The first step in planning out a workflow is to figure out which phases (or state) the project will need to move through from start to finish. For example, if you were writing copy for a landing page, the phases might look like this:
Writing >>> Editing >>> Development >>> Publish
From the beginning until the end, the project moves through a clear series of stages. One phase has to be completed before the next one can be taken on, and it’s clear which order they should go in.
An Example of a Complete Workflow
Go back to the landing page example and break down each stage. Consider every different component that might need to be written:
- Title tag and meta description.
- A headline and subheads.
- The body copy.
- Any calls-to-action and necessary button text.
- At this stage, they may need to write copy to promote the landing page, too (for example, email copy and social media posts).
During the editing step, the next team member will need to make sure all of this content is written. If anything is missing, it’ll have to get bounced back (along with any other edits that may have needed to get made). It’s important for individual team members to hold themselves accountable to best serve their team by making sure they get their stuff completely done.
From there, the content may need to be handed over to a web developer to build the landing page. In addition, they might build the email too (or a marketer might put it together in their email service provider). They need to know that the content is accurate and includes everything they need to set up the page.
Planning Your Own Workflows
In order to plan out your workflows, ask, “Ideally, how does this type of project typically flow from start to finish?”
This can be different for different types of projects.
Next, define what is required before each phase is considered complete. A stage should be 100% ready to move on before it’s finished.
Now, you might also need to develop your own terminology for each stage based on the projects you execute. But, they should be different variations that revolve around these basic phases:
Plan >>> Execute >>> Review >>> Launch
To make this more clear and easier for the team to understand, simply change each label to what makes sense in context with the type of project. Here are some further examples:
- Blog Post: Write > Edit > Publish
- Email Campaign: Write > Review > Develop > Send
- PPC Campaign: Write > Review > Adjust Bids > Launch
You get the point. Most types of marketing projects can be broken down into execution, review, and ship stages. What changes is simply the verbiage from one project type to the next.
Using Task and Project Management Tools to Plan Workflows
Supporting effective workflow management requires using the right tools. Whether you use task management software, a project management platform, or another type of tool, managing agile processes is easier when you have what you need to get the job done.
If you choose CoSchedule to organize your marketing, you can use Custom Statuses (available on Professional and Enterprise Content Organizer, Work Organizer, and Marketing Suite plans—see details) to manage workflows on every project. They allow you to set customized status labels that match the actual stages of your workflow.
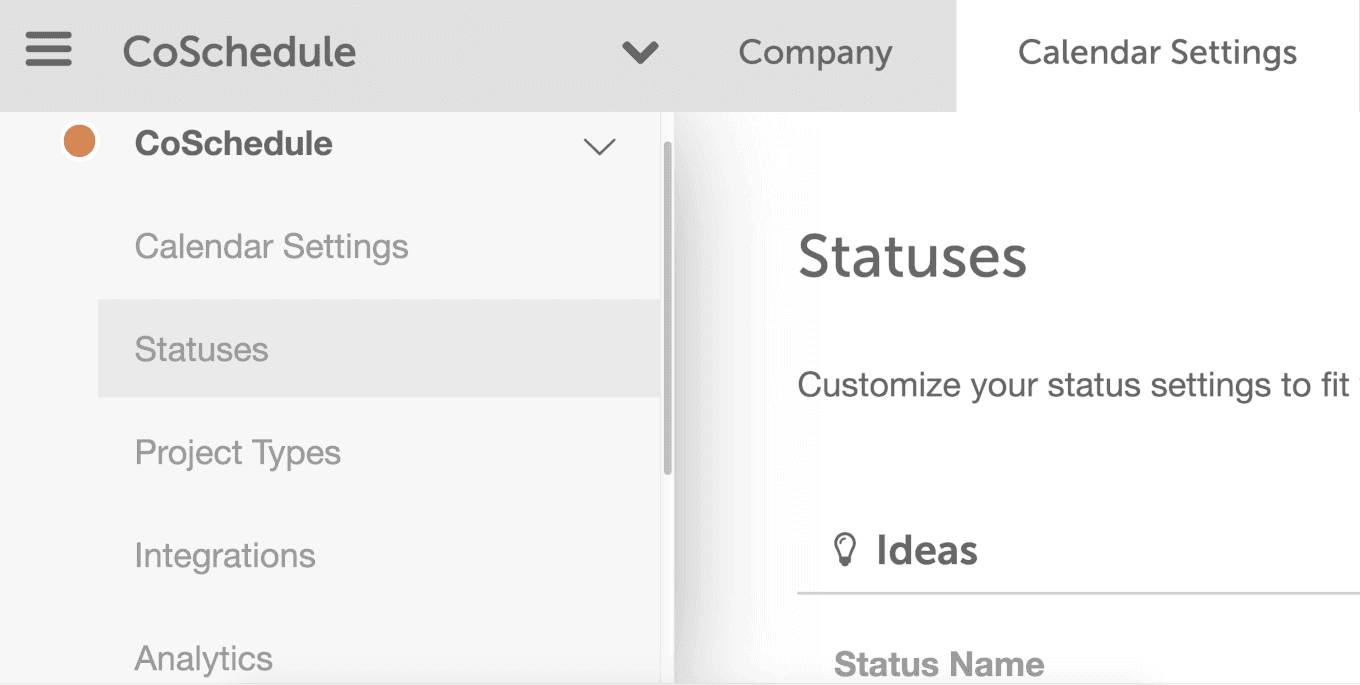
To get started, find the Custom Status option under Settings:
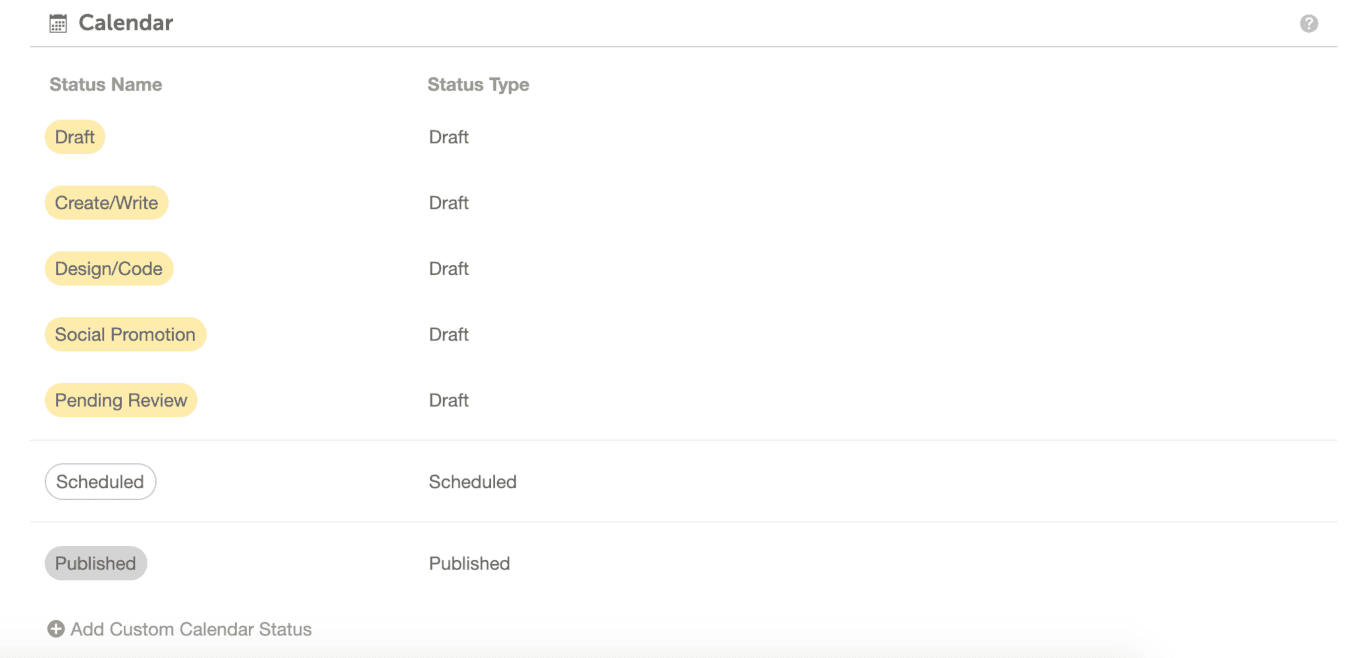
Next, type in the name of your desired status, and its corresponding status type:
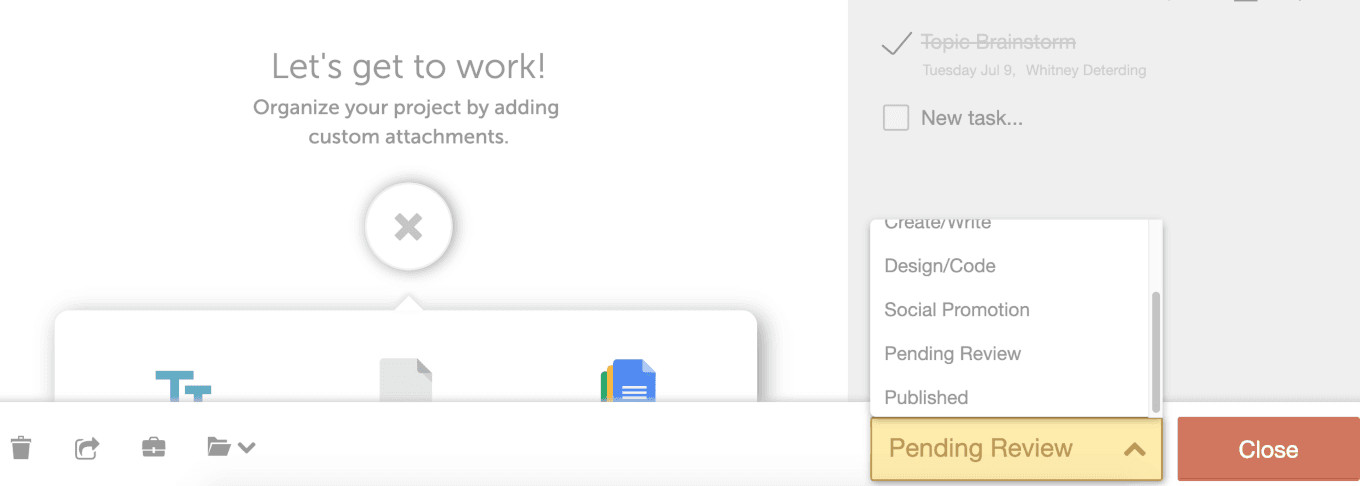
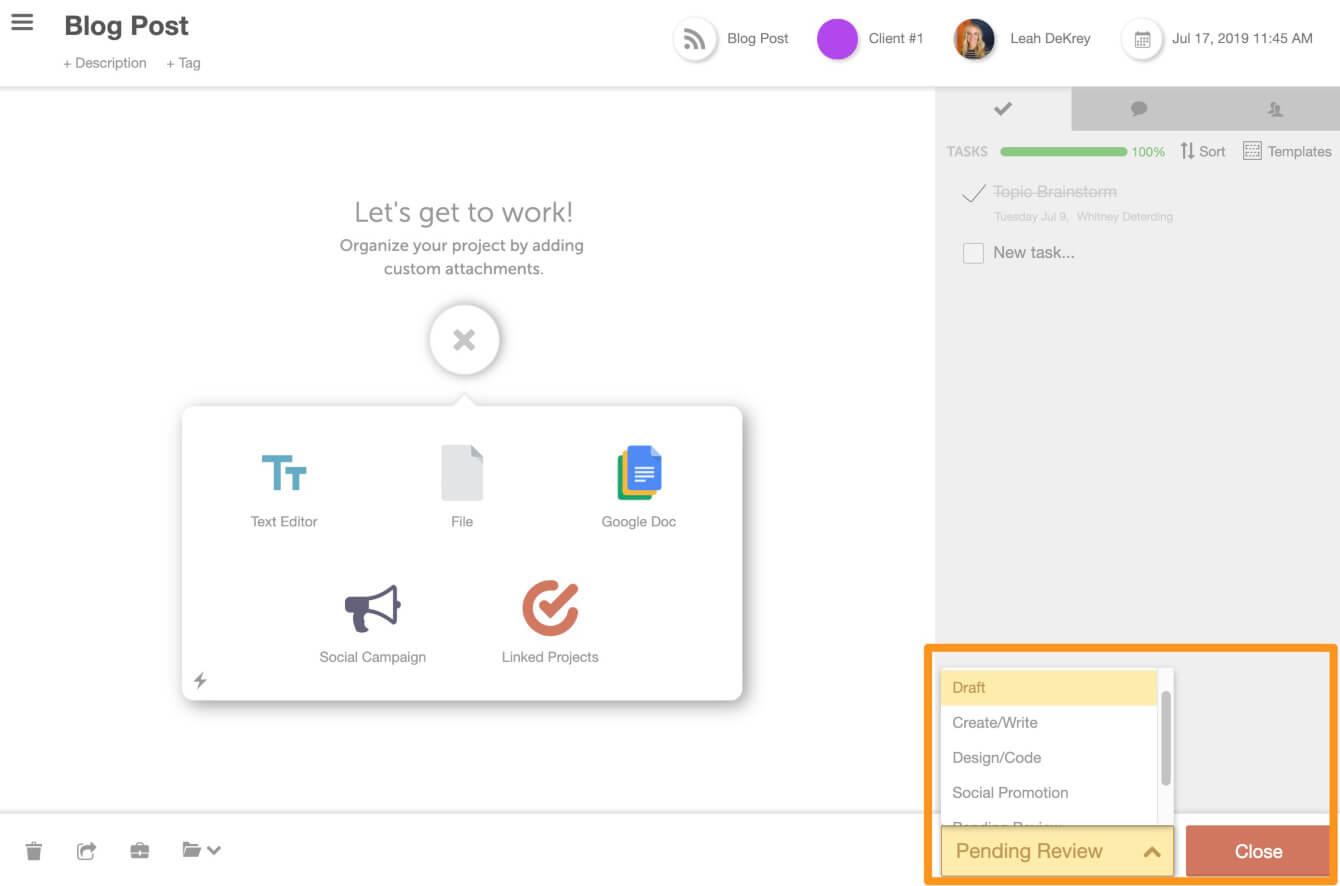
Once you’ve created your custom statuses, you’ll be able to label projects according to their current status (in this example, a project is Pending Review):
This makes it easy to use CoSchedule to manage workflows using the exact language your team has adopted internally to refer to each phase of each project you’ll plan and execute.
Creating Task-Based Checklists
Now, project statuses show at a high level how a project is progressing toward completion. But, what they don’t show is what specific steps have been completed to get the project to that state.
This is where having your team use checklists can be useful. While using checklists isn’t necessarily core to executing agile processes correctly, they remain a useful tool that CoSchedule’s marketing team swears by.
To create a checklist for each type of project your team executes, follow these steps:
- List every step required to complete the project.
- Assign a role or team member to each step.
- Determine how long each step should take to complete.
Then, map these out to a checklist (using a spreadsheet, Evernote, or another tool).

Alternately, CoSchedule supports checklist creation using Tasks (available on all plans) and Task Templates (available on Growth, Professional, and Enterprise Work Organizer and Marketing Suite plans—see details). Lists of tasks can be created for each project individually, or they can be built using templates that can be applied to projects automatically (without having to recreate them each time).
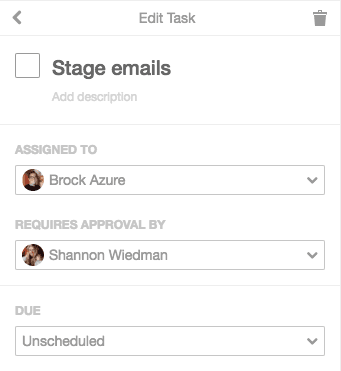
For each task, it’s easy to assign a team member and set a deadline (each task can also have smaller subtasks within it, too). Team members will receive an email and a notification in their CoSchedule dashboard when each task is due:

You can also set task approvals (available on Professional and Enterprise Work Organizer and Marketing Suite plans—see details) for steps that need to be reviewed by a manager before confirming they’re complete.
Combining Tasks and Statuses
For each type of project, certain tasks will likely need to be completed before it can be moved along to the next status. Group these tasks together on your checklist and indicate what needs to be done before you can consider a status to be complete. CoSchedule users can do this with Task Discussions (available on all plans).
Click into a Task in an applied Task Template, then scroll down briefly to find Task Discussions:
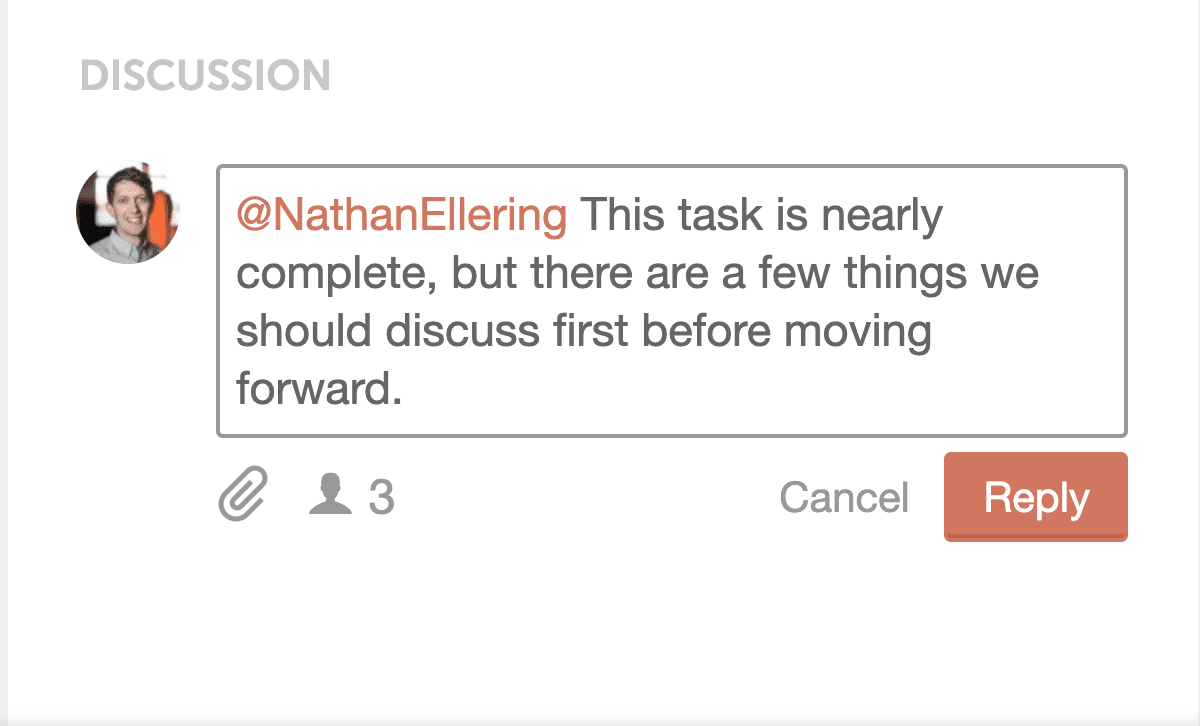
Team members can be tagged in a discussion when their stage is ready (and they can also set notification preferences to be notified within the dashboard, by email, or in-browser when project statuses are changed too).
Refining and Improving Workflows
Over time, you might start to catch inefficiencies or common snags in your workflow. Rather than live with those problems, take the time to unravel frequent roadblocks. There’s always room for improvement, and agile works best when approached with this mindset.
If you find your team is constantly running into an issue, ask the following questions:
- What’s causing this issue? Make sure you’re addressing causes and not symptoms.
- Is this something we can fix? Once you’ve identified the source of an issue, finding a solution gets much easier.
- Do we need to adjust the tasks in our checklists? If the workflow needs to be changed, make an adjustment to your checklist.
Retrospectives are a good time and place to bring up potential issues that can be addressed. This is addressed in the next chapter.
An Example of an Agile Marketing Workflow Put Into Practice
To better visualize how this process works from start to finish, it’s helpful to walk through each step in a hypothetical workflow.
For the sake of example, let’s say a marketing team is working on creating a piece of content for their company’s website. Their statuses for this project are:
- Draft: The project is being written or created.
- Review: It’s now ready for review and editing.
- Scheduled: The project has been completed and scheduled.
- Published: The article is now live.
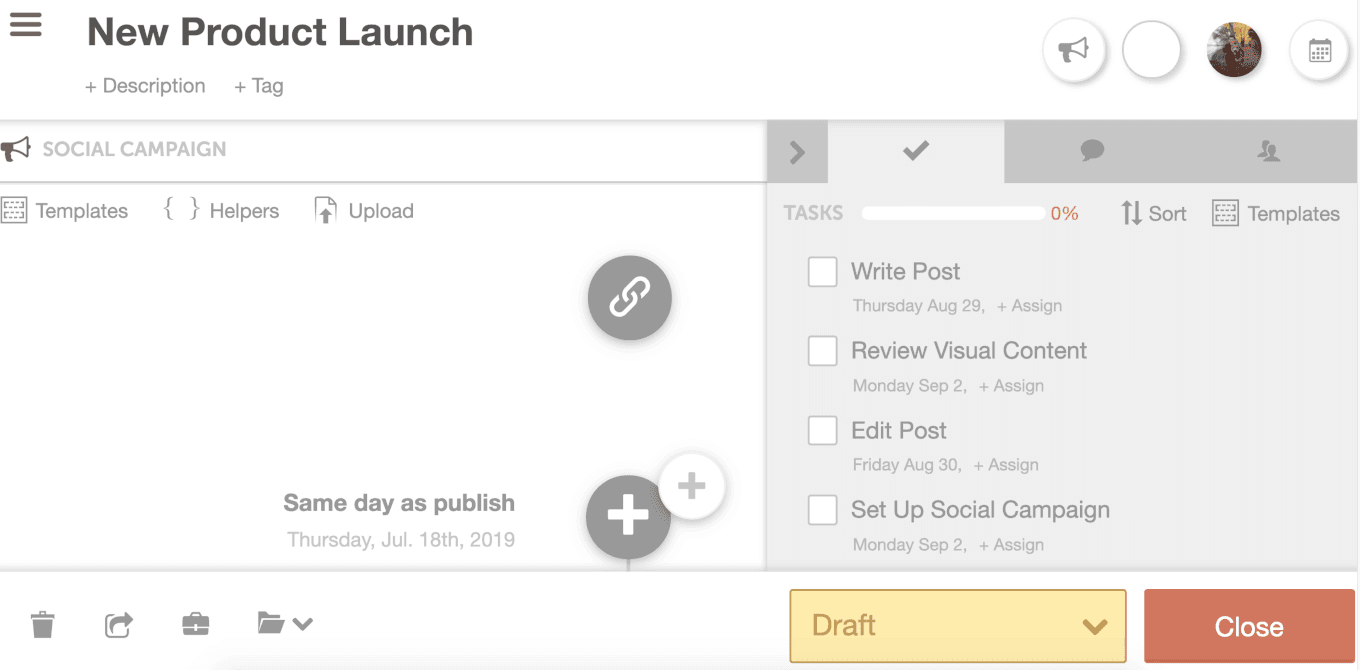
That’s a straightforward series of project statuses for creating a piece of website content. To begin, a writer starts researching their topic and keywords they’ll use on the page. Using Custom Statuses in CoSchedule (available on Professional and Enterprise Content Organizer, Work Organizer, and Marketing Suite plans—see details), they set the status to Draft, which helps others on the team know what phase the project is at:
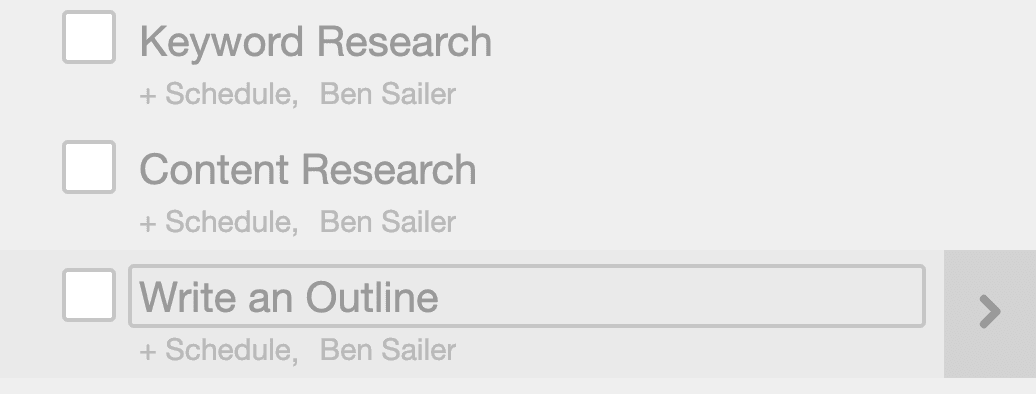
This status has several tasks that need to be completed before it can be considered done. These include:
- Keyword research.
- Content research.
- Writing an outline.
These steps should be built into a checklist of tasks for the project:
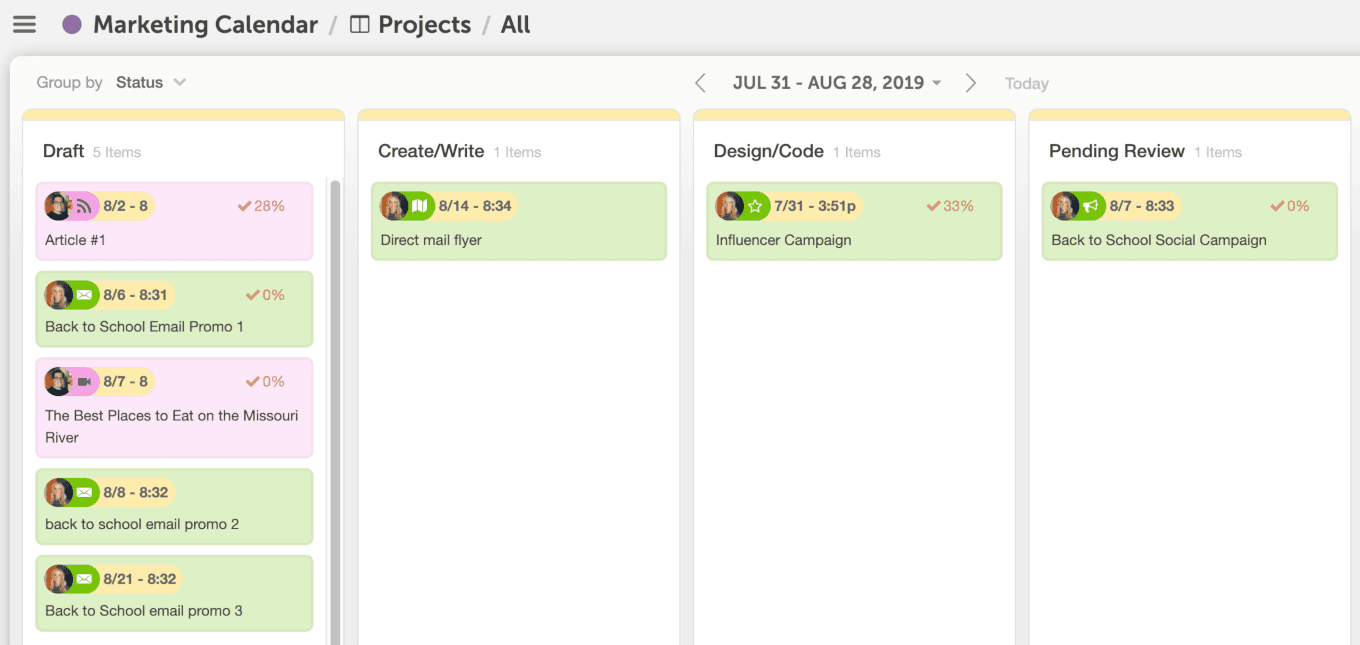
Once this is done, they can switch the status to Review. If they’re using CoSchedule (or another project management tool that supports kanban boards), using the Kanban Project Dashboard (available on Professional and Enterprise Work Organizer and Marketing Suite plans—see details) and filtering by Status will move this over to the next column:
At this point, the next person (perhaps an editor or content manager) needs to proof and edit their work. They’ll follow a similar process of checking off the steps required for their project status:
- Proofread content.
- Double-check metadata.
- Review on-page SEO implementation.
Then, the process continues. Now, a graphic designer should be ready to create the graphics for the page. Their tasks at the Design stage might include:
- Research similar content.
- Review branding guidelines.
- Design graphics.
Finally, a writer or web developer might push the page live. At this point, the status would be changed one last time to Published.
Now You’re Ready to Master Agile Marketing Workflows
Following this simple process for planning, managing, and executing workflows will make every project easier to ship from start to finish. Keep things simple at first, adjust steps as necessary, and eventually, you’ll find your processes start to click into place.