
Schedule new pins to one or more of your Pinterest boards from your calendar. Available on Starter, Professional and Suite. First, connect your Pinterest account.
Schedule a pin
- From your calendar, click + Create in the upper-right corner.
- Choose Social.
- Select Social Message.
- Choose your Pinterest account from the drop-down menu.
- Select one or more of your Pinterest boards.
- Enter your text, with the link you want the pin to lead to (see below).
- Add your own image or video if you don't want to use the image from your link (see below).
- Add a title (see below).
- If you picked one board, choose a board section (see below).
- Select the date and time, or use Best Time Scheduling.
- If needed, change the status.
- Click Save.
You can also add a Pinterest message to a social campaign.
Add a link
There's no separate field for the pin's destination link. Paste the URL into the text of the message instead. When the pin publishes, CoSchedule removes the URL from the text, and the pin's image links to it.
- In the message text, paste the URL you want the pin to link to.
- Check the link preview.
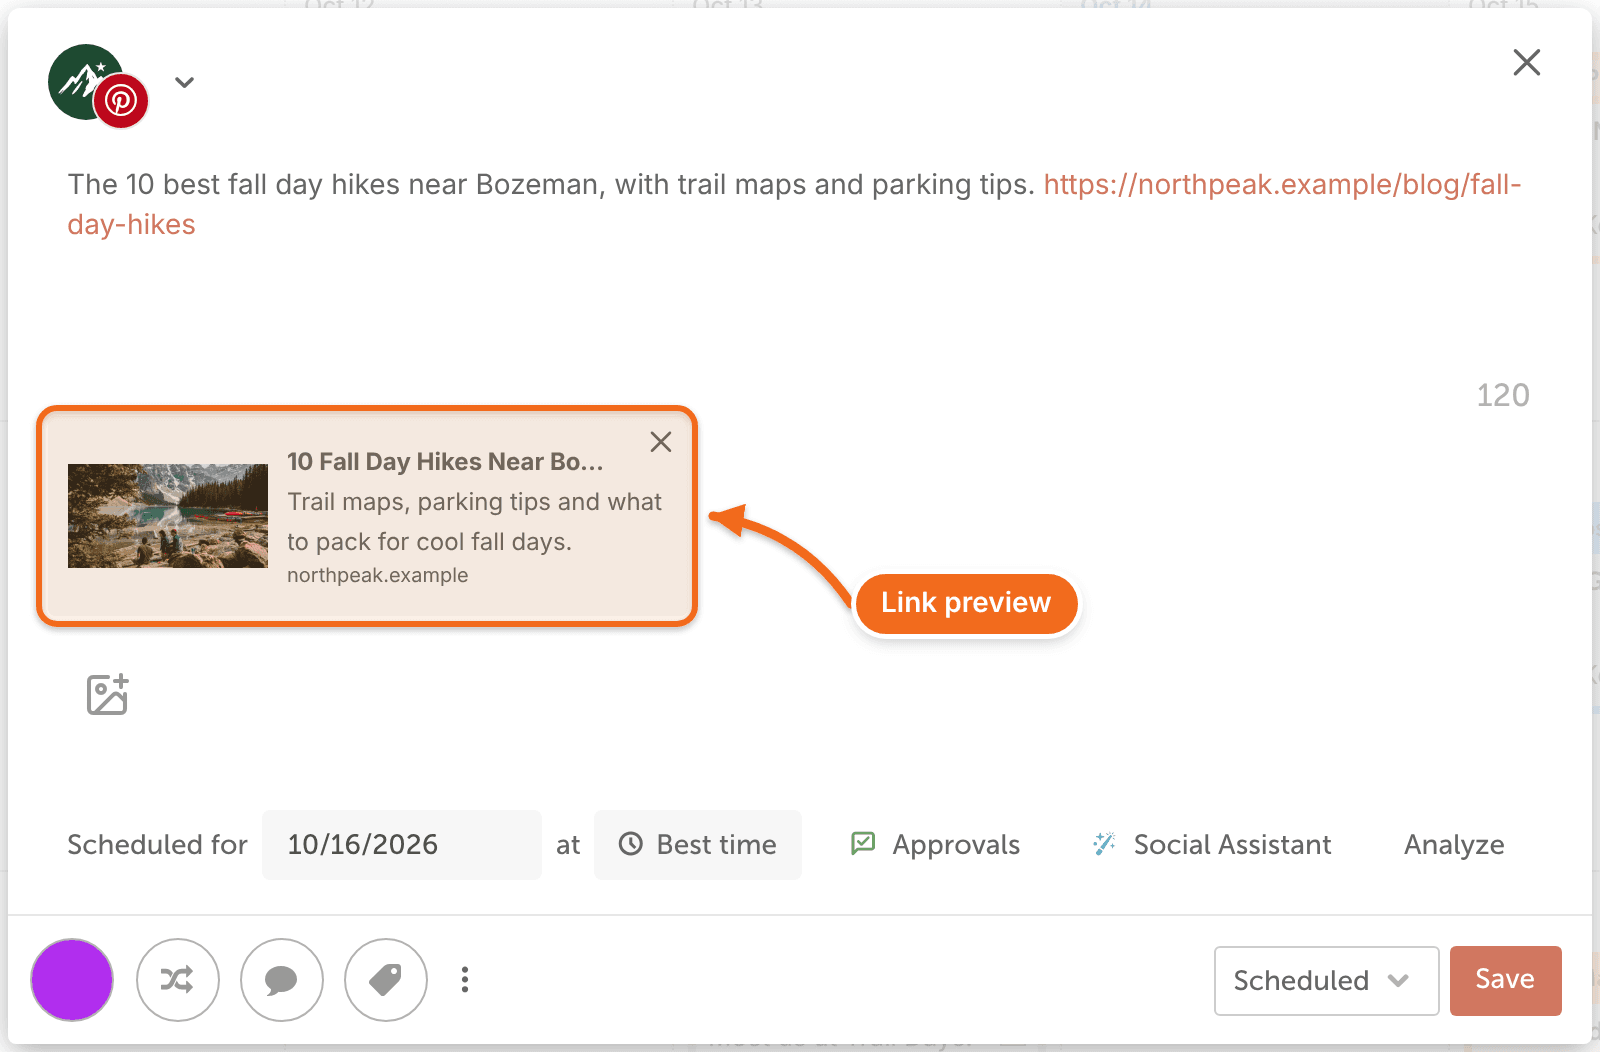
Use your own image or video
By default, CoSchedule publishes the image it finds at your link. A pin can have one image or one video.
- Click the X on the link preview to remove the preview and its image.
- Click the image icon (Add media to message).
- Upload your image or video.
- Check that your image or video now shows in the preview.
For a video, choose its thumbnail in the Pinterest Publishing section of the composer: pick a frame from the video or upload an image.
Add a title
Enter the pin's title in the Title field, in the Pinterest Publishing section of the composer. Titles can be up to 100 characters. If you leave the title empty on a link pin, CoSchedule uses the title from the linked page.
Choose a board section
When you select one board that has sections, the Pinterest Publishing section shows Choose Section. Pick the section the pin should go in.
Choose Section isn't shown when you select more than one board. To post to a section on several boards, create a separate message for each board. A section you just created in Pinterest can take up to a day to appear in CoSchedule.
Limits
- Text: up to 800 characters.
- Title: up to 100 characters.
- Media: one image or one video per pin.
- Images: up to 20 MB.
- Videos: up to 2 GB and 15 minutes.
For all networks, see Character limits for social messages and Image, video and GIF sizes for social messages.
What you can't do with Pinterest messages
- Schedule repins. CoSchedule publishes new pins only; repin directly in Pinterest.
- Use a Pinterest URL as the pin's link. Pinterest doesn't let CoSchedule or any other outside tool promote Pinterest URLs.
- Schedule a first comment.
- Mention other Pinterest users.
- Shorten the pin's link with Bitly. Bitly doesn't shorten Pinterest links.
- Reply to Pinterest comments in Social Inbox. Social Inbox doesn't include Pinterest.
- Add a Pinterest profile to a social profile group.
If Pinterest rejects a pin
If Pinterest rejects a pin, the message fails with this error: "Pinterest denied CoSchedules request to add this pin. Please try rescheduling your message or contacting support". Reschedule the message. If it fails again, contact CoSchedule support.
If Pinterest says a limit was reached, see Pinterest denied publishing social message because limit was reached.
After your pin publishes
A published message can't be edited. It opens as a read-only preview, and Save is replaced by View Post. Nothing you change in CoSchedule afterward changes the pin on Pinterest.