Create a Social Campaign
Creating standalone social messages will help with your quick one-off messages, but creating social campaigns will allow you to create multiple social messages more easily.
A Social Campaign helps you create, organize, and track multiple social messages as a group. You can also use them in conjunction with Social Templates to make scheduling your messages even quicker.
 Note that, unlike one-off social messages that have their own status, the status of social messages within a social campaign is controlled at the project level. Be sure to set the project to scheduled status in the upper right corner when you're ready, as leaving the project in draft status will prevent the social messages from being sent.

- Create a Social Campaign
- How to Add a Link and Use Default Text Helpers
- Add and Schedule Social Messages
- AI Campaign Assistant
How to Create a Social Campaign
A social campaign can be a stand-alone project or an attachment to any existing project. Social Campaign Project- From your calendar, click +Create
- Select Social, then choose Social Campaign
- Name your Social Campaign Project and adjust the publish date & time if needed, then click Create Project
- Open any existing project
- Click Add Attachment, then select Social Campaign
How to Add a Link and Use Default Text Helpers
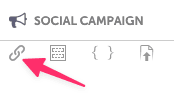
It is not required to enter a link when using a Social Campaign, but doing so allows CoSchedule to grab the title, excerpt, and all the images from the attached link.- Click the link icon in the left corner of the social campaign
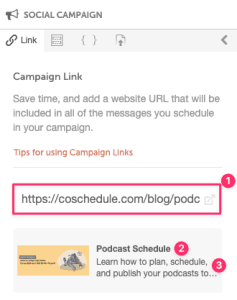
- Enter your URL into the link field. You'll see your (1) link, (2) title, and (3) excerpt
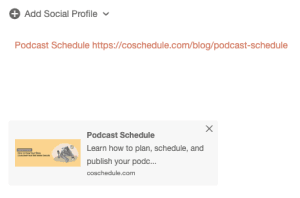
- Once a link is added and you click to create a social message within your campaign, the title and permalink will automatically be pulled in, but can be deleted if desired
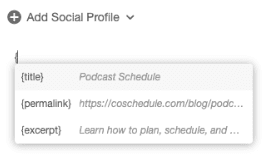
- To add a text helper, type { and select the helper
How to Add and Schedule Social Messages
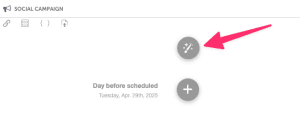
Social messages can be scheduled for a custom date or relative to the date of the project. Click the + next to the relative or custom date to open the social composer and start creating your social message.
Note that, unlike one-off social messages that have their own status, the status of social messages within a social campaign is controlled at the project level. Be sure to set the project to scheduled status in the upper right corner when you're ready, as leaving the project in draft status will prevent the social messages from being sent.
AI Campaign Assistant
AI Campaign Assistant outlines a schedule, message copy, and images for your entire social campaign in seconds.- Click the AI Campaign Assistant icon at the top of the social campaign
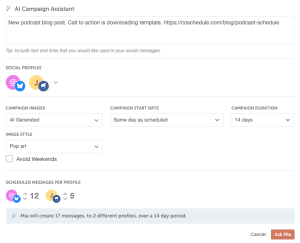
- In the text field, describe what you'd like to promote and include text and links that you would like used in your social messages. Click Next.
- Select social profiles, then click Next.
- Under Campaign Images, select No Images, Choose my own, or AI Generated. AI Campaign Assistant does not support videos.
- If you choose your own, click the camera icon and select the image(s) you'd like included in your social campaign. Note that each social message created will contain a single image.
- If you choose AI Generated, you have the option to select the image styles
- Select campaign start date (relative to project scheduled date or custom) and campaign duration, then click Next.
- The number of scheduled messages per profile will appear. This represents how many social messages Mia will create for each social profile you've selected. You can toggle up or down as needed.
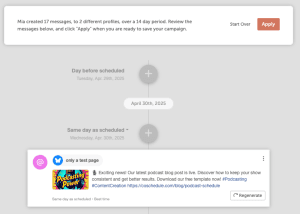
- When you're ready, click Ask Mia to create your social campaign.
- Once your campaign is created, you can look over the social messages. If needed, click Regenerate on a specific social message or click into the social message to make changes manually. When you're ready, click Apply.
- From here, you can continue to edit and add social messages as you would with any social campaign. You can also use AI Campaign Assistant again to have Mia create more messages for your campaign.